


|
|
|
|
|
|
| fred harmon | profile | all galleries >> Galleries >> Pakit Rak | tree view | thumbnails | slideshow |
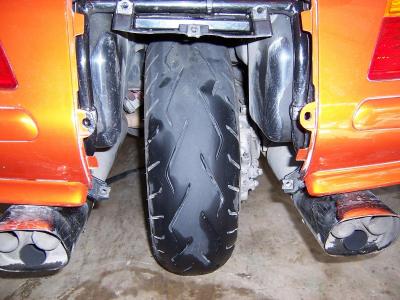
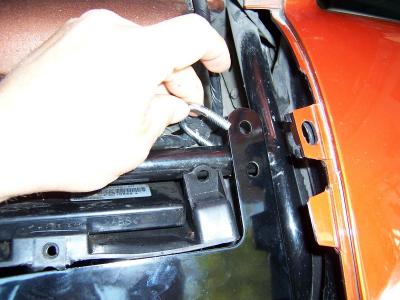
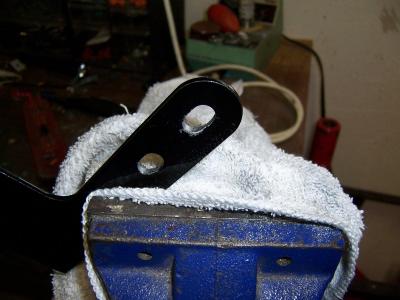
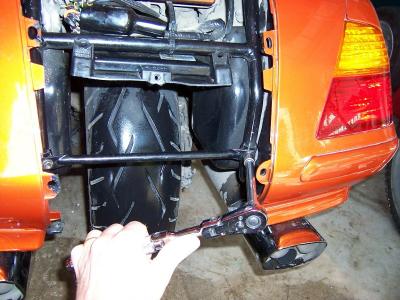 First you have to remove the rear fender panel and the brace for the saddle bag stay |
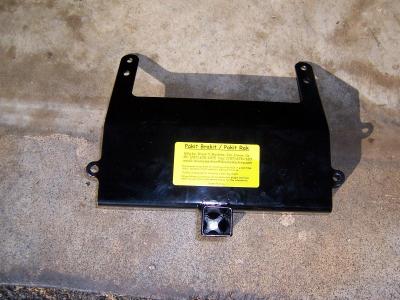 This is the Pakit Rak receiver hitch for the Pakit Rak. It weighs 3 lbs. |
 Here is a look at the back side of the receiver hitch |
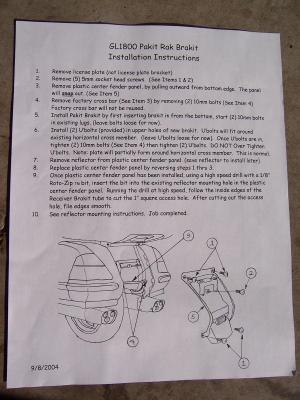 Thorough instructions are provided |
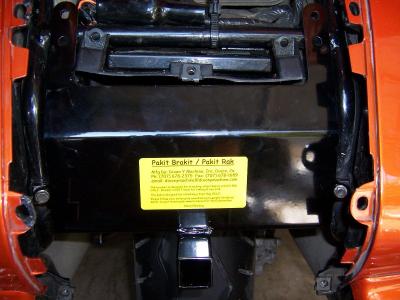
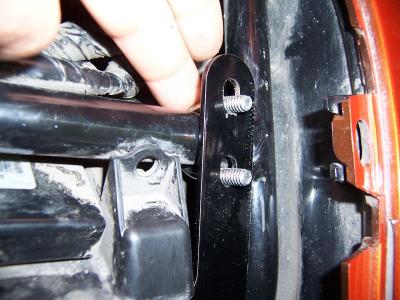
 Here I have the cross brace removed, and am ready to install the receiver hitch assy |
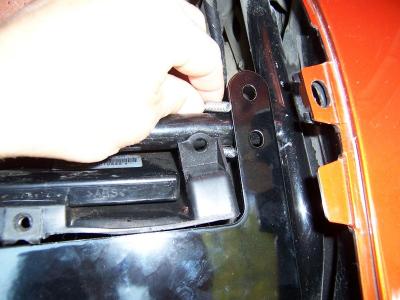
 Slipping the receiver hitch into place |
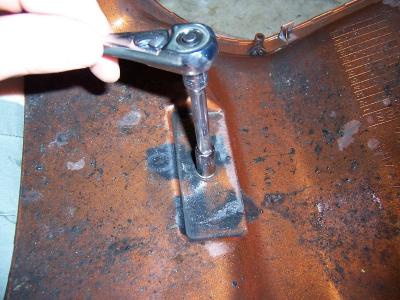
 Line up the lower holes with the existing studs and screws. Do not over tighten or you'll strip the aluminum threads |
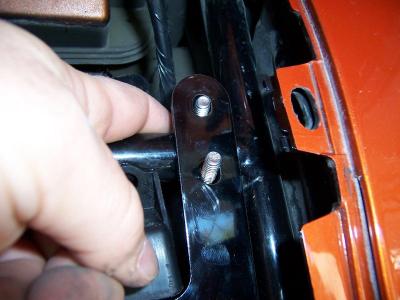
 Here is the hitch assy with lower bolts only installed |
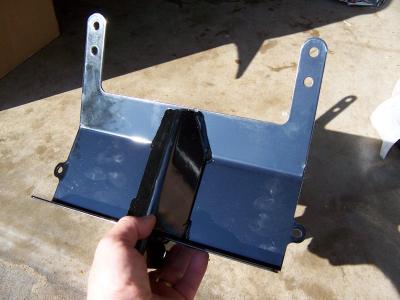
 U bolt hardware and hitch pin and 3M dual locks for reflector |
 Installing U bolts around saddlebag stay |
 Positioning U bolts |
 The holes did not quite line up on my bike due to manufacturing tolerances of the saddlebag stay |
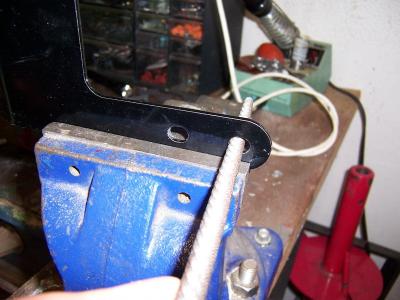 I simply used a round file to elongate the holes a bit more |
 Here you can see the holes are now more elongated so it will fit better |
 U bolt now lines up perfect. Future Pakit Raks will already have the larger holes, so you probably won't have this issue. |
 Install lock washers and nuts and tighten. Do not over tighten or you could crush the saddlebag stay |
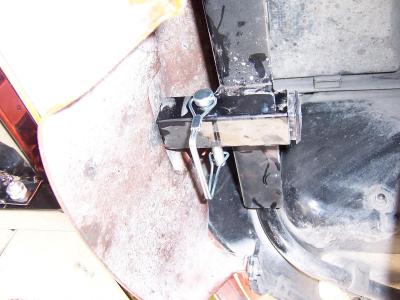
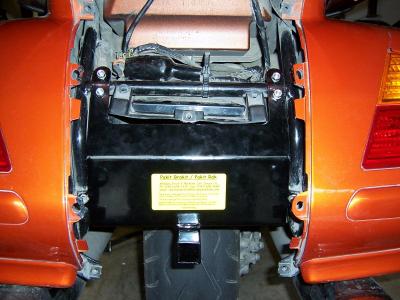 All installed |
 Now we have to remove the reflector so we can cut the hole for the hitch |
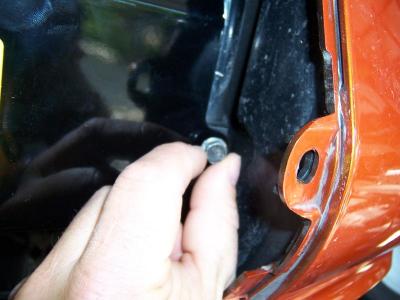
 Remove the 8mm nut |
 And the reflector comes right off |
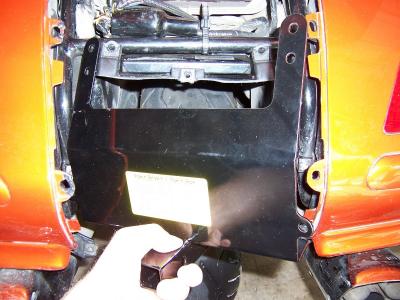
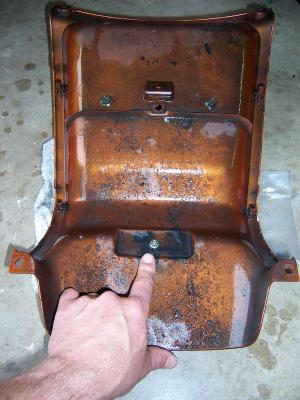
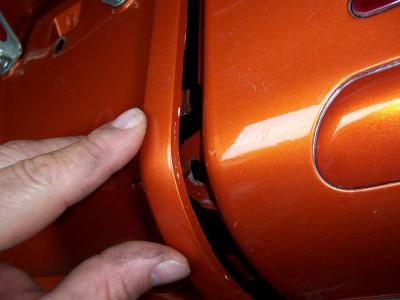 Be careful to line up the holes and tabs properly when reinstalling the rear fender panel |
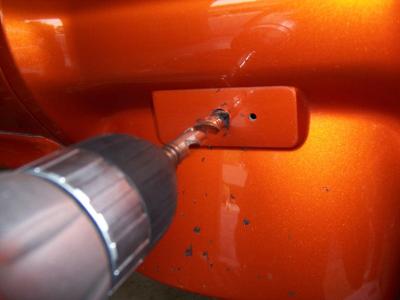 Now I drilled out the existing hole, so it would be large enough that I could get my Dremel tool in it. |
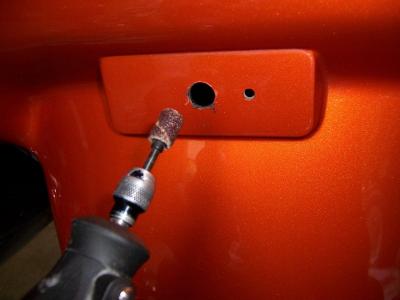 I used a small sanding drum on the end of my Dremel tool |
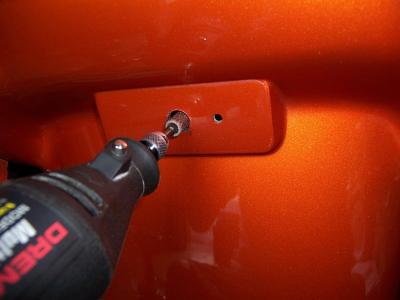 I then let the inside edge of the receiver hitch act as a guide for the dremel tool |
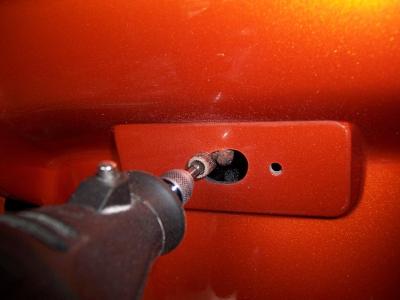 I let the sanding wheel cut away the plastic slowly |
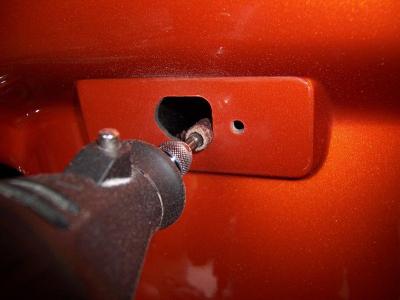 You can see the hole take shape as the hitch guided the Dremel tool |
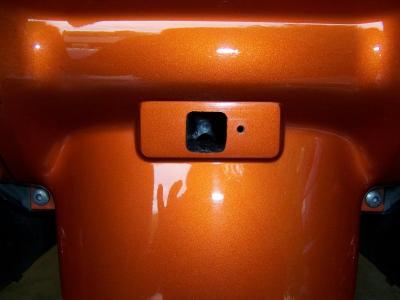 All done. This hole will be covered by the reflector when the Pakit Rak is not installed |
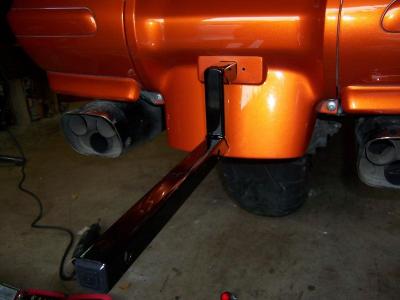 This photo shows how the support bar mounts into the hitch through the hole. |
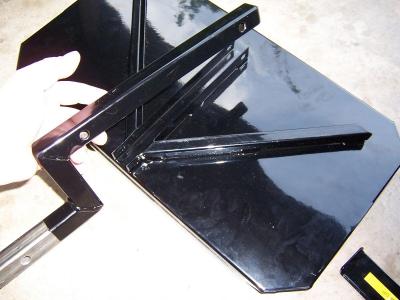 The support bar now gets bolted onto the tray |
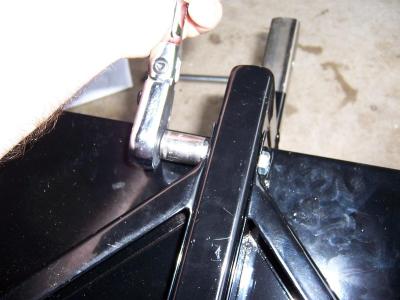 I simply tighten up the bolts |
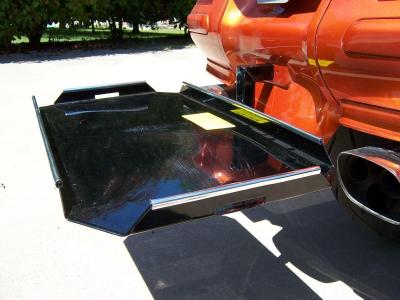 Rack installed and ready to go. Support bar and tray weigh about 7 pounds |
 Here is a view from underneath with the hitch pin installed |
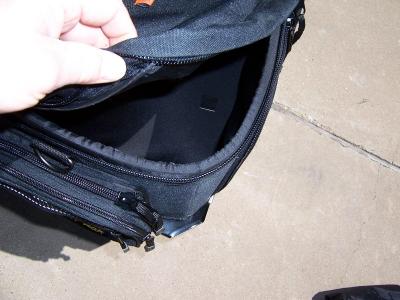
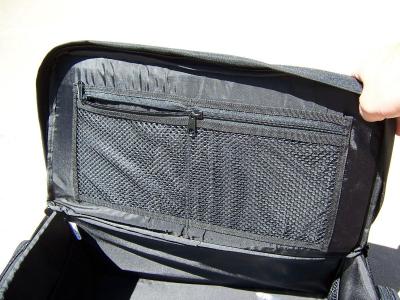 There are some nice zippered panels on the inside of the lid of the bag |
 There also are mesh panels in the sides for stowing loose items |
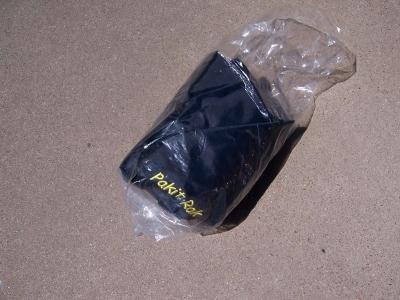 This is the rain cover all rolled up |
 The locking bar goes into the bottom of the tray |
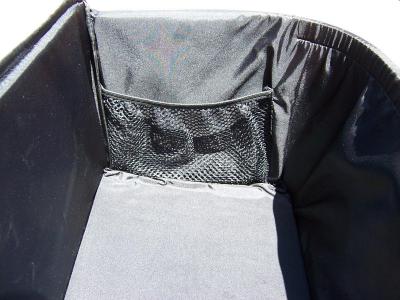
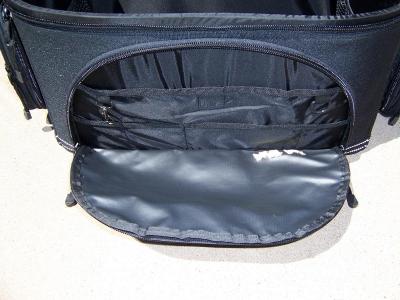 The front of the bag has a real nice place for storing maps and other items |
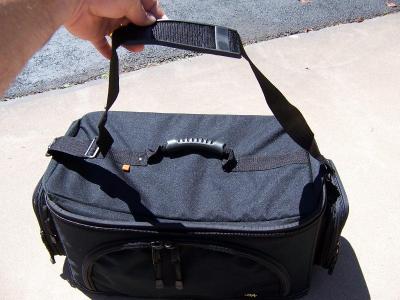 A shoulder strap is also provided with the bag. Empty bag weighs 7 lbs. |
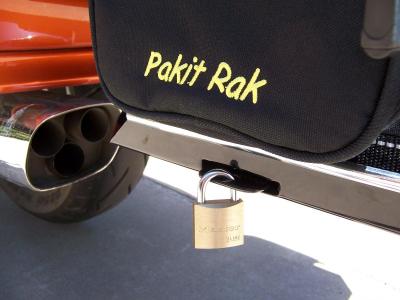
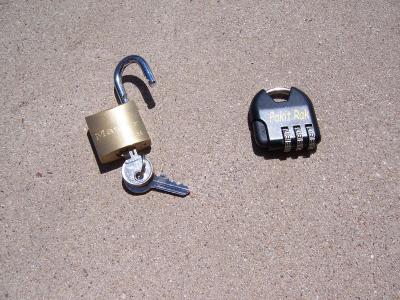 Two locks are provided for locking the bag to the rack, and locking the zippers |
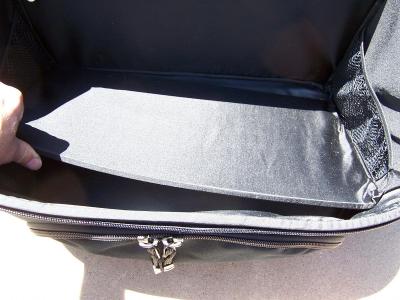 The bottom of the bag has a stiff support in it. |
 The sides of the bag also have support panels in them so the bag keeps it's shape even when empty |
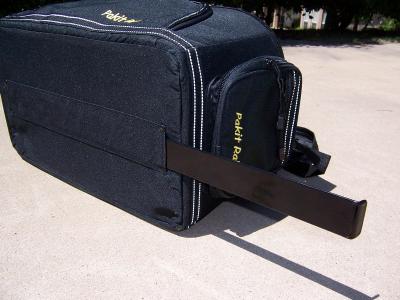 The locking bar slides into a panel in the bag to secure it to the tray |
 Sliding the bar in place |
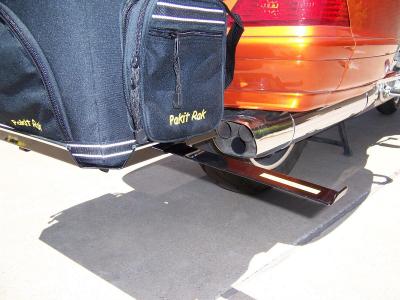
 The bar is then locked to the tray |
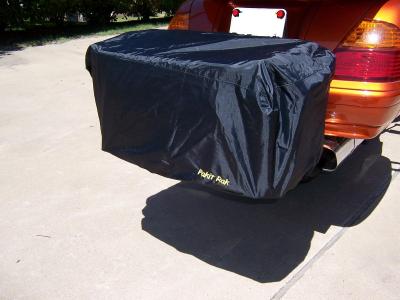 Here is the rain cover on the bag |
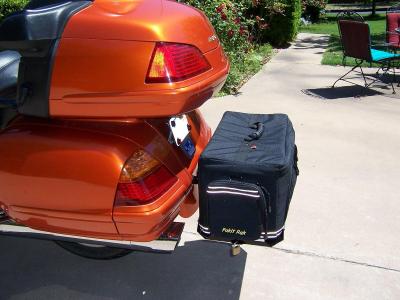
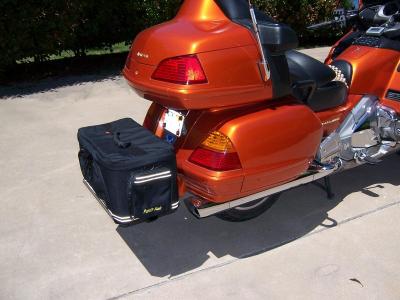 Pakit Rack installed and ready to go |
 Left side view. Total weight empty, including receiver hitch is 17 lbs. |
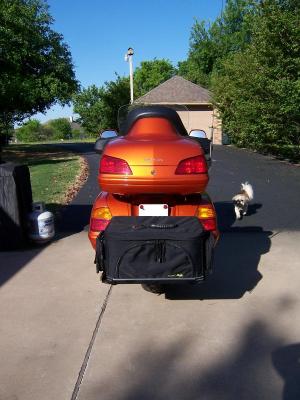 Rear view |
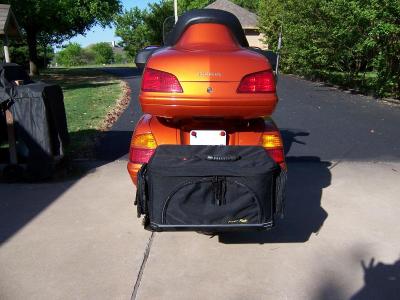 Rear view |