


|
|
|
|
|
|
| fred harmon | profile | all galleries >> Galleries >> micmutes2autocom | tree view | thumbnails | slideshow |
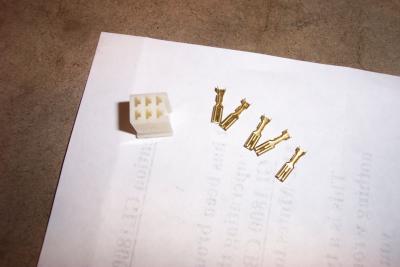 Here is the Hitachi connector and pins you will need to connect the Mic-Mutes to an Autocom |
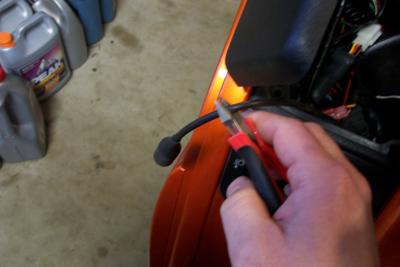 The hard part is getting up the courage to cut off your Autocom headset leads |
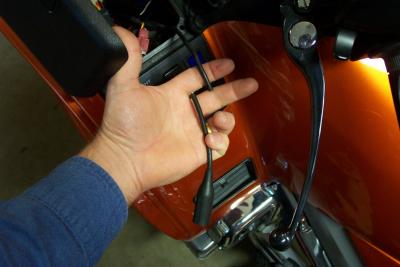 Autocom Headset lead cut. There goes my warranty. |
 GL1800 plug diagram |
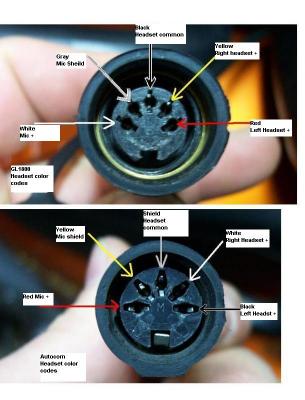 Color coding difference for the Autocom and OEM connectors. The wires have the same functions, only the color are different |
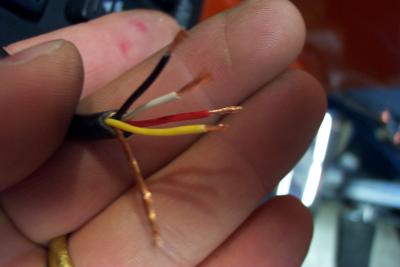 Autocom cable striped. Color codes are red, yellow, white, black and shield (4 wires and a shield) |
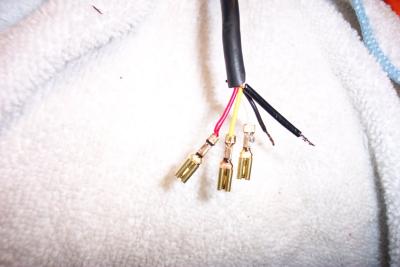 Next you have to connect the Hitachi connector pins to each wire, I also covered the shield with some black heat shrink tubing |
 Here are all the connectors attached. I soldered them in and then crimped them |
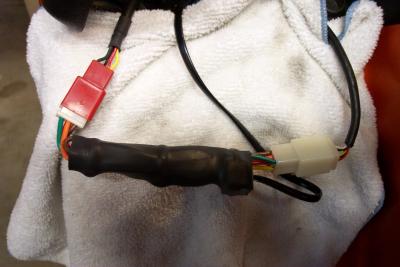
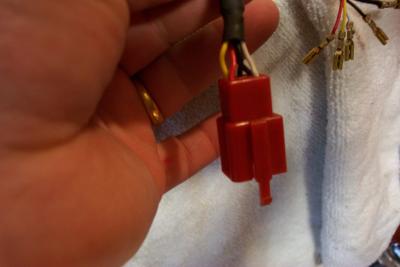 This is the Honda headset connector on the end of the riders headset cord |
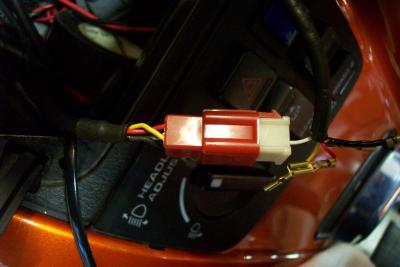
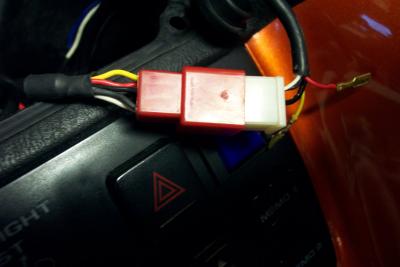
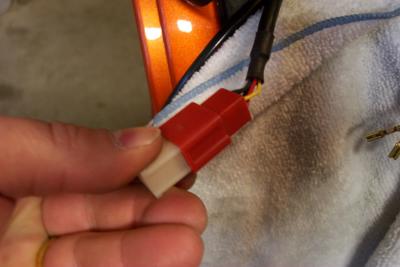 Here is how the new male WHITE Hitachi connector will plug in to the Honda OEM Red connector on the heaset lead |
 The white Autocom wire goes to the Yellow wire on the Honda connector |
 Black wire on Autocom goes to Red wire in Honda connector |
 The shield on the Autocom goes to the Black wire on the Honda connector |
 Yellow wire from Autocom goes to Shield on Honda connector and Red from Autocom goes to White on Honda connector |
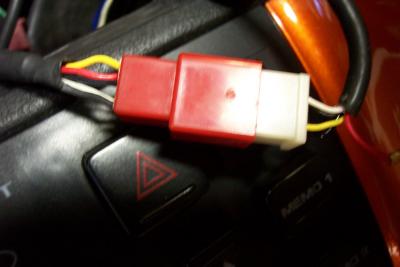
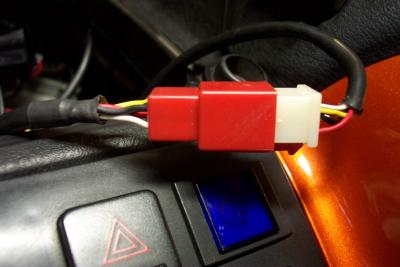 All connections finished. Now you can plug in your Autocom headset into the Honda OEM connector and make sure it works |
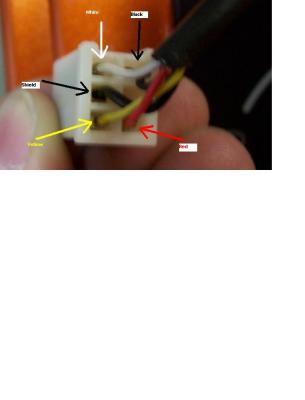 This shows the color codes of the Autocom lead going into the Hitachi connector. Do both rider and passenger |
 Mic-Mutes are installed by pluging the input side into the new Autocom connector and the output side to your OEM headset cord |