


|
|
|
|
|
|
| fred harmon | profile | all galleries >> concours14 >> gipro | tree view | thumbnails | slideshow |
 Gi Pro ATRE kit |
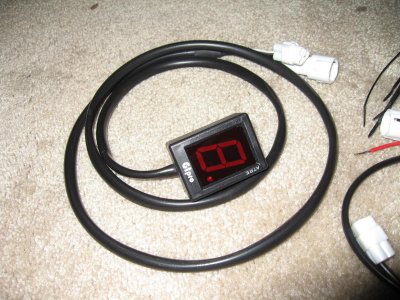 GiPro ATRE in Red |
 GiPro ATRE in Red |
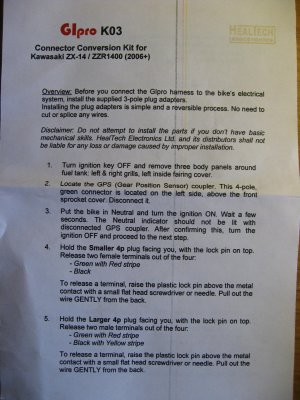 Install instructions for C14 |
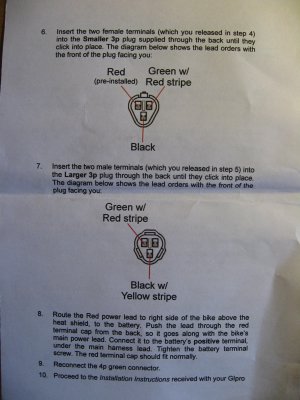 Install instructions for C14 |
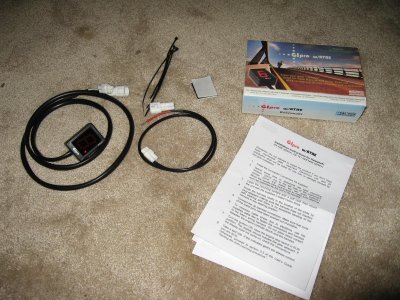
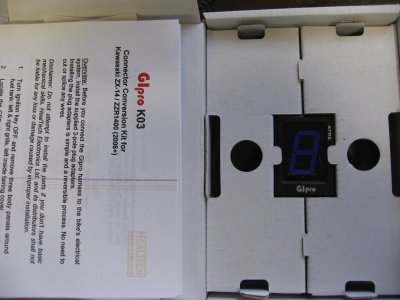 GiPro ATRE as shipped |
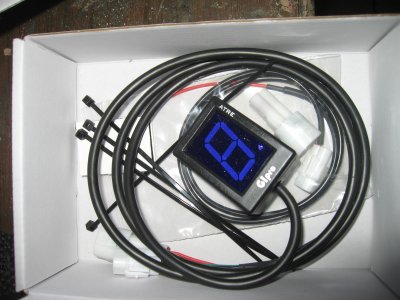 Whats in the box |
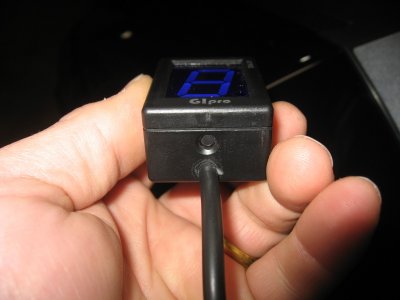 Reset button on bottom of unit |
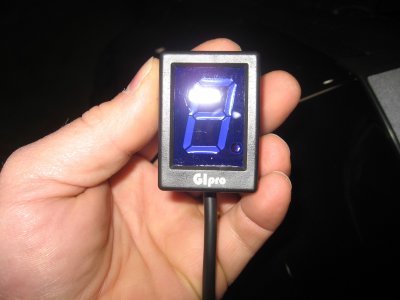 GiPro ATRE gear indicator display in blue |
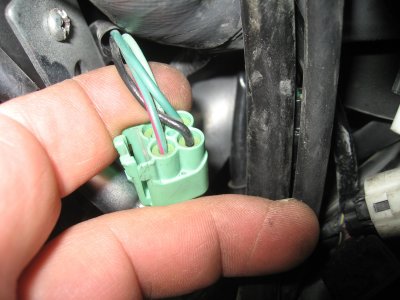
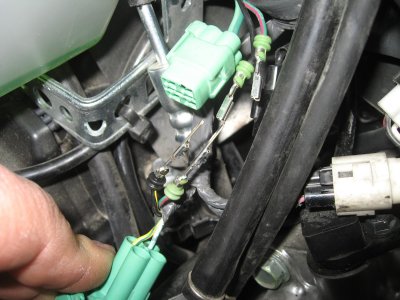
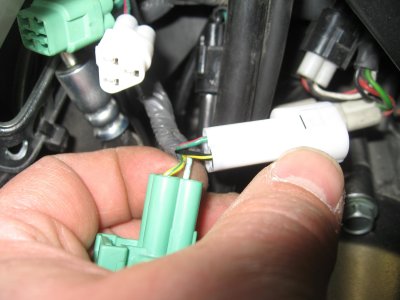
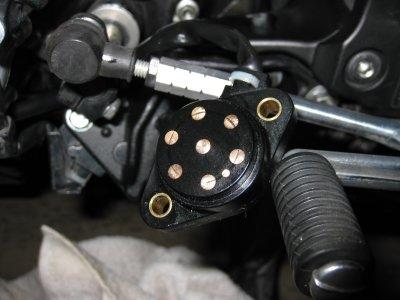
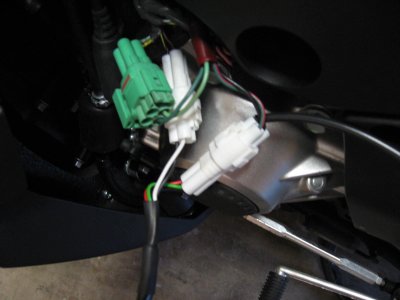 The green connector for the gear sensor is the one you need to disconnect |
 Connector for gearshift sensor |
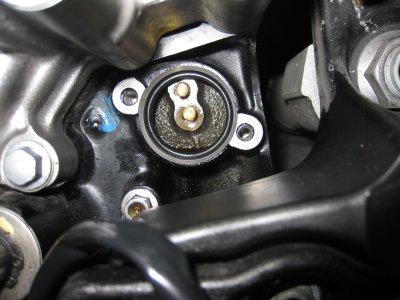
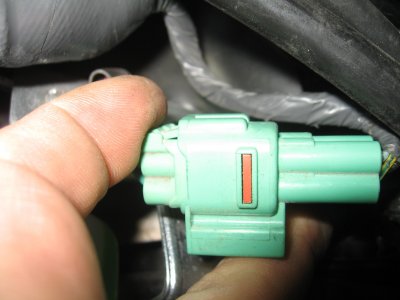 Release the connector by squeezing the tab on it and pulling the two halves apart |
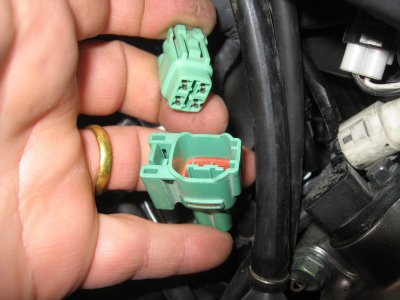 Gear sensor connector disconnected |
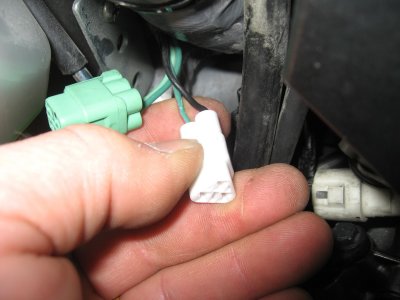
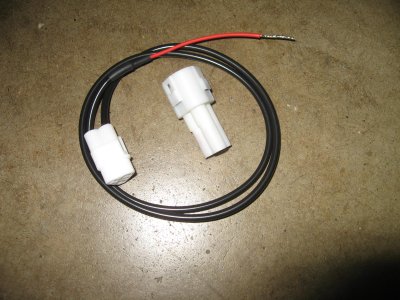 GiPro thee pin connector is supplied in the kit, with a lead to connect to power |
 Back side of OEM connector (female side) |
 Back side of OEM connector (male side) |
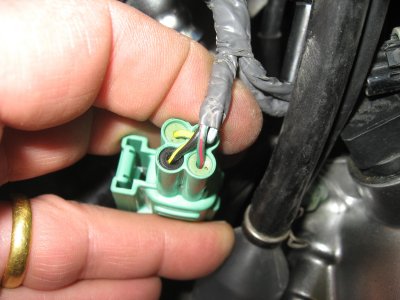
 Release the pin by lifting the tab above it with a small jewlers screwdriver, then pull the wire out the backside |
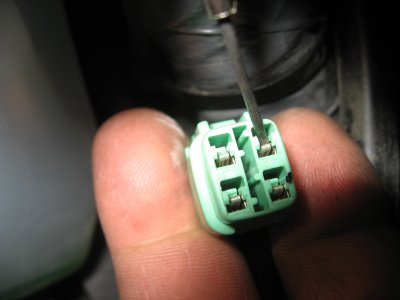 Releasing the locking tab for the connector pin |
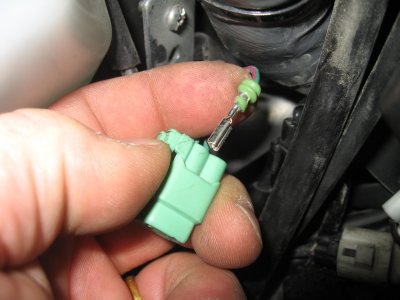 Pulling the wire out the backside of the connector |
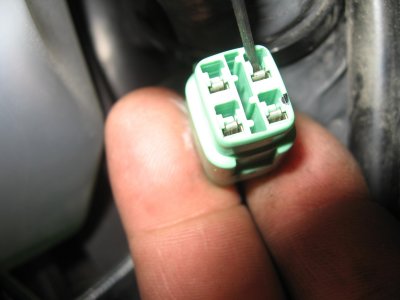
 On the male side of the connector the locking tabs are above the pins. Lift to release with jewlers screwdriver |
 Pull wires out the back once the locking tab is lifted up to release the pin |
 Once the pins are out, you insert them into the GiPro connector in the appropriate positions (see instructions) |
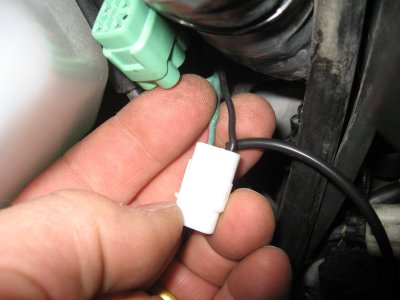
 GiPro female connector (white) with wires inserted |
 GiPro connector (white) installed |
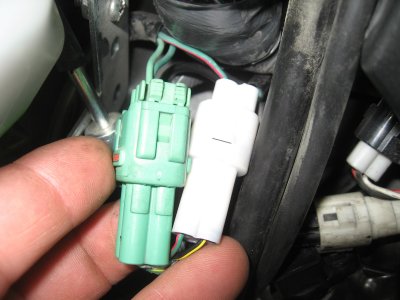 OEM connector in green and GiPro connector in white, all reconnected and ready to go. Now connect the power lead and you're done |
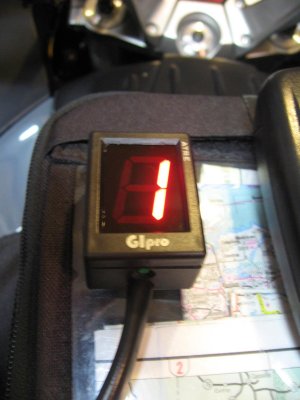
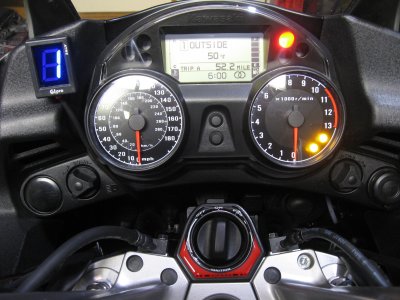 GiPro ATRE in Blue affixed to dash panel |
 GearInd.JPG |
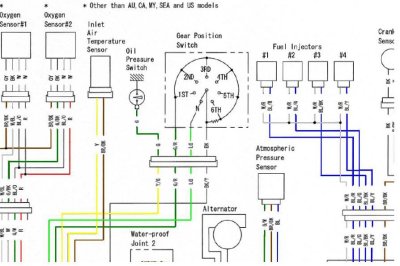
 atre_zx14_3rd.gif |
 GearSensor 002a.JPG |
 GearSensor 005a.JPG |