


|
|
|
|
|
|
| fred harmon | profile | all galleries >> Galleries >> gastank | tree view | thumbnails | slideshow |
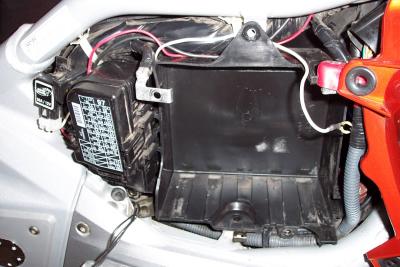 Once you have the top shelter off, remove the battery. |
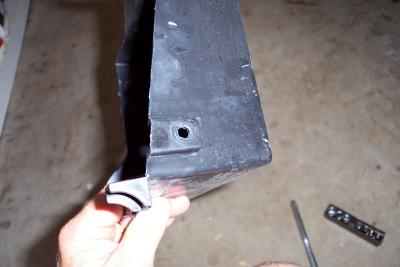 Now remove the battery box. Note the hole that the connector attaches to. |
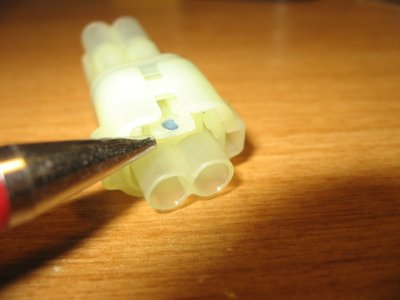
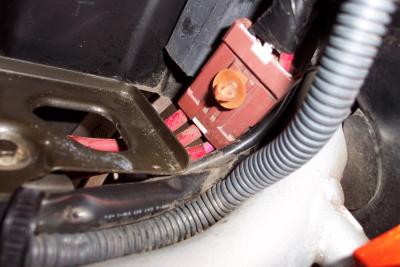 This is the connector that attaches to the battery box side. |
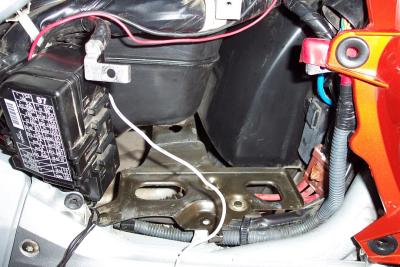 Here you can see the battery and battery box removed |
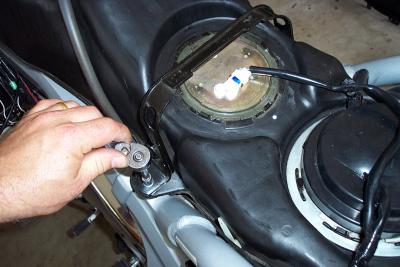 Now remove the gas tank bolts and seat clamp bar |
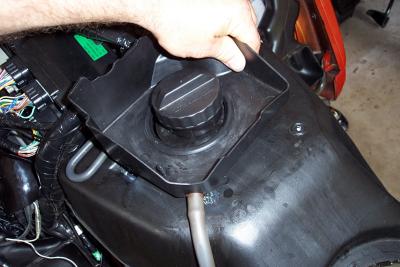 Simply lift up on the gas drain box to remove it. |
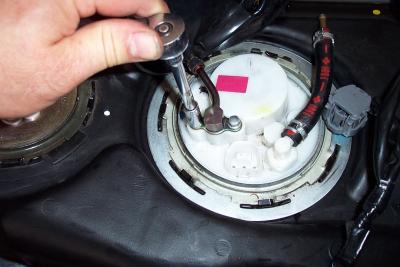
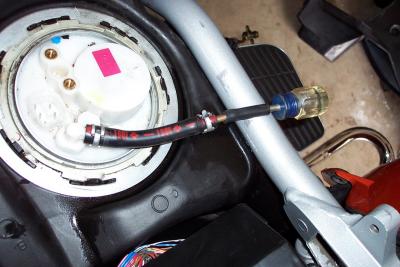
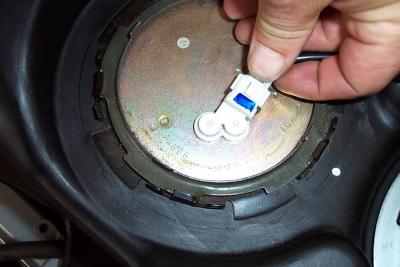 Unplug the fuel sending unit |
 unplug the fuel pump |
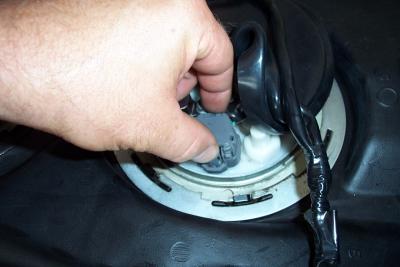
 Remove the calmp on the fuel return line |
 Seperate the fuel return line here |
 Now unbolt the fuel main hose |
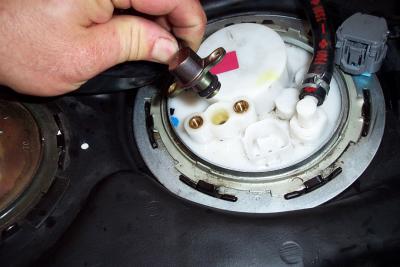 And lift out the fitting |
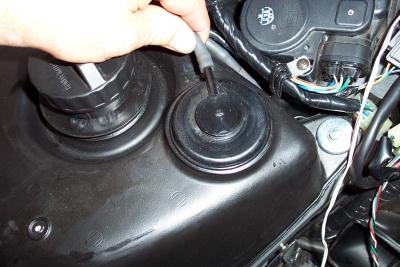 Disconnect the fuel vent line |
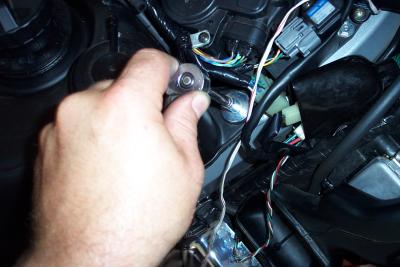 unbolt the front two bolts |
 Plug the fuel return hose coming out of the tank so gas doesn't run out when you tip up the tank |
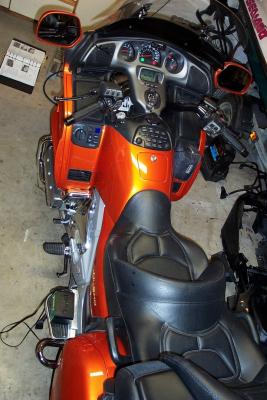
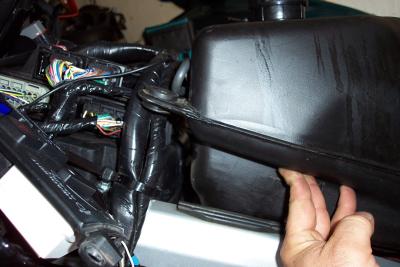 Now lift the front end up, and be careful to get the lip over the reverse control unit connector |
 Once the front is up, you can tip it to the side |
 Keep rolling right it until it is free |
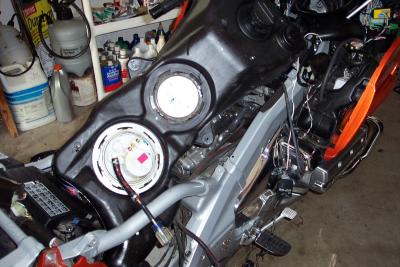
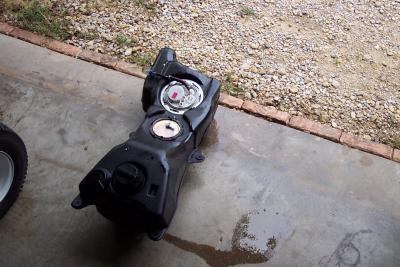 Here is the tank removed |
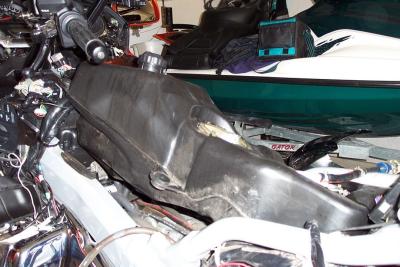
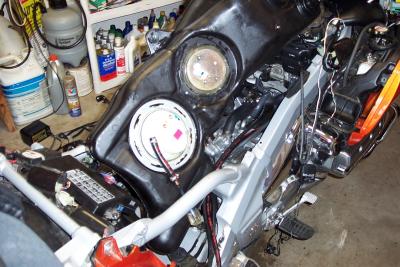
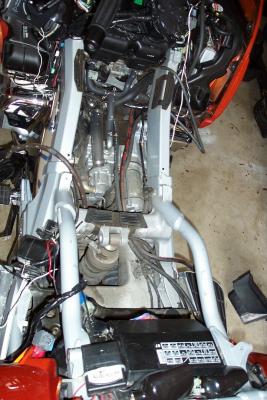 Here is the before cleaning shot of the inside of the bike with the tank out |
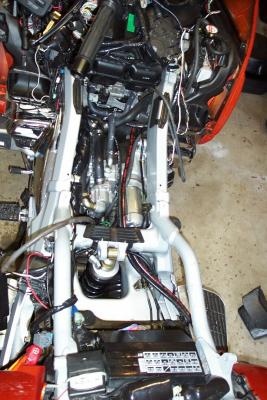 Here is what it looks like after I cleaned it. This is another reason why I do it myself. The dealer won't do this for you. |
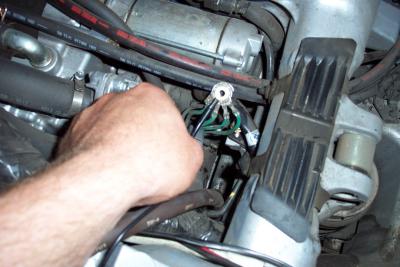
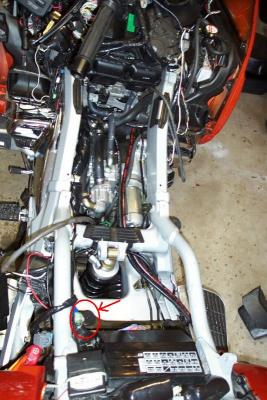
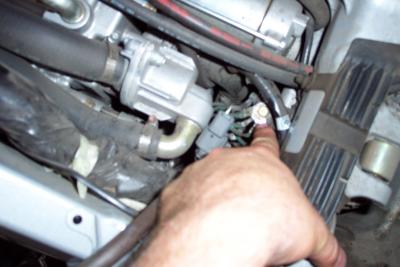 Here is the ground bolck connector that needs to be checked |
 I will add an additional ground and wire it back to the neg terminal on the battery |
 This is how I will mount the new ground |
 I also added a ground from the left head back to the battery to insure thge engine was grounded properly |
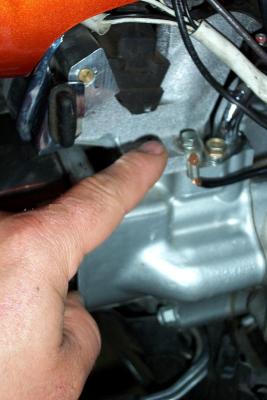
 G1 ground found under tank |
 G1 ground found under tank |
 reinstalling tank is reverse of removal |
 Reinstall the tank, battery, battery box, and top shelter and it is ready to ride. |
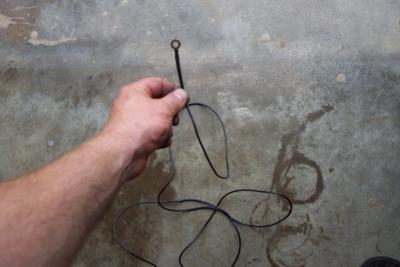
 Here I am preparing for my next Space Shuttle mission |
 Rubber Isolator for bottom of gas tank |
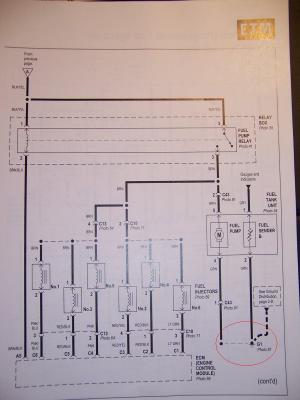
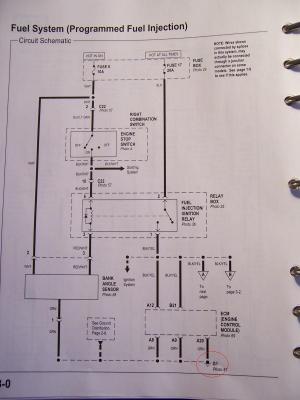
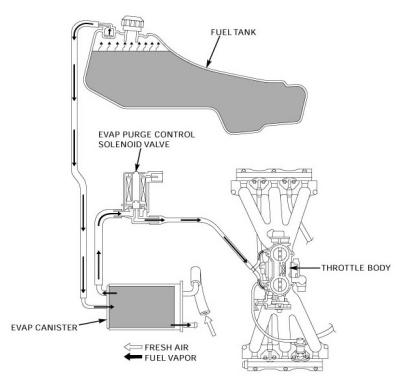 Evaporative system diagram |
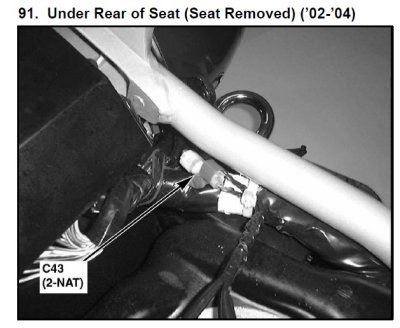 C43.jpg |
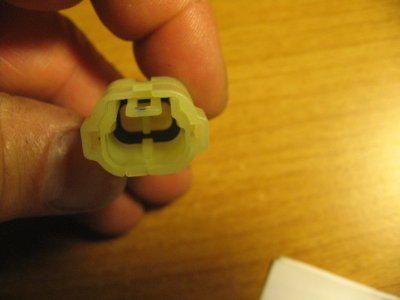 FuelPumpConnector 001.JPG |
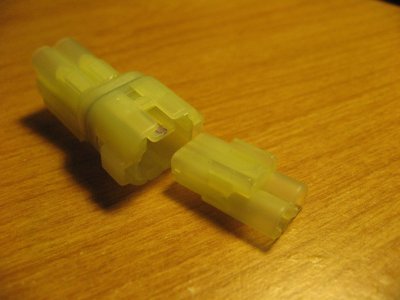 FuelPumpConnector 003.JPG |
 FuelPumpConnector 005.JPG |
 GasTankCollar.jpg |