


|
|
|
|
|
|
| fred harmon | profile | all galleries >> Galleries >> fuelpressure | tree view | thumbnails | slideshow |
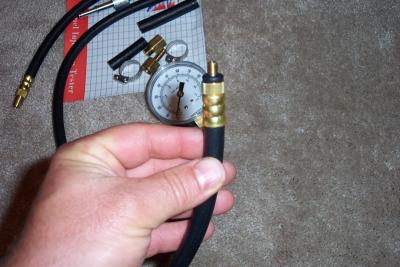
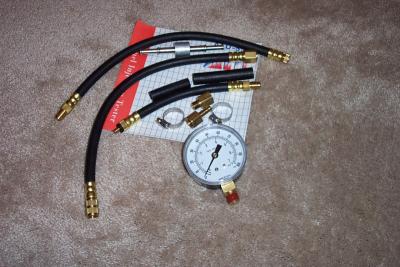 Here is the gauge I bought from ToolDesk.com (model ATD-5567) |
 The kit contains the proper adapter for the bikes test port on the fuel rail |
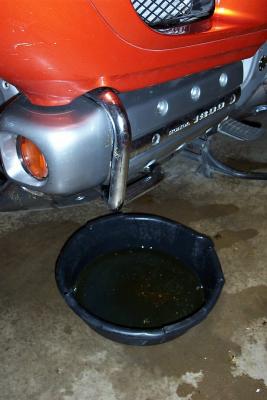 First make sure to have a catch pan. You're gonna need it. |
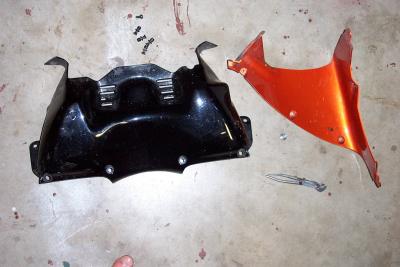 Remove the inner left side panel and the black air dam |
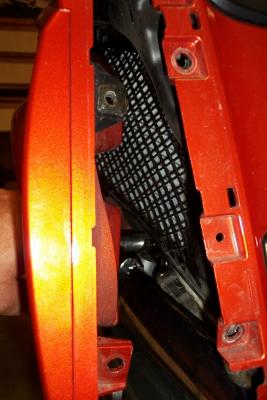
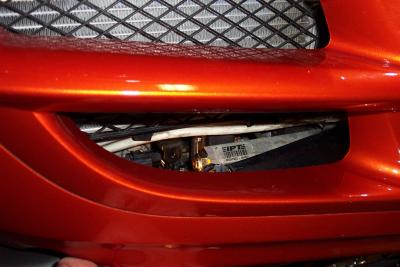
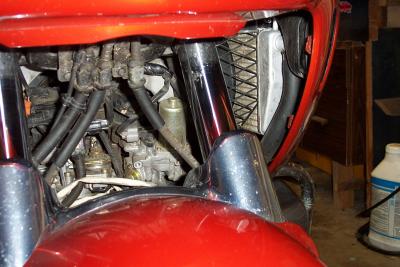 Here is a look at the front end with the air dam and left inner panel removed |
 Take out the bolt that goes under the left mirror for the fairing upper |
 Remove the bolts for the top shelter on the left side only |
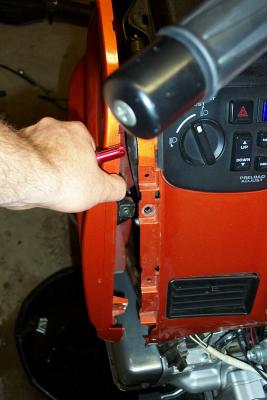
 Now with everything loose, you should be able to flex the panel enough to get to the port |
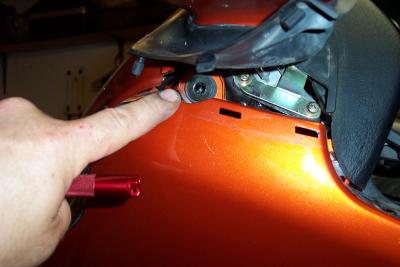
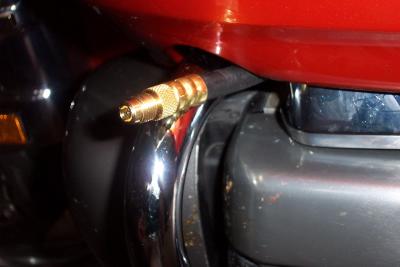
 Here is a look at the port. The chrome rail cover is pushed out of the way. I removed only the front allen screw on it. |
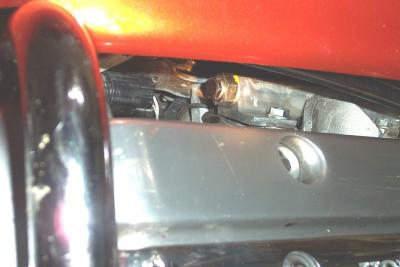 Here is a look at the port from another angle |
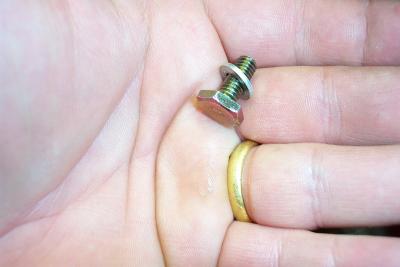 Here is the plug after it is removed. Be prepared for gas to flow freely once it is out. |
 Now you need to quickly get this adapter threaded in. Be prepared to get gas all over yourself and anyone near you |
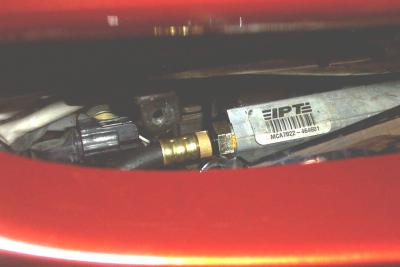 Once theaded in, just screw it finger tight. You can tighten it just by twisting the hose. |
 Here is the other end of the adapter hose. The gauge comes with another hose that screws onto the schrader valve |
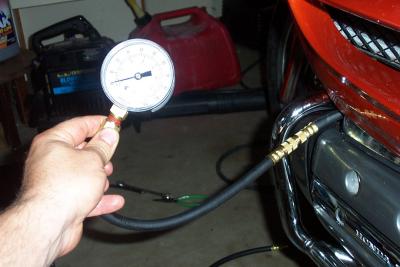 All set up and ready to test |
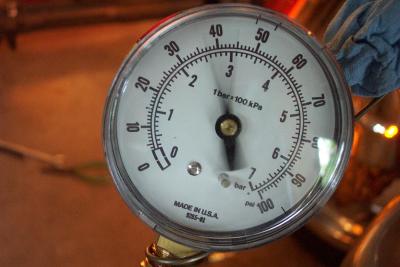
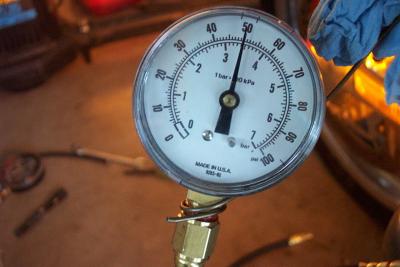 When ignition is first powered on you will see the rail pressurize to about 50psi with the engine off. |
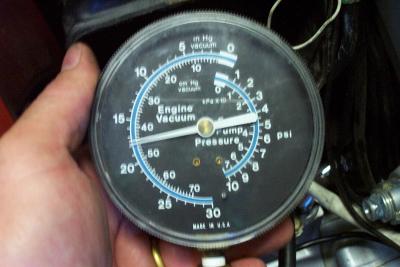
 At idle, the gauge bounced due to vacuum pressure oscillations |
 As I brought it up just off idle it started to settle out |
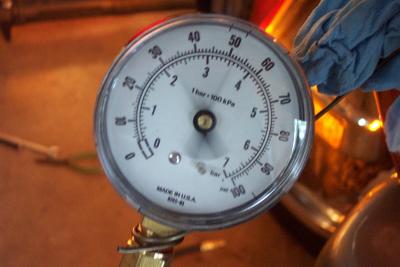
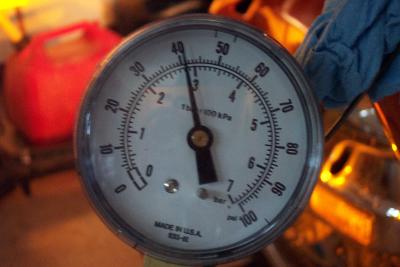 Once off idle, it settled at around 41psi (at about 2K rpm) |
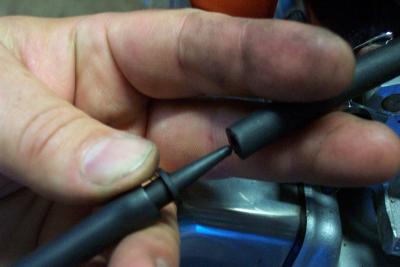
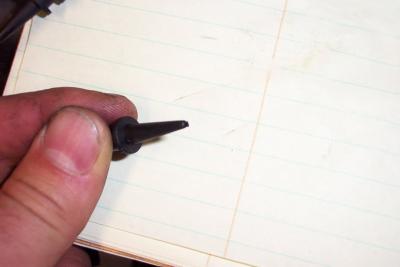 Here is a small adapter that comes with the Mity Vac kit. I used it to make a restrictor for the vacuum line |
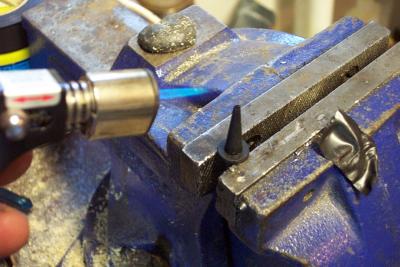 The opening in the end was a bit too large, so I heated (melted) it and closed it |
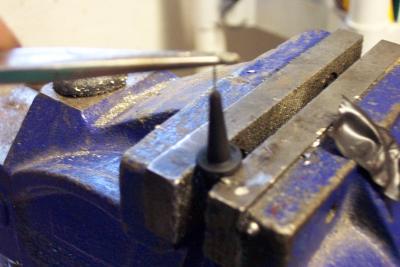 I then poked about 4 or 5 holes in the end with a needle |
 Then I inserted it into the vacuum line and re-checked the vacuum and fuel pressures |
 Here is the restrictor installed in the vacuum line |
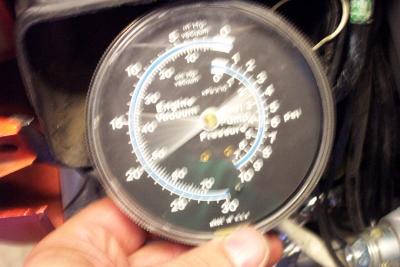 Here is what my vacuum looked like at idle before the restrictor was installed |
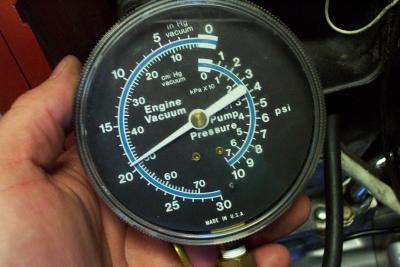 Here is my vacuum at idle after the restrictor was installed |
 As the engine warmed the vacuum dropped a bit, but held steady |
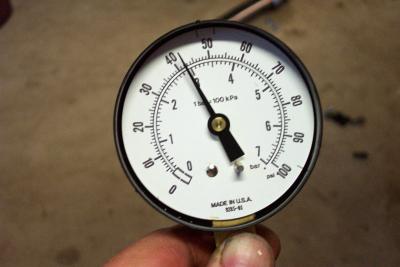 Here is my fuel pressure at idle after I installed the restrictor |
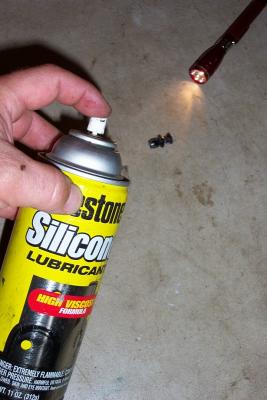 Here is a tip to get those plastic rivets back in. Spray them with silicone spray before installation, a flashlight also helps. |