


|
|
|
|
|
|
| fred harmon | profile | all galleries >> Galleries >> Fork Oil change on a 2002 GL1800 | tree view | thumbnails | slideshow |
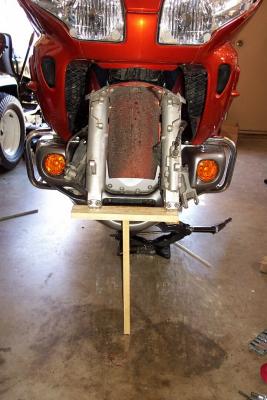
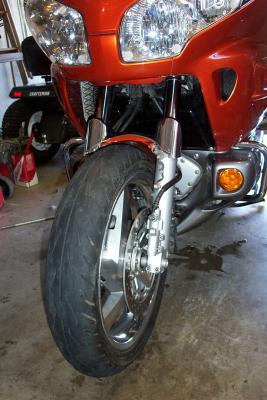
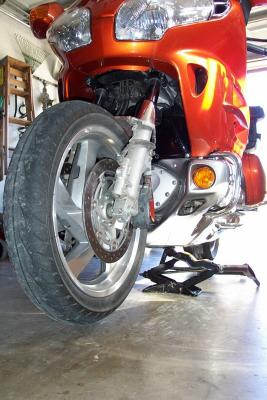 Bike jacked and front fender and caliper covers removed |
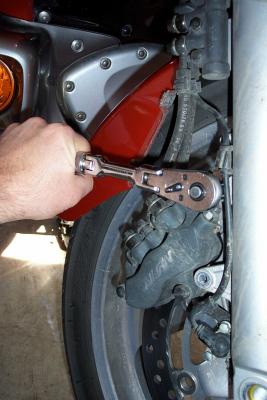
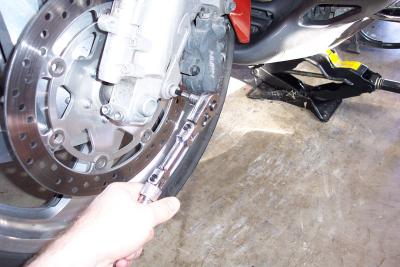 Removing the lower left brake caliper bolt with an allen socket bit |
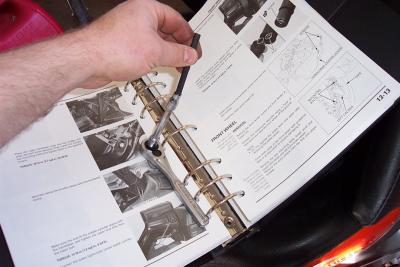
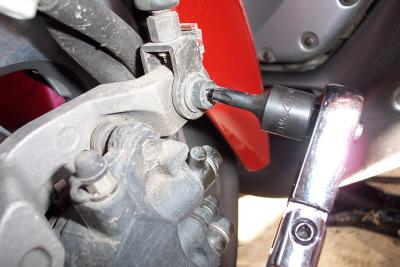 You need a torx bit to remove the upper bolt on the left brake caliper |
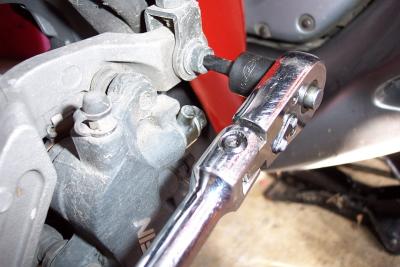 Torx socket used to remove left caliper. |
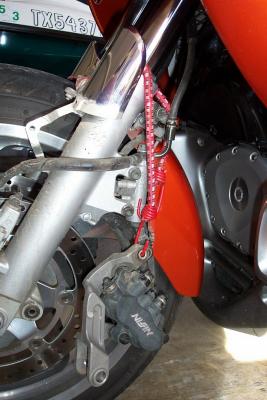 I used a bungee to tie support the caliper once removed. |
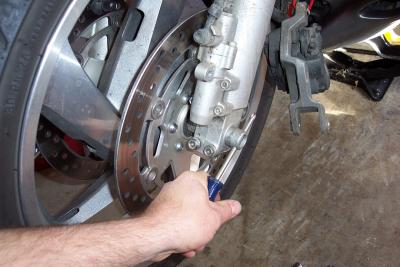
 Removing right caliper with 12mm socket. |
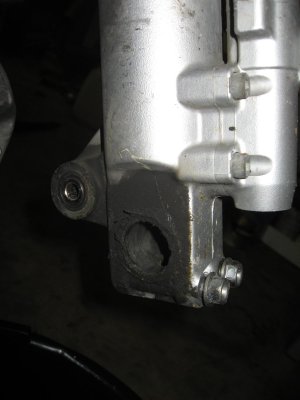
 Removing the axle bolt. |
 Loosening axle clamp bolts. Notice caliper is supported with bungee to reduce stress on brake lines. |
 Remove the axle, then just roll the wheel out. |
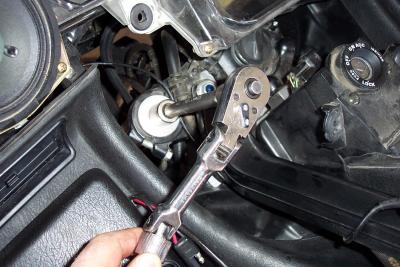
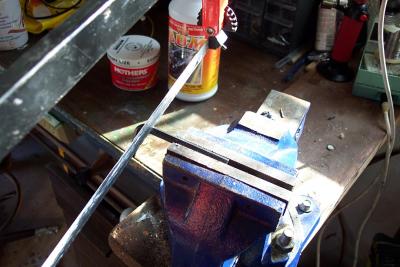 a 6mm allen wrench is sacrificed. I cut it so it was long enough to reach the bottom bolt through the bottom of the fork leg. |
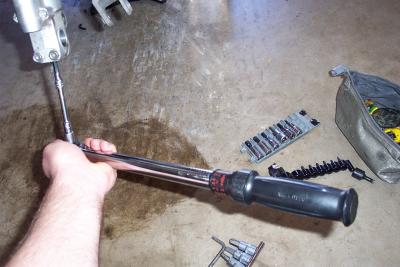
 I then put the allen into a 6m socket and ratchet to hold it. |
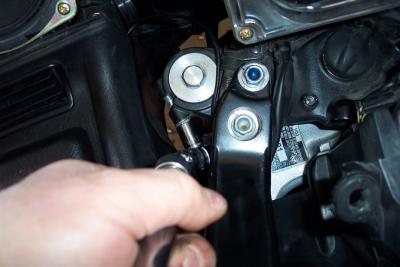
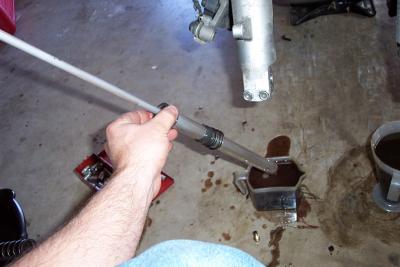
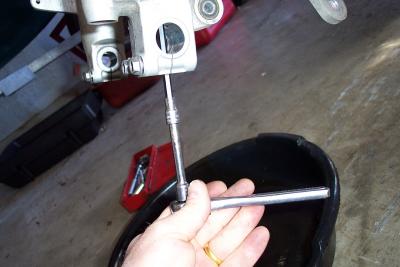 Now I use my newly made tool to remove the bottom bolts. |
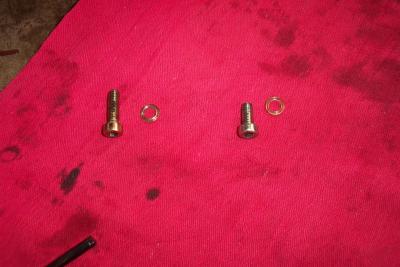 bottom bolts and copper sealing washers. |
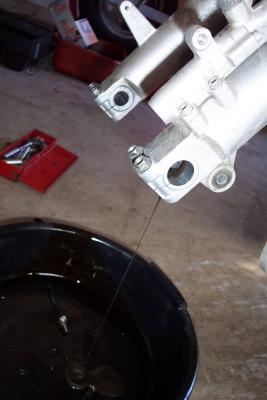 and out comes the oil |
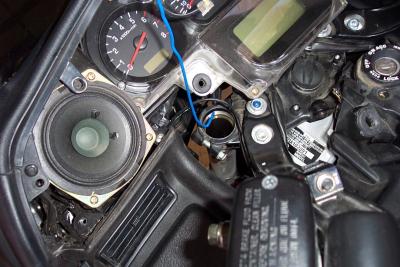
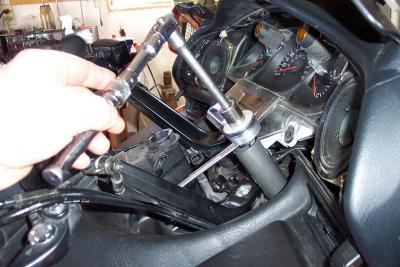
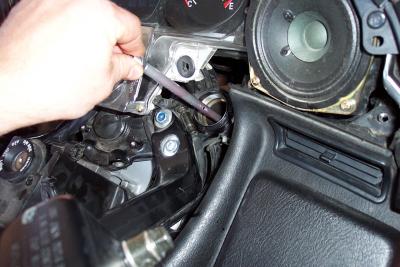
 Here I loosen the left top triple tree clamp. |
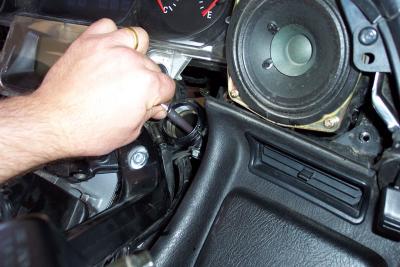
 Next I remove the left top cap. |
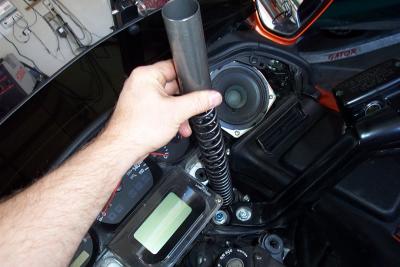
 After pulling out the spacer, I fished the spring and washer out with a plastic coated coat hanger. |
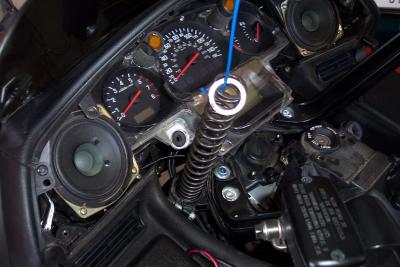 Spring and washer are removed. |
 Right side fork cap removed and locknut underneath loosened with a 14mm open end wrench |
 spacer, washer and spring come out. Be carefull not to drop the washer down the Honda Hole. |
 Right side damper assy simply lifts out. You do not need to remove the left damper, as it doesn't retain fluid anyway. |
 Here I have removed the right damper and am pumping all the old oil out of it. Notice oil drained into measurment containers. |
 Re-install damper rod once fully drained, and with springs still removed, reinstall and tourque bottom bolts. |
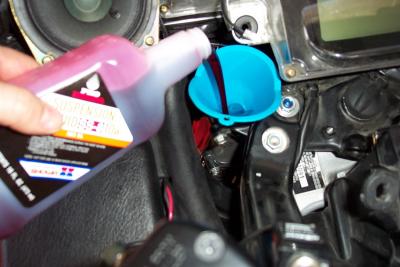 Pour in new SS-8 10w Honda (Showa) fork oil. 529 cc's left, 485 cc's right. I purposley overfilled and then removed the excees. |
 First pump both fork legs a dozen or so times to get all the air out, then support them fully compressed. |
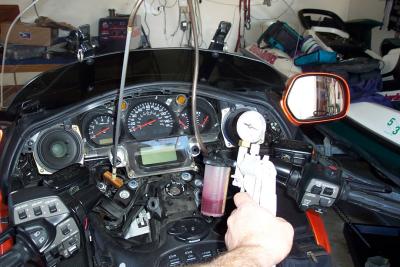
 now pump the right damper rod several times to bleed and re-fill the damper with the new oil. |
 Continue to pump the rod until you are sure you have all the air out. |
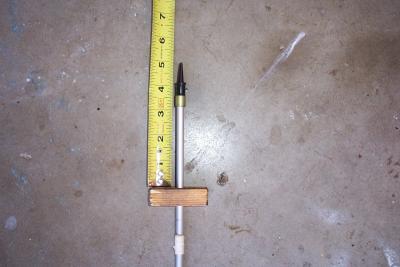 Mity Vac tool set to 5 inches (128mm) per the manual |
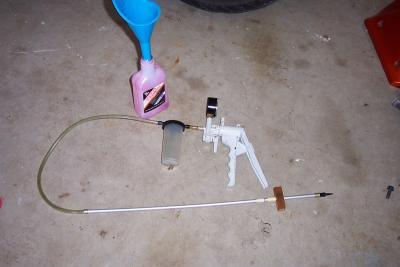 Mity Vac tool with homemade alluminum rod and rubber tip and stop block used to set fork oil level |
 With forks compressed, and springs removed insert the rod to the stop block and draw out the excess oil. Now it is set perfecly. |
 Reinstall the springs, washers, and spacers and top caps and front wheel. Your done! |
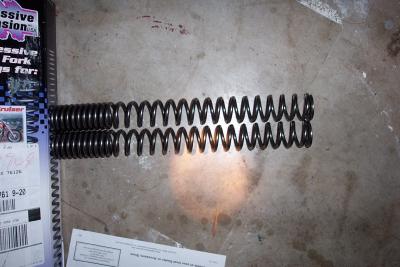 Progressive Springs. Notice I got a set that is not matched in length. |
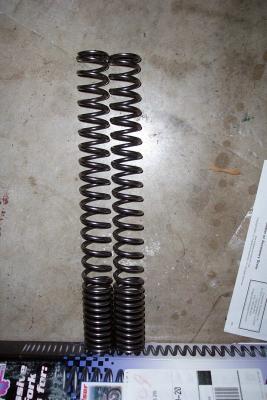 Here is another angle look at them |
 Here is a photo of my last moonshot |
 LeftForkLeak.JPG |
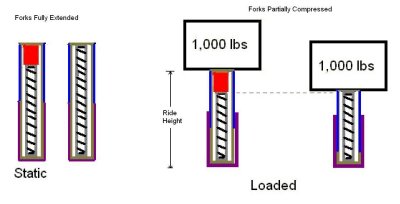
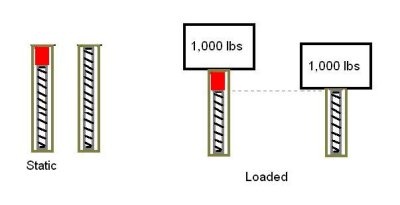 preload.JPG |
 preload2.JPG |
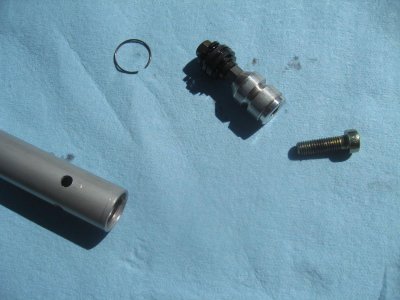 BottomValve 001.jpg |
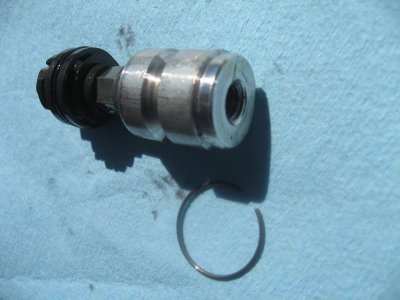 BottomValve 002.jpg |
 BottomValve 003.jpg |
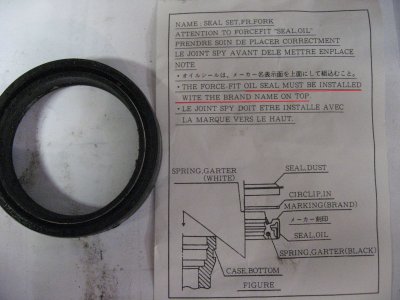 GL1800ForkSeal 001.JPG |
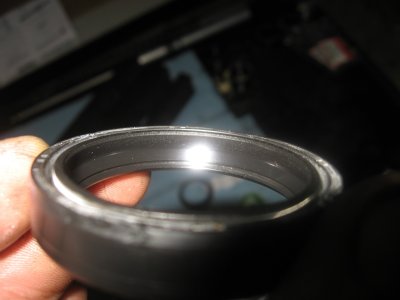 OldForkSeal.jpg |
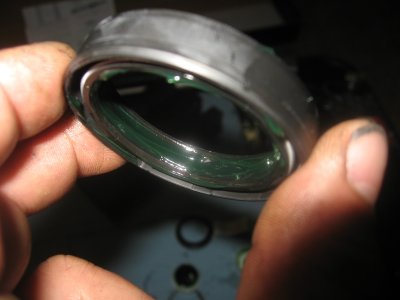 ForkSealGrease.jpg |
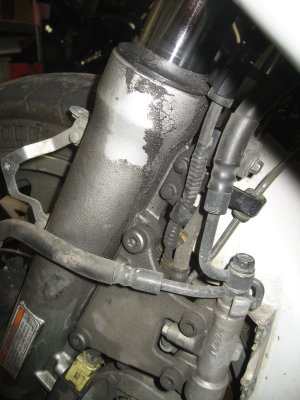 LeftForkSealLeak.jpg |