


|
|
|
|
|
|
| fred harmon | profile | all galleries >> Galleries >> Electric Windbender actuator system | tree view | thumbnails | slideshow |
| previous page | pages 1 2 ALL | next page |
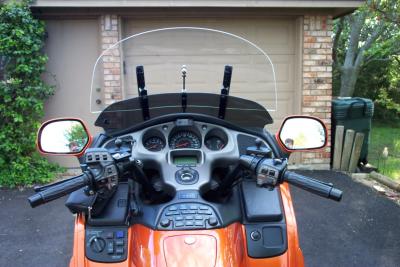 Windsheild in up position. System provides three inches total travel |
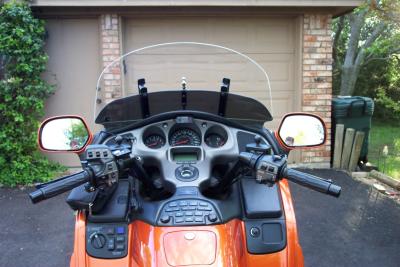 Windsheild in down position |
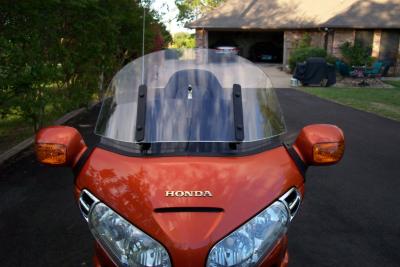 Windsheild in down position |
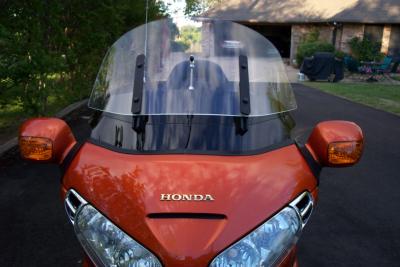 Windsheild in up position |
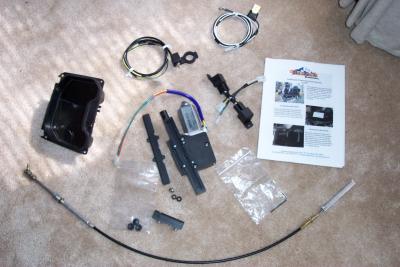 Here is the contents of the actuator kit |
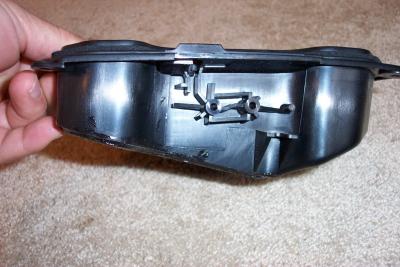
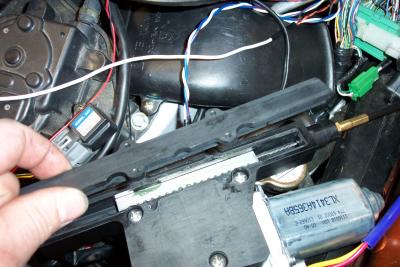
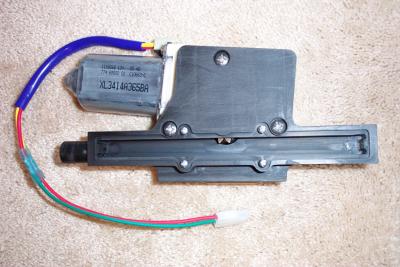 This is a look at the underside of the actuator motor and drive |
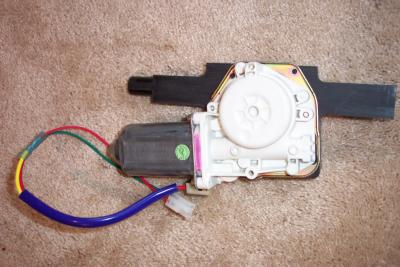 Here is the other side of the actuator |
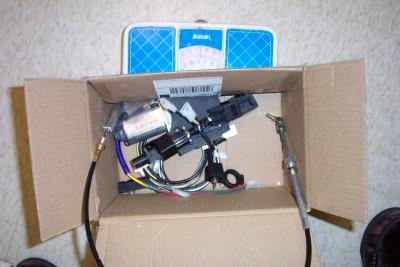 I weighed the entire contents at just under 4 pounds |
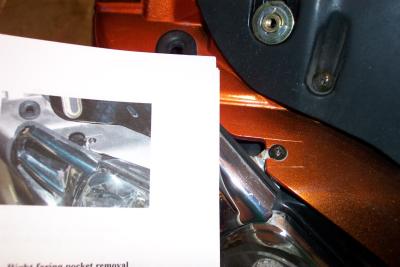
 The new right side pocket looses some space |
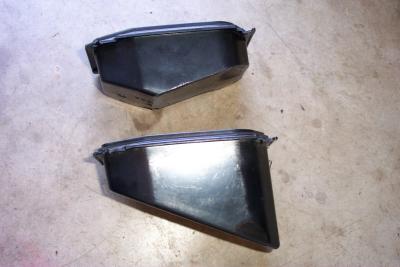 New pocket and old pocket side by side |
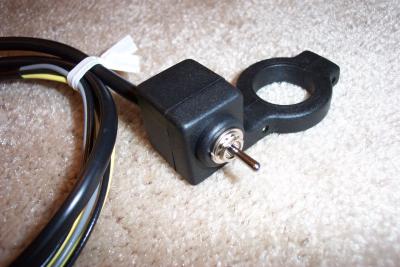 Controller switch mounts on handlebar |
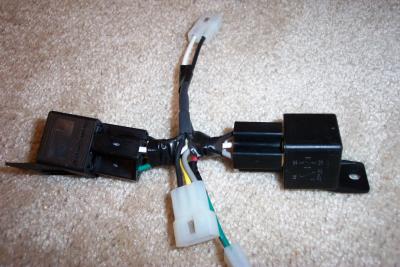 Relay harness has quality connectors on it so it all just plugs together |
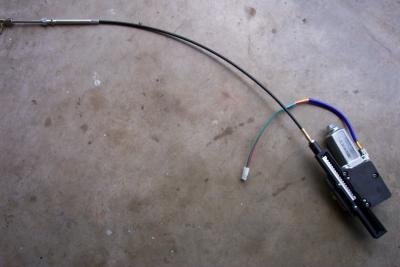
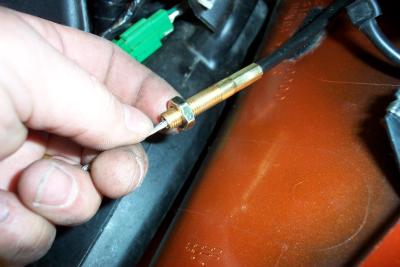
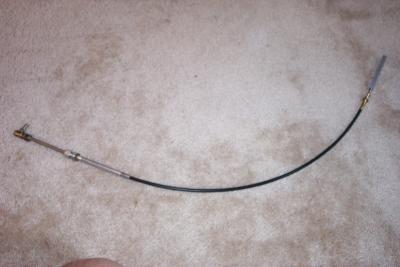 Actuator cable |
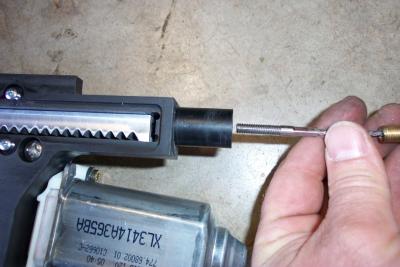
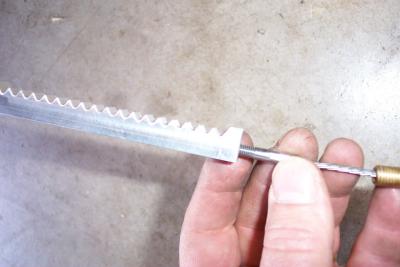 Rack drive simply screws onto the end of the cable |
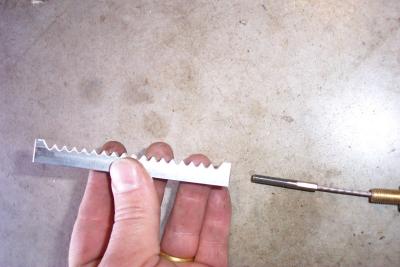 Rack drive unscrewd from cable end |
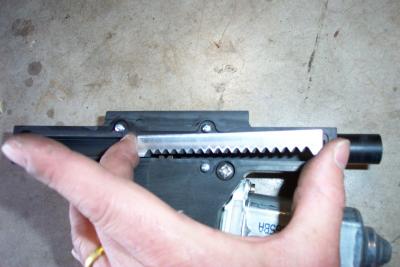 Rack is inserted into the actuator |
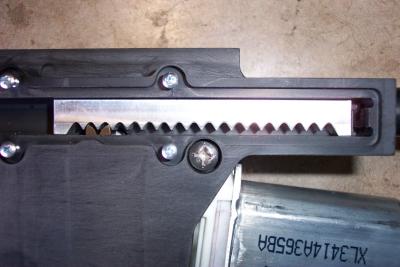 It should be inserted at the mid point of travel |
 The cable end then is screwed into the end |
 Rack attached to cable end |
 Assembled actuator |
 Preparing to enlarge hole for cable |
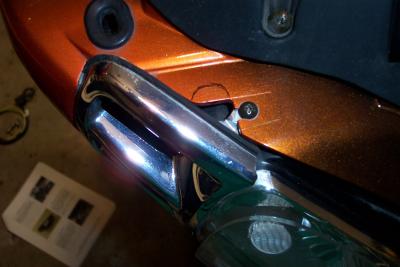 Hole size marked |
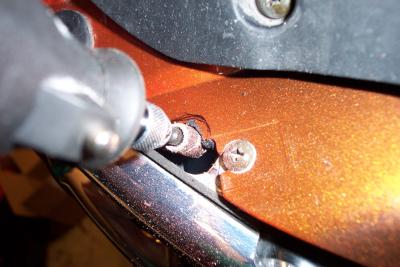 A dremel tool makes short work of the plastic |
 The cable then is threaded down into this newly made hole |
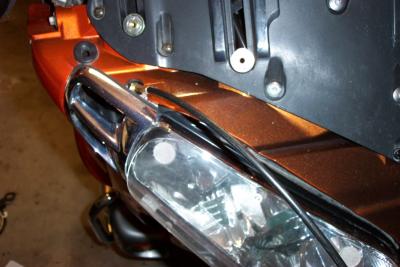
 Cable pushed through |
 Replace the lock nut after you thread the cable into place |
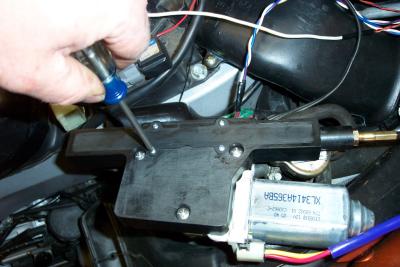
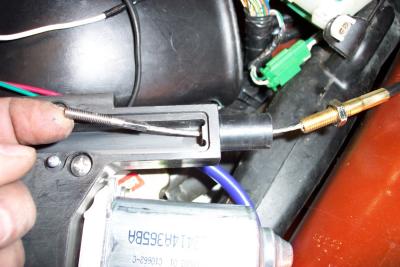 Next, thread the cable end into the actuator housing |
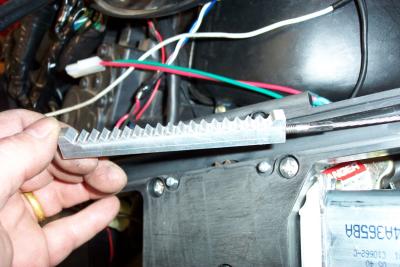 Now screw on the rack drive |
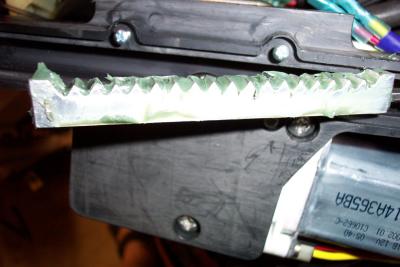 Liberally grease the gears and rack |
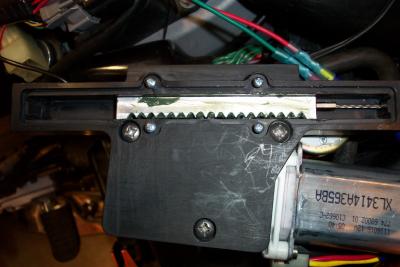 Insert it at the mid point of travel |
 Install the cover for the drive |
 Screw the cover into place |
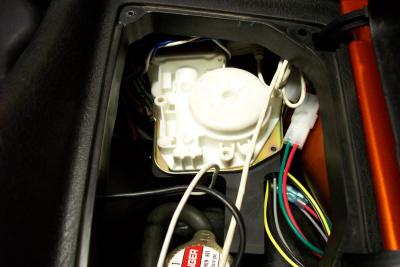
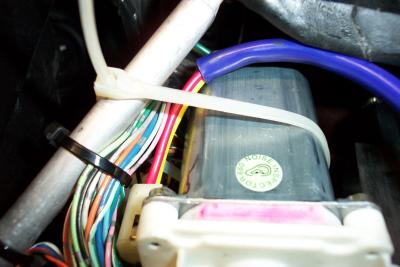 I used a zip tie to loosly hold the motor to the fairing support |
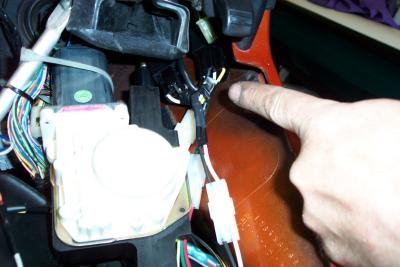 I pushed the relays up into the space between the fairing and the actuator on the right side |
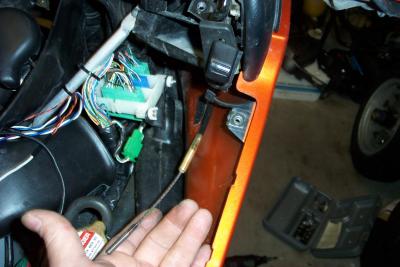
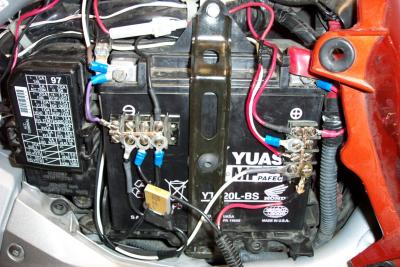 Electrical connections are made directly to the battery (black and white wires) |
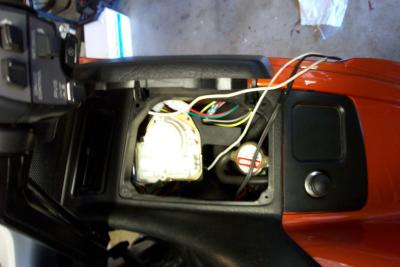 Actuator in place. The extra wires hanging out are for my Ipod, and have nothing to do with the actuator |
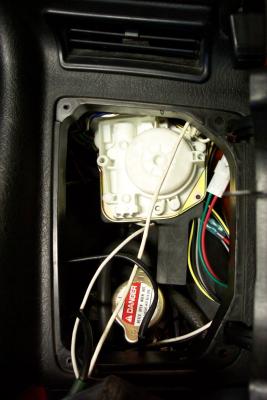 Actuator positioned under pocket |
 Actuator positioned under pocket |
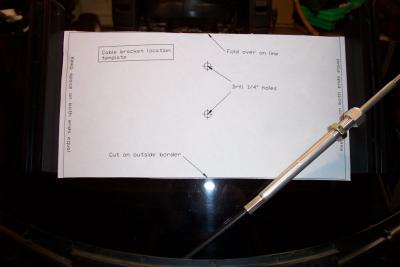 Cut out the template for the windshield |
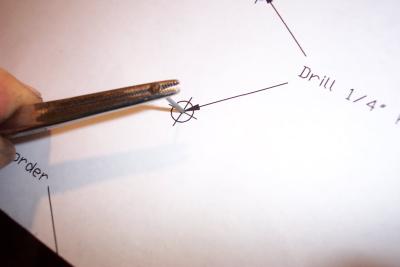 I used a hot nail to mark the spot where I wanted to drill |
| previous page | pages 1 2 ALL | next page |