


|
|
|
|
|
|
| fred harmon | profile | all galleries >> Galleries >> coolant | tree view | thumbnails | slideshow |
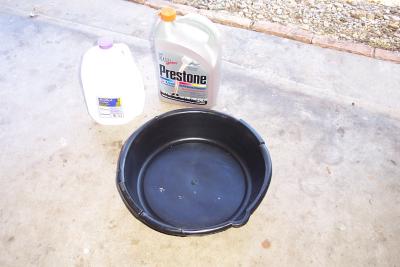 New antifreeze, distilled water, and clean drain pan at the ready |
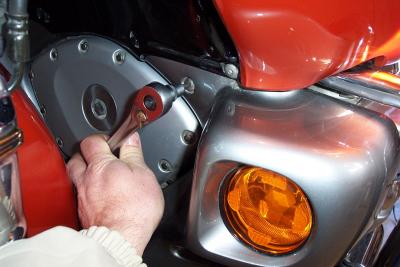 Remove the allen screw on both sides of the lower cowl |
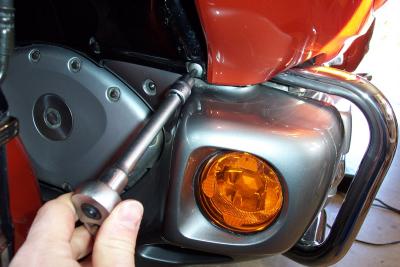 Remove the allen screw on the upper portion of the lower cowl, both sides |
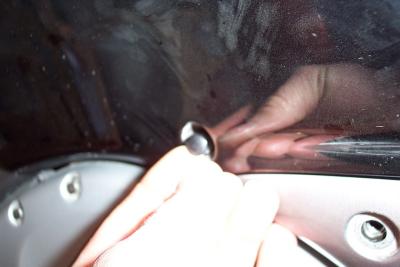 Pull out both plastic pop rivets |
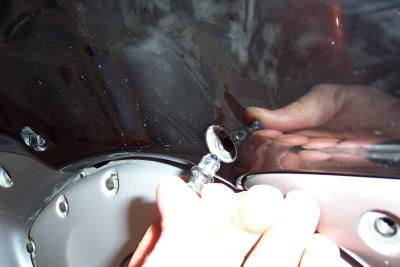 Pop rivet pulled free |
 Remove the lower allen screws, on both sides |
 Pull the black plastic portion forward to allow the lower cowl to slip out |
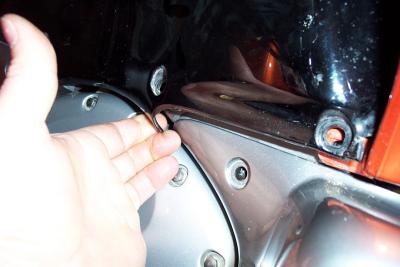
 Carefully pull the tab out from under the fairng side panel. The plastic will give enough to allow you to flew it some |
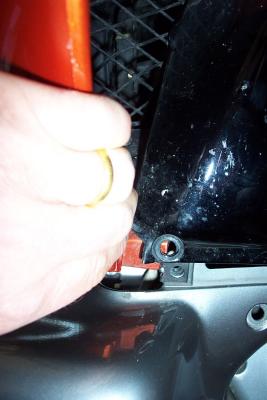 By grasping the side of the fairing side panel, you can pull it out just enough to free the tab for the lower cowl |
 Here you can see the lower cowl pulled free from the black plastic upper cover |
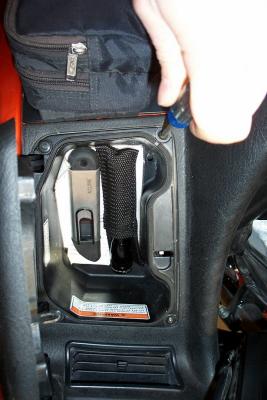 Now you need to remove the right fairing pocket. |
 Disconnect the lock cable |
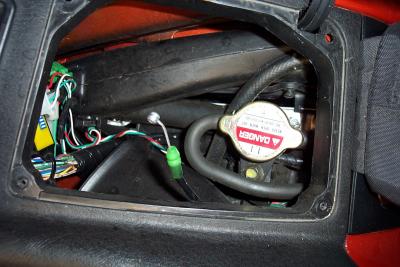 Now you can access the radiator cap |
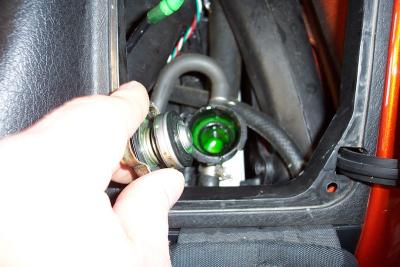 Take the cap off so the fluid can drain |
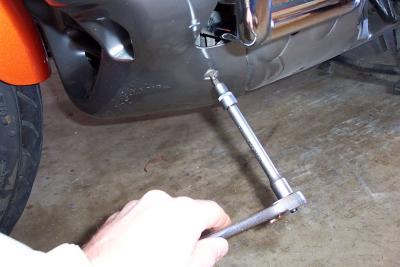
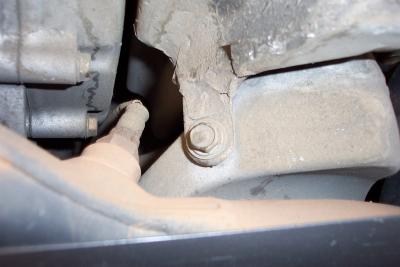
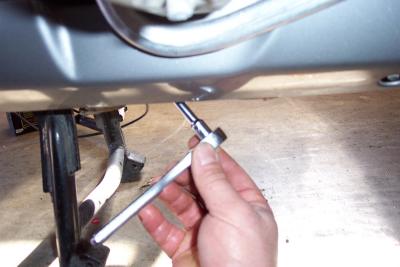
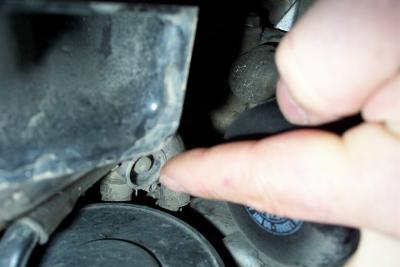 Here is the drain plug. It is a 8mm bolt inside the round port. |
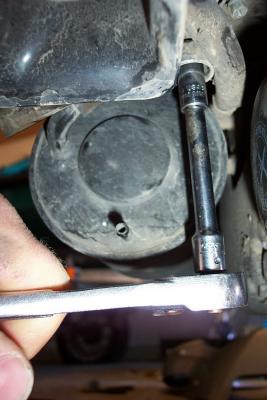 Simply unbolt it with a 8mm socket |
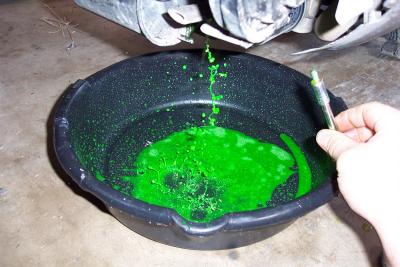 And out comes the fluid |
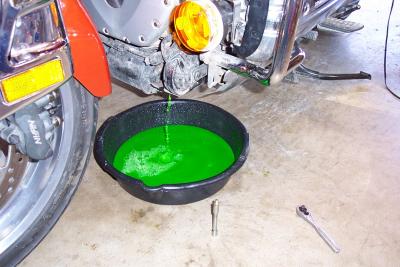 It may take as much as 15 minutes to fully drain, as it trickles out pretty slow. |
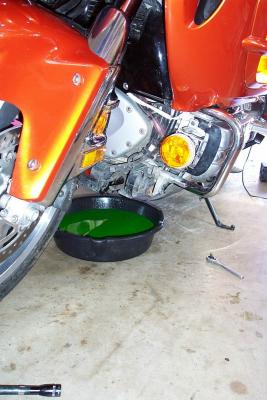 Once you have it all out, put the bike on the side stand and you should be able to get some more. |
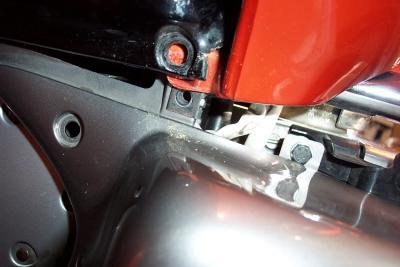
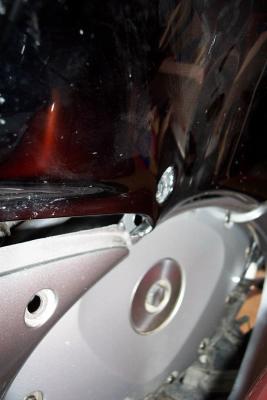
 Here is a look at the bolt that hold the overflow reservoir in place |
 Remove the bolt. |
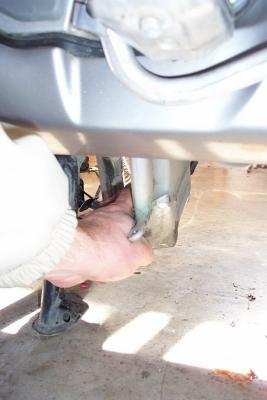 And pull down and to the right on the reservoir to remove |
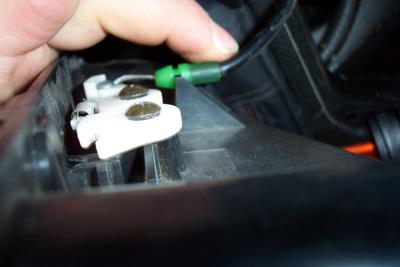
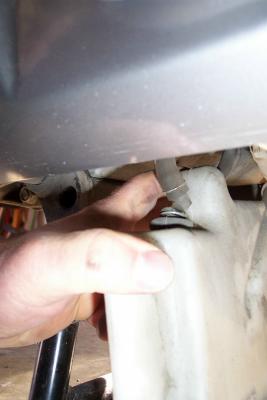 Disconnect the two hoses on the top of the reservoir |
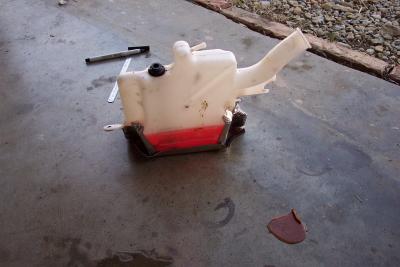
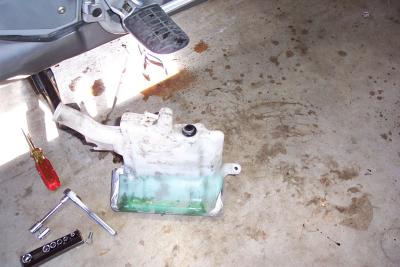 Here is the grimy reservoir after it is free. Drain, clean, and refill it before you reinstall it. |
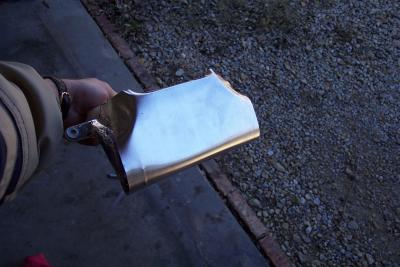
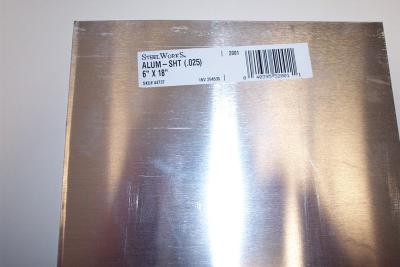 Here is a sheet of alluminum I bought at Lowes for $5 to make a shield out of for the reservoir bottom. |
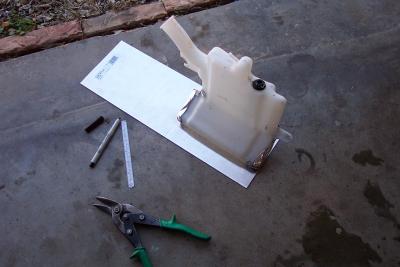 Size and cut the sheild to fit |
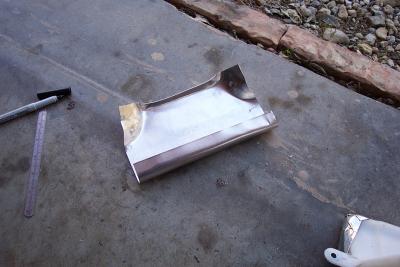 I bent it so that it would hold onto the reservoir |
 From the side, you can see the sheild bent around the reservoir. |
 Here is a look at the bottom |
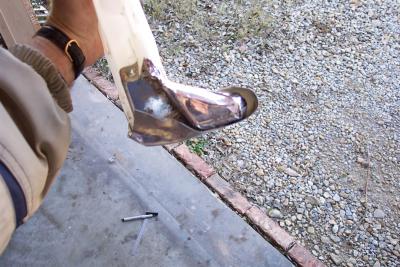
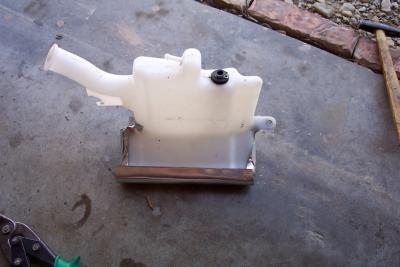 Sheild installed |
 And refilled with new coolant |
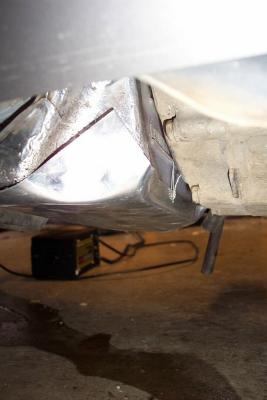 I used a bit of safety wire to hold the fron edge of the sheild in place. The wire runs up around the top of the reservoir |
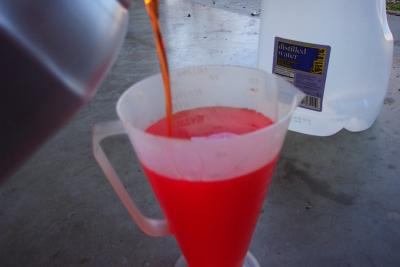 Here is my foolproof way of mixing antifreeze. Use a graduated flask and fill to a set point (500 cc's is used here) |
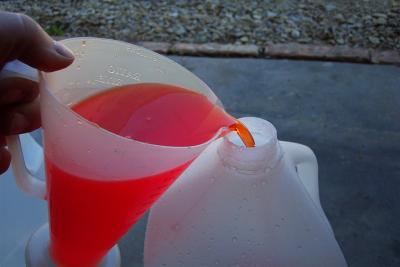 Now pour that in a clean container. |
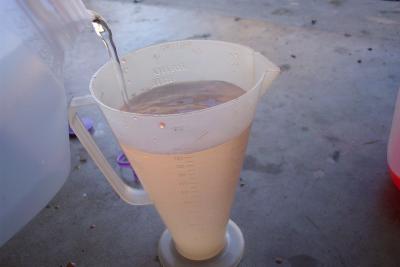 Fill the flask back to the same point with distilled water. |
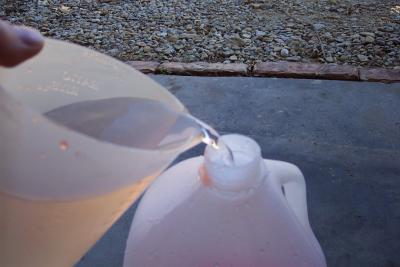 And pour that into the container. Keep repeating until the container is nearly full. |
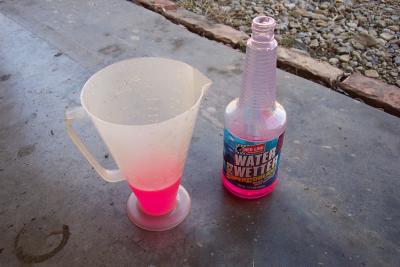 I also added 3.5 ounces of Water Wetter to the system to help cooling. This is purely optional, but I like this stuff. |
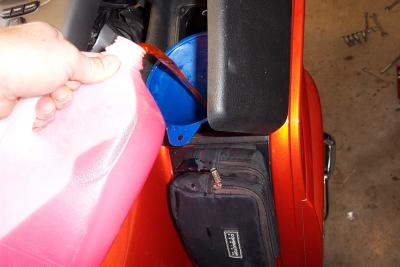
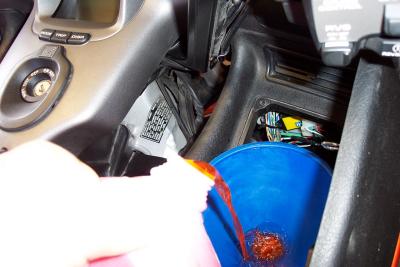 Now just fill the system. Pour slowly, as it won't accept the fluid very fast. Notice the new fluid color matches my bike :^) |
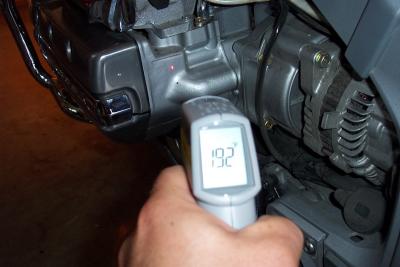
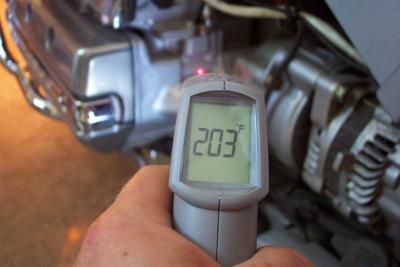
 Once you have it full, run the engine and snap the throttle to burp out any trapped air. Then top off the system. |
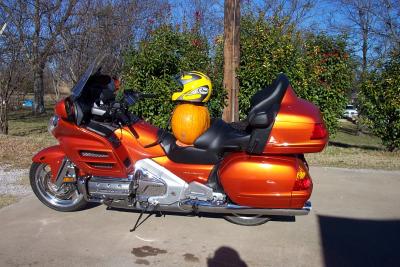 The Great Pumpkin Rides Again! |
 DCP_1086.JPG |
 DCP_1088.JPG |
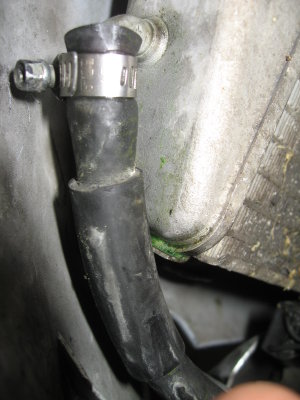
 Field repair of coolant overflow tank using JB Weld |
 100_1488.jpg |
 Leak 003.jpg |