


|
|
|
|
|
|
| fred harmon | profile | all galleries >> concours14 >> audiovoxcruise | tree view | thumbnails | slideshow |
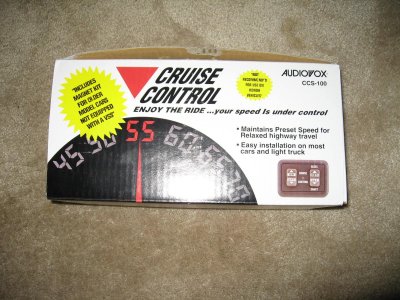 Audiovox cruise control |
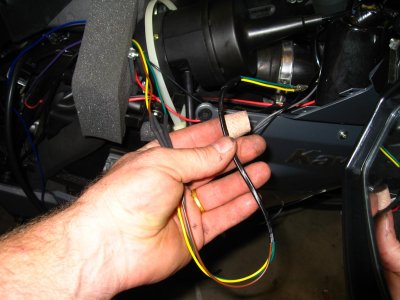
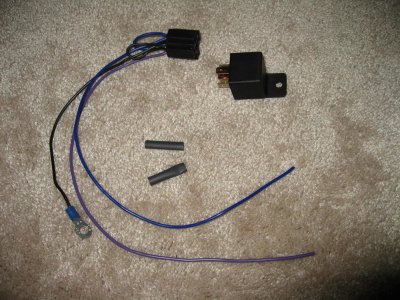
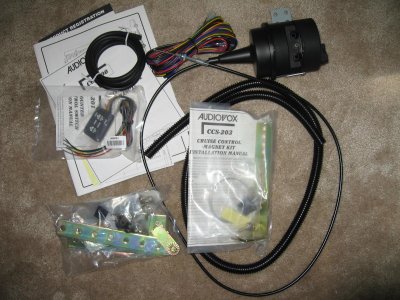 Here is what comes in the box. Lots of wire and hardware |
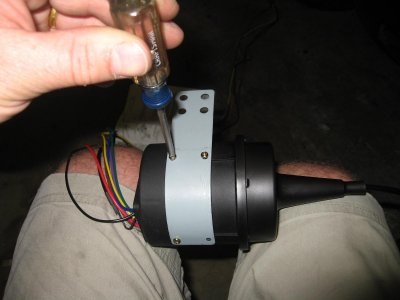 I removed the mounting strap and replaced the screws |
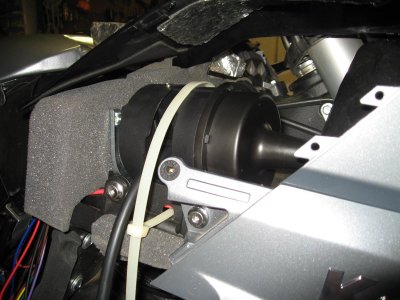 I used a large zip tie to locate it in the right side fairing |
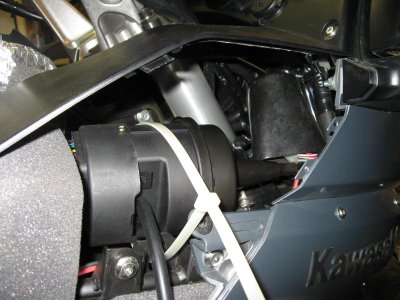 The unit faces forward and the cable wraps around the front of the bike over to the left side |
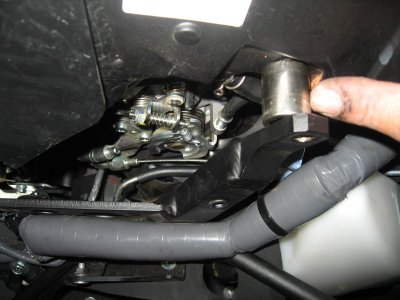
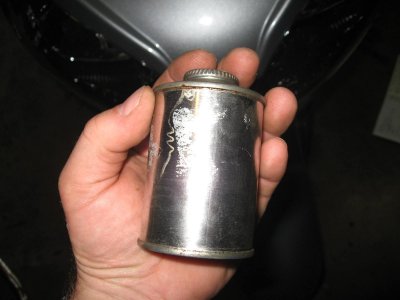 I made my own homemade canister out of a small can |
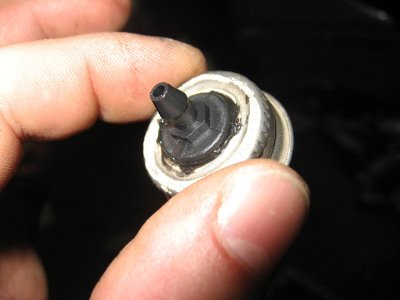 I put a nipple on each end and sealed it with RTV |
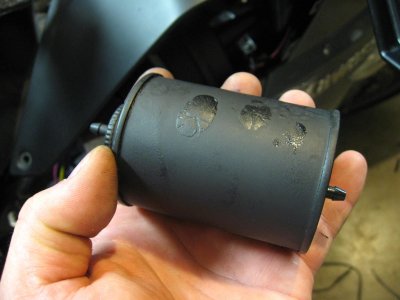 Canister complete and painted |
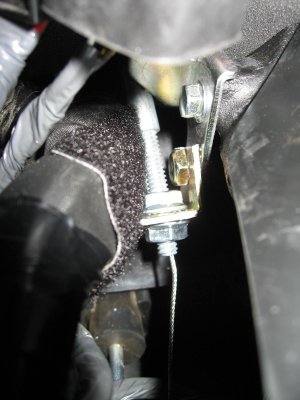
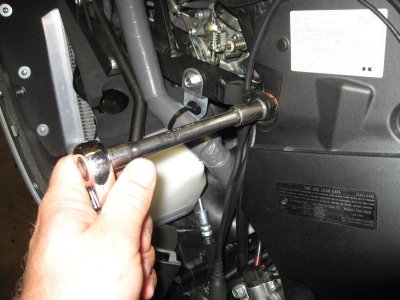 By removing the bolts for the engine brace, I was able to get more room to access the throttle pulley |
 A socket placed between the frame and brace gave me the room I needed to work |
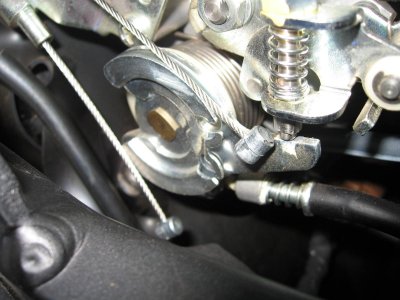 Cables removed from throttle pulley |
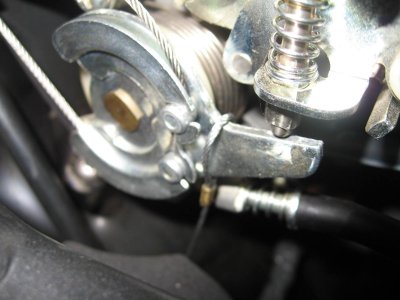 I hooked the shorter looped cable over the end of the throttle pulley |
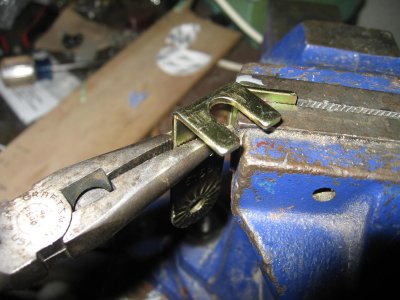 Here I removed the portiong of the bracket I didn't need and shortend it |
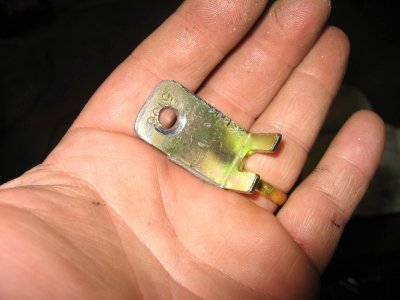 Here is the bracket after being shortend |
 Bracket in place, but still a bit too long |
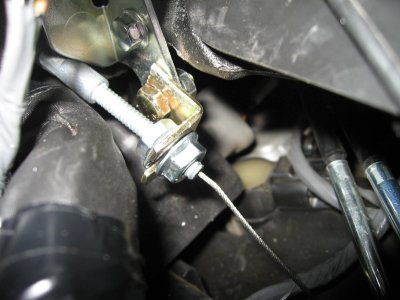 Bracket shortened even more to take up cable slack |
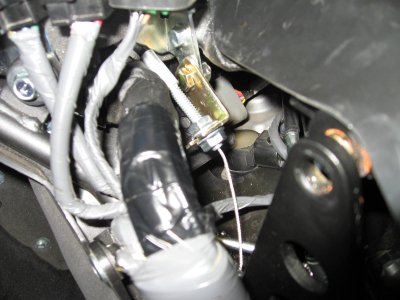
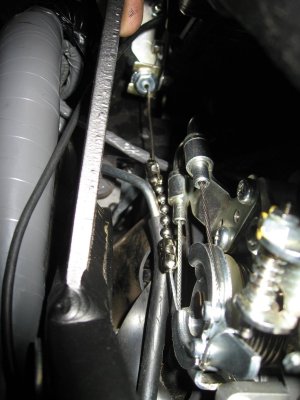 Cable in place using bead chain (6 beads) |
 Velcro placed on back side of wire harness to prevent chaffing |
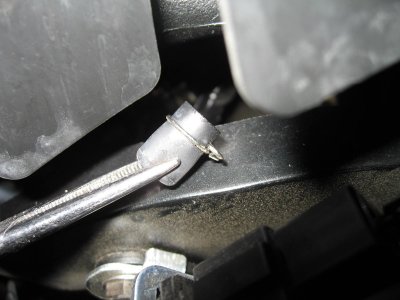 Removing rubber caps off vaccum ports. I tied into three of the four (can't reach number 2) |
 Wire harness zip tied back in place |
 I shortened the length of some of the wires so I didn't have so much extra length |
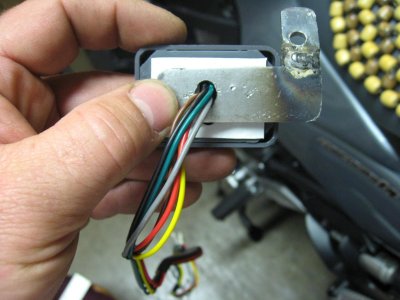
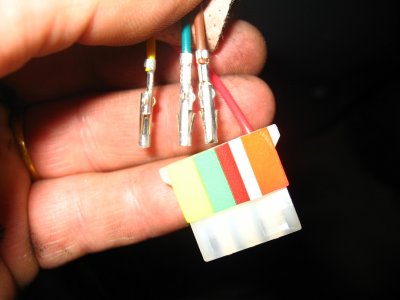 Installing wires in connector |
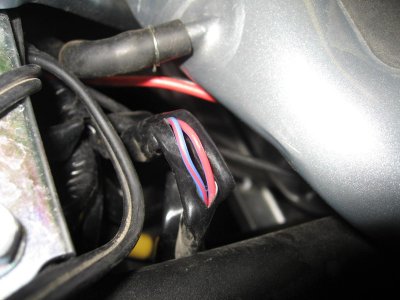
 Tap for blue wire onto white/red stripped wire for #1 cylinder |
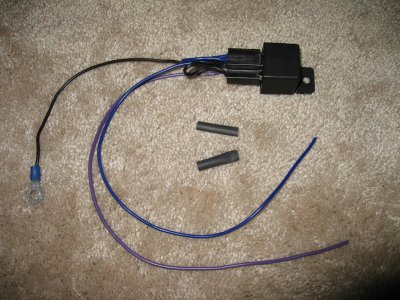
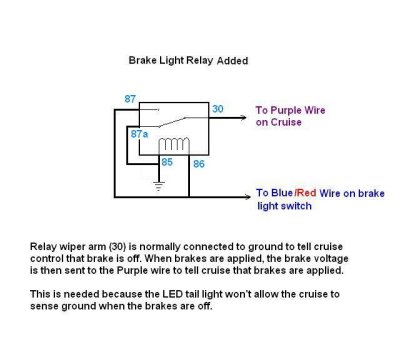 Brake relay diagram |
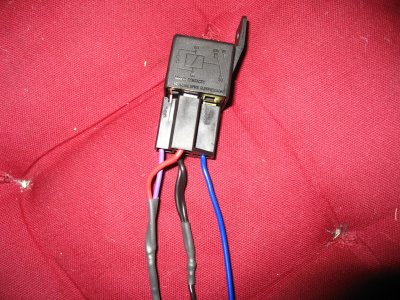 A brake relay is required to make the unit work |
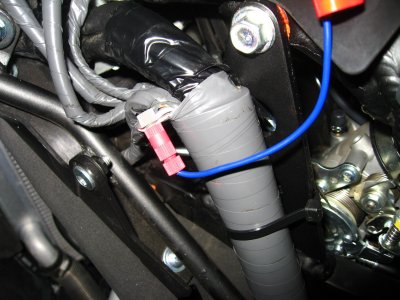
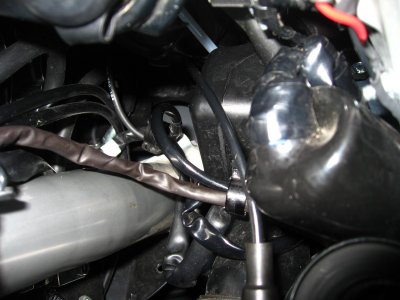
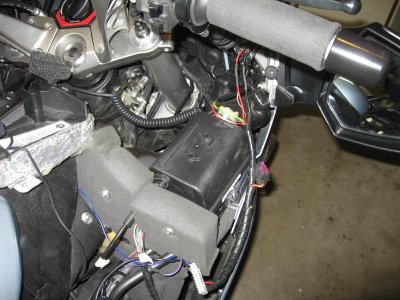
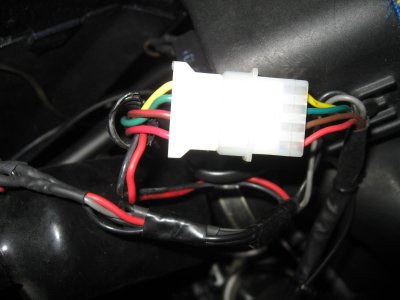
 Brake wire harness leading to rear brake wire switch can be accessed from behind tank |
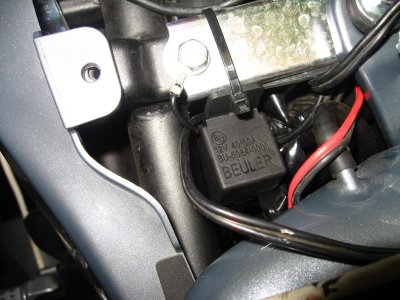 Relay in place behind tank |
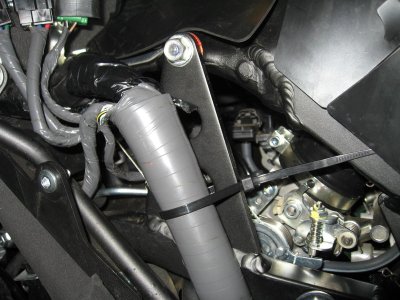
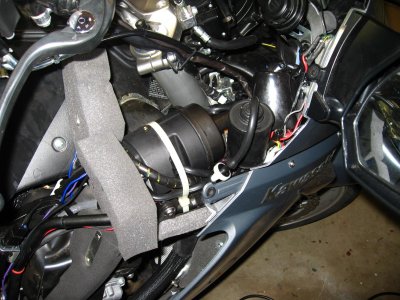 Final install with wires tied up, canister in place and vacuum lines run |
 I fabricated my own bracket for the handlebar |
 Back of switch assy needs to be filled with RTV to prevent water intrusion |
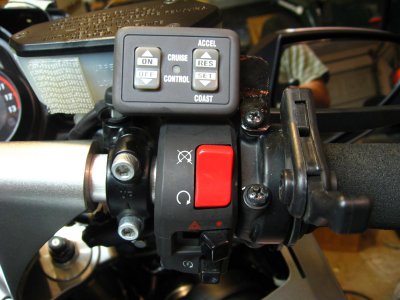 Switch mounted on right grip |
 Wire harness from switch covered in heat shrink and runs down handlebar |
 Relay 002a.JPG |
 Relay 003a.JPG |
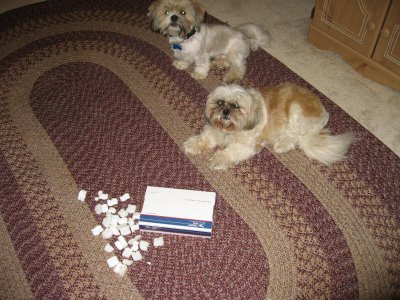 ShippingTeam 005a.JPG |
 Rostra Cruise control |
 Rostra installtion |
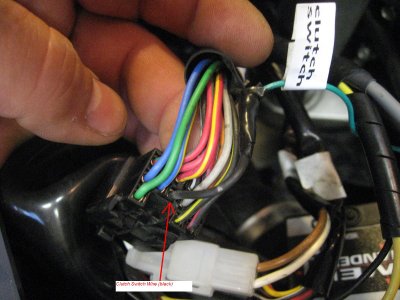 Clutch Switch Wire for Rostra |
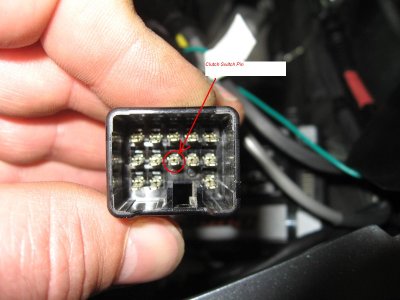 Clutch Switch Wire for Rostra |
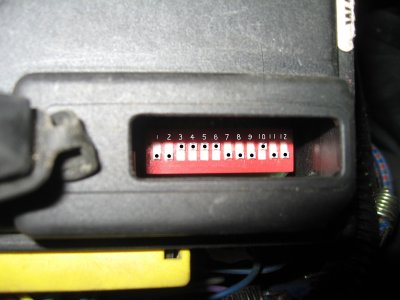 Rostra DIP switche settings |
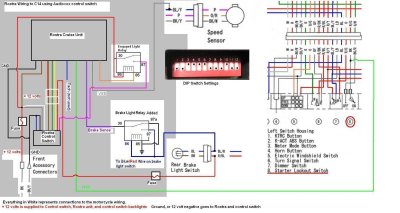
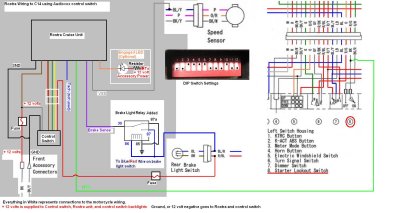 RostaWiring with Audiovox switch |
 RostraWiring 002a.JPG |
 RostaWiring with Rostra Switch |