


|
|
|
|
|
|
| fred harmon | profile | all galleries >> Galleries >> airfilter | tree view | thumbnails | slideshow |
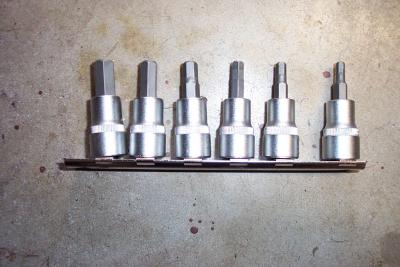 This is something every motorcyle owner should have in his tool kit. Don't attempt to work on your bike without them. |
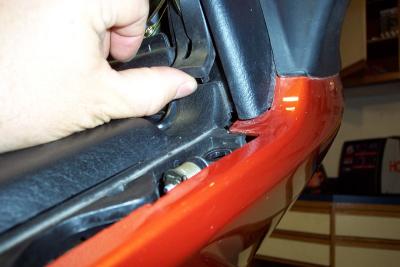
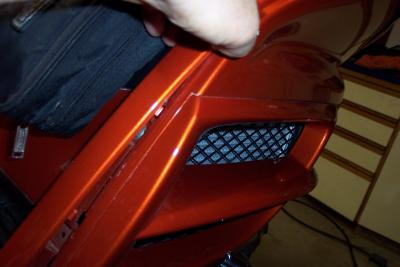 Gently remove the fairing screw trim covers. Be carefull not to break off any tabs. |
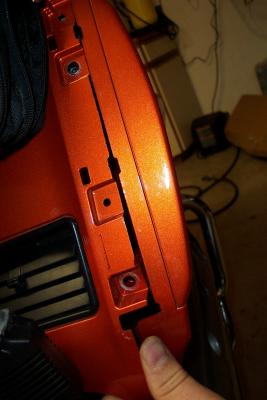
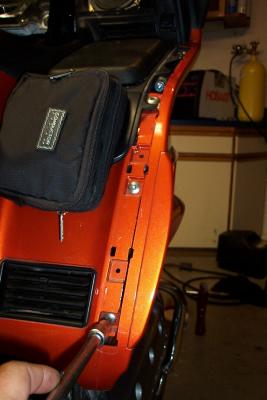 Remove the screws and pay attention to the different collar lengths |
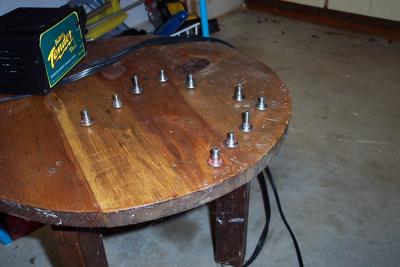 Keep the screws organized so that you can reinstall them in the correct positions |
 Remove both pockets. On the right you have to remove the lock pull cable. |
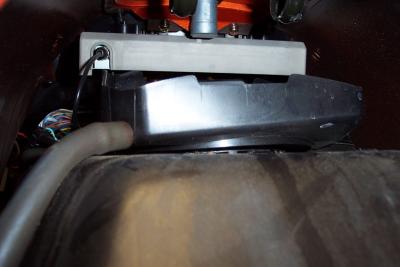
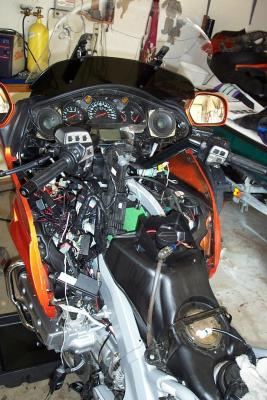
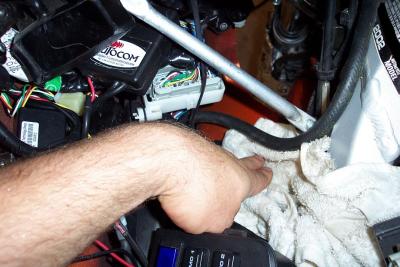
 Once all the screws are loose, you can lift the shelter up enough to disconnect the cables underneath. |
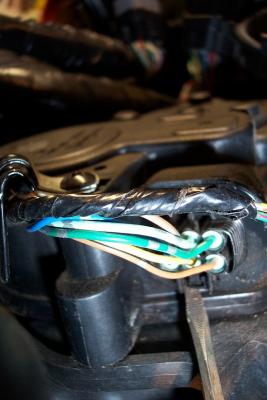
 Here you can see the antenna cable that has to be removed.The other two cables live under the radio. Squeeze the tabs and pull. |
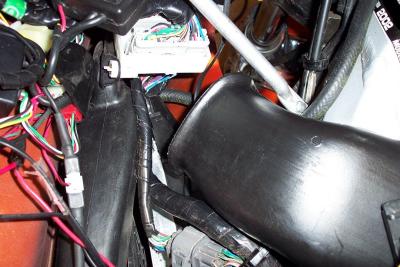
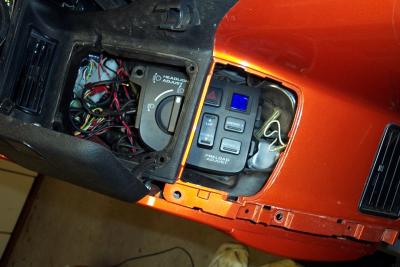 The left console control has to be either disconnected, or pushed through to the inside of the shelter, as shown here. |
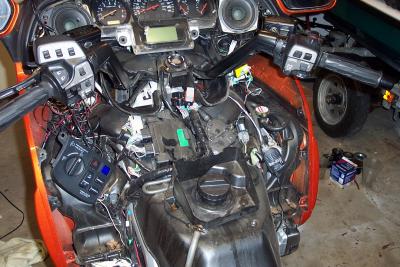 Here is the shelter removed. Now you have to dissconnect ALL the connectors on the sensors and lift the sensor panel up. |
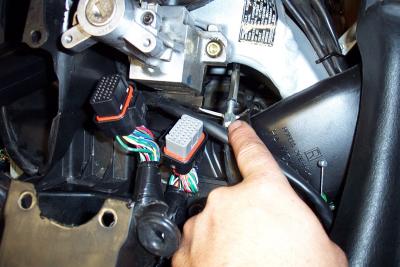
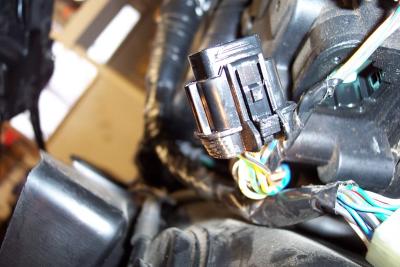 Here is the connector for the cruise control removed. See the tab in the middle. Push up to release |
 Pushing up on bottom of center tab to release cruise mechanism. |
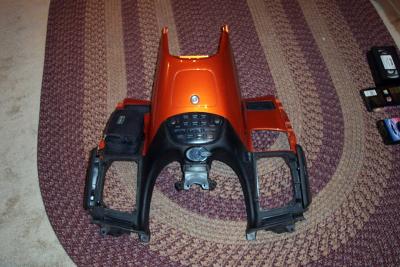 Here is a look at the top shelter removed. Store it in a safe place while you finish the job. |
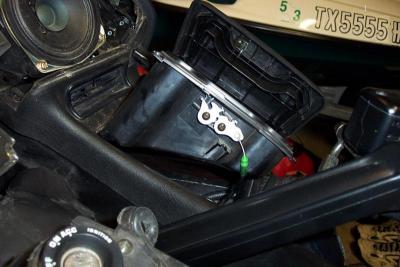
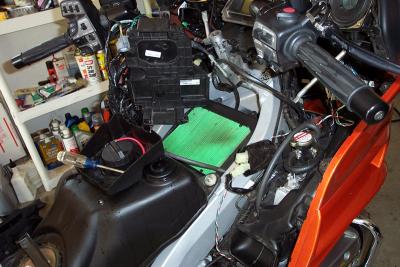 Here is the first look at the air filter (9.8K miles) with the sensor panel lifted out of the way. |
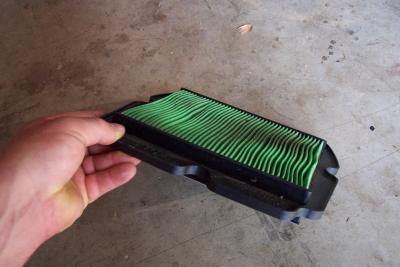 Air filter still has life left, but I like to replace early. This seems good considering riding through a New Mexico dust storm |
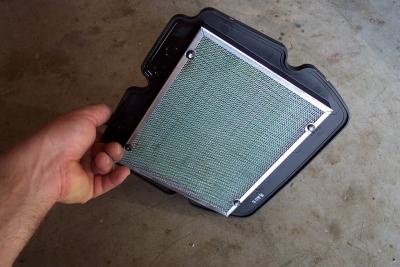 Bottom view of filter. |
 Another look at the disected patient |
 Make sure to clean the intake ducts good. |
 Also clean around the where the intake ducts draw air, and anywhere else you see dust. A damp cloth removes dust easily. |
 Intake duct re-installed |
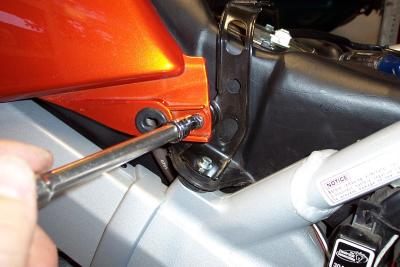
 Since you have the shelter off, this is a great time to adjust your cruise control. |
 Make sure you get the rubber parts next to the windshield release overlaping the top shelter when you re-install. |
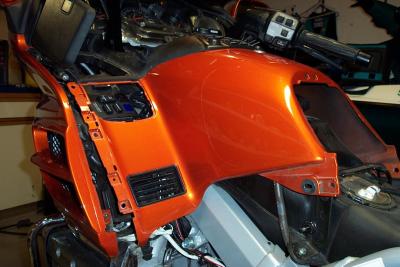
 Get the shelter lined up corectly top and bottom, left and right. |
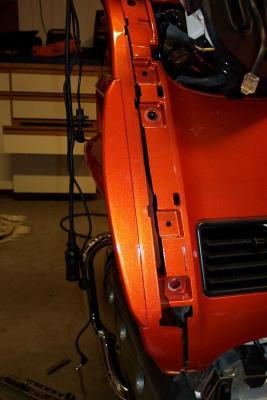 Here you can see that the shelter is not lined up correctly. Readjust until it fits all around. |
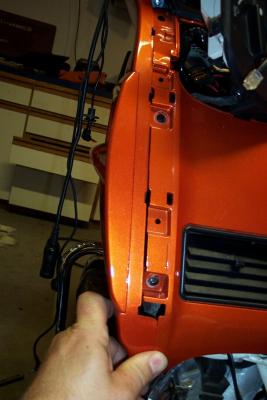 Now it is all lined up. |
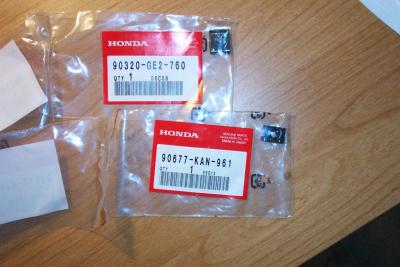 Nut plates used for top shelter |
 Here you can see the tabs for the inner tunnel panels. |
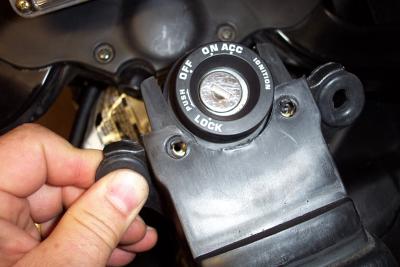 The tabs fit under the top shelter cover, and over the ignition cover. |
 Dont forget the nut on the sides of the top shelter |
 Using an allen head ratchet will help prevent you from droping screws into never-never land(known as the Great Honda Hole Abyss) |
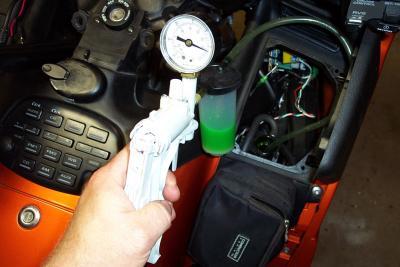 Since I am in here, I draw out 110 ml (3.7 ounces) of antifreeze with my MityVac and replace with Water Wetter |
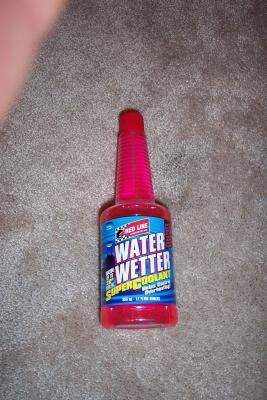 I added exactly 3.7 ounces of Water Wetter directly to the cooling system. |
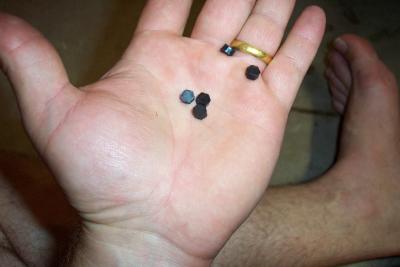 Here is a closer look at the rubber stoppers that fit in the allen head on the head cover. |
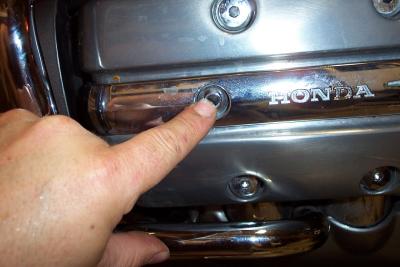 Here is a look at the installation/removal of the rubber stoppers. |
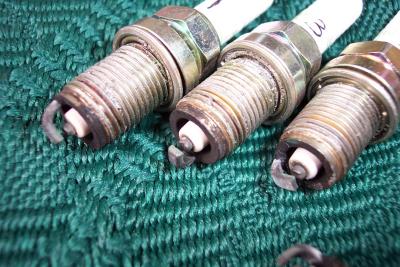
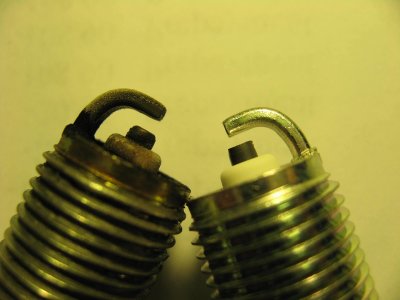
 Here is what my plugs looked like at 9.7K. I replaced all 6 with stock NGK plugs. |
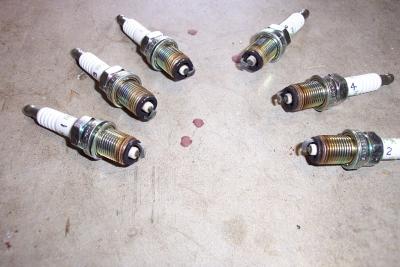
 Here is a look at my second set of plugs, changed at 20.5 K miles. |
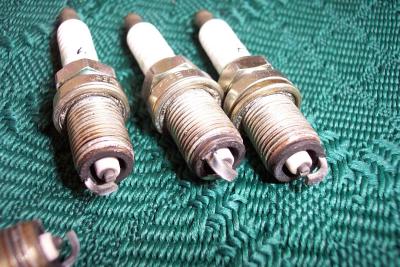 Here are the other three plugs changed at 20.5K |
 New Smart Bombs |
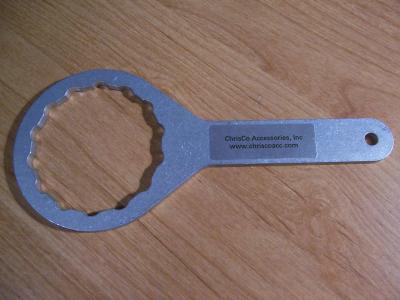 ChrisCo Oil Filter Wrench |
 PlugTips 003a.JPG |
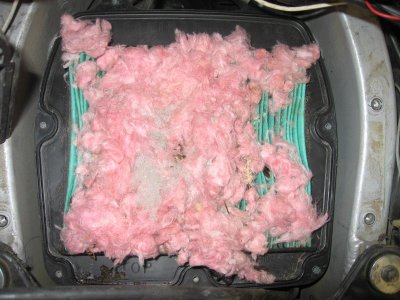 Mice made a nest on top of my air filter |
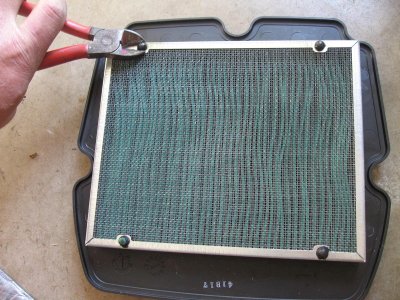 I cut the bottom screen off and old air filter |
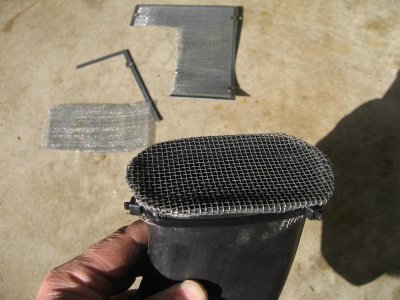 I then used the screen to cover the intake runners to prevent mice from getting back in |
 PlugTips 003a.JPG |