


|
|
|
|
|
|
| fjd | profile | all galleries >> segmented_woodturning >> Steps to make segmented bowl | tree view | thumbnails | slideshow |
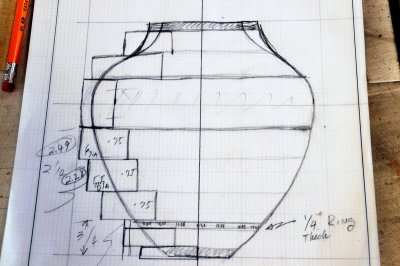 This is a drawing of the bowl I want to make |
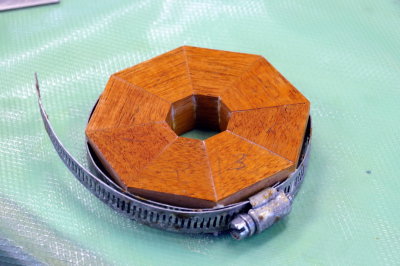 Start by cutting and making ths segment rings |
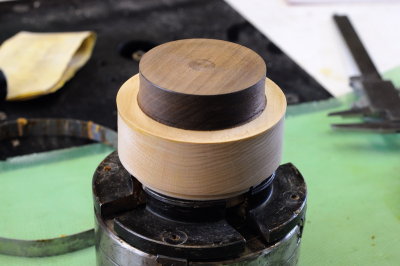 The base of the bowl is solid walnut |
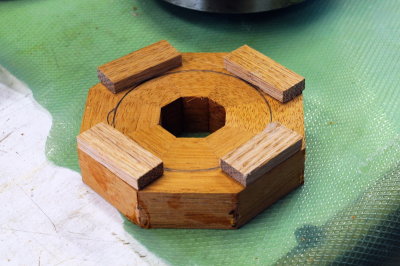 I use a glue gun to put tabs on the ring to center it |
 Put on some glue on both parts |
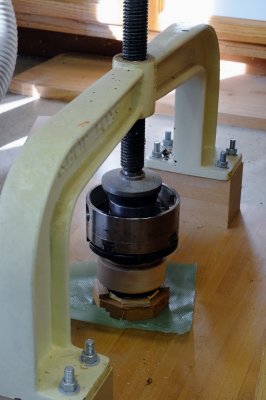 Put in ring press |
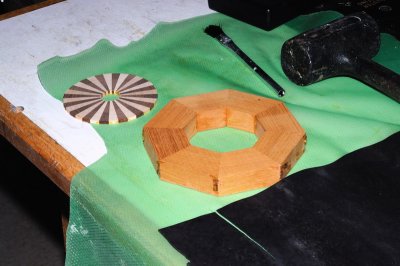 I want a mini feature ring at the bottom between the base and the next ring |
 Glue up and put in press |
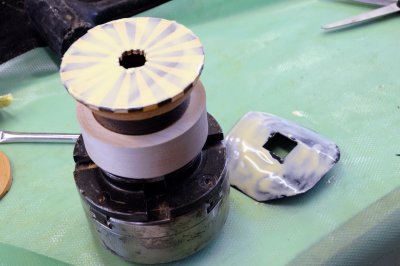
 Add a layer of black veneer |
 True up on the lathe before adding nex ring |
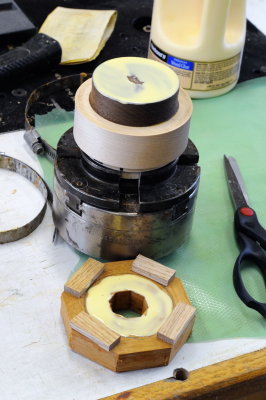
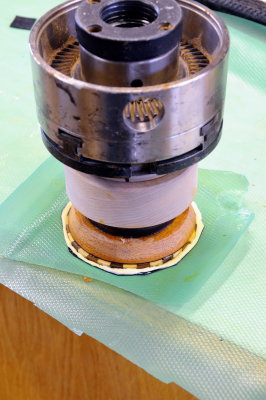
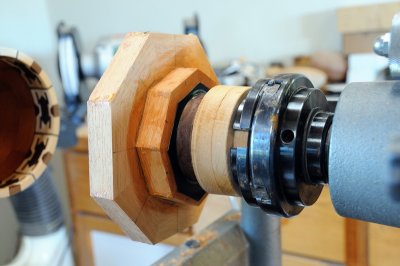
 Use the Oneway ring to center next ring |
 Put back on lathe to flatten surface before adding next ring |
 Add next ring |
 Do a rough turning of outside shape for base |
 Add a piece of black veneer before feature ring |
 Glue on the feature ring |
 Turn the outside to approximate shape |
 Turn the inside to about 1/4 inch wall thickness |
 Now build up the top half rings |
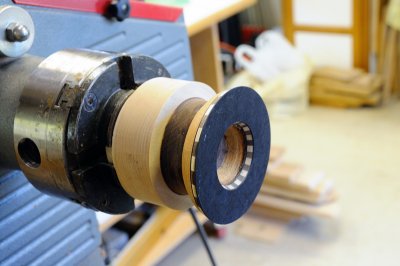
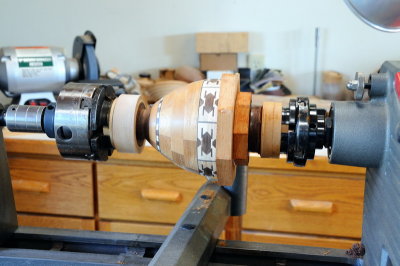 Mate up with the bottom half. I use an adaptor which allows me to attach my chuck to the Oneway live center |
 Add a black veneer layer to top half. |
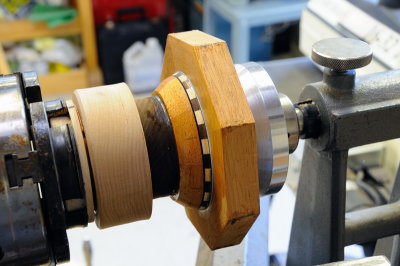
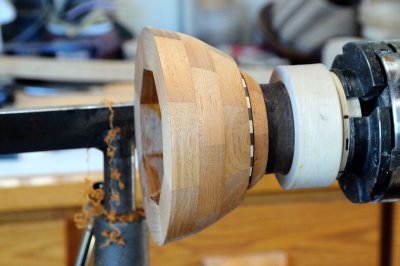
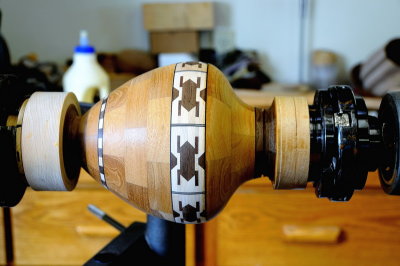
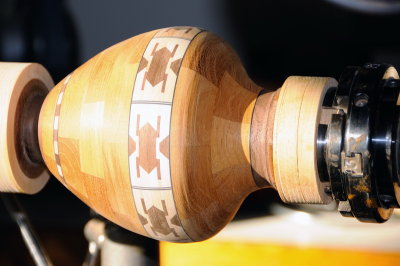 Again join up, and turn the top half to the desired profile |
 Now turn the inside of the top section |
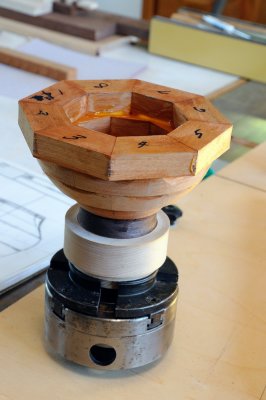
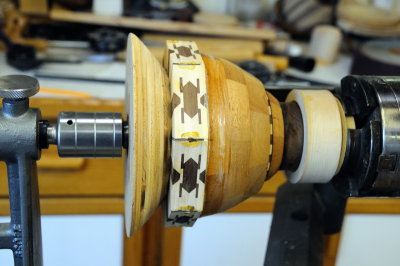
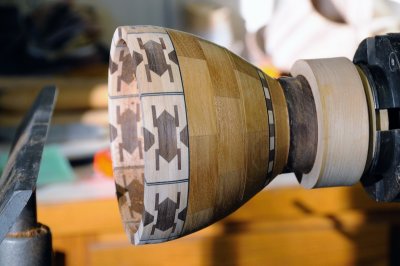
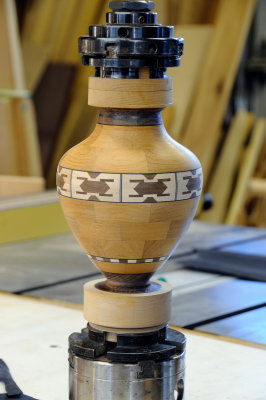 This is what the bowl will look like--parts not parted off yet |
 Glue the top half to the bottom half |
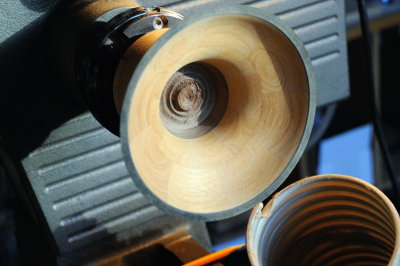
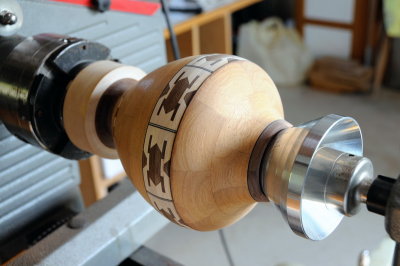 Part off the top and clean out the opening to the bowl--use the cone on the live center for support |
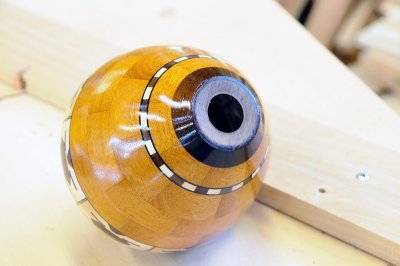 Part off the bowl---OOPS I got a little carried away with the inside hollowing. No problem! |
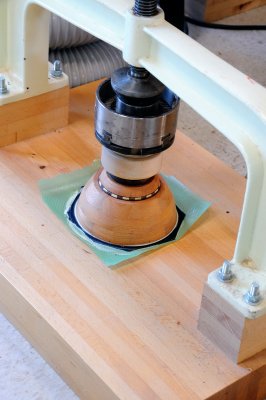
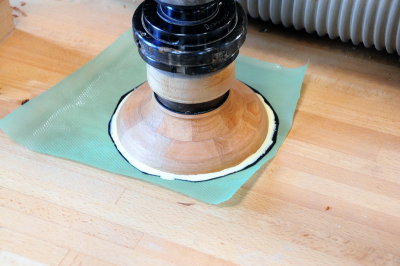
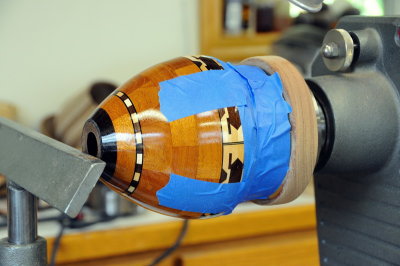 Mount the bowl so that I can work on the bottom |
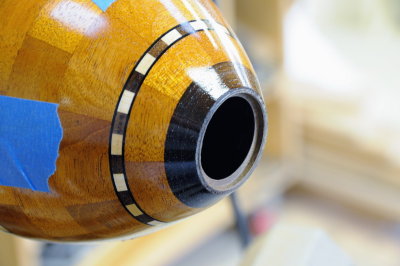 Turn a recess on the foot of the bowl |
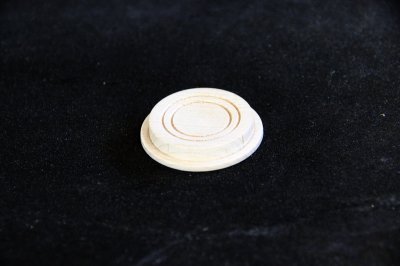 Make a plug to fit on the bottom |
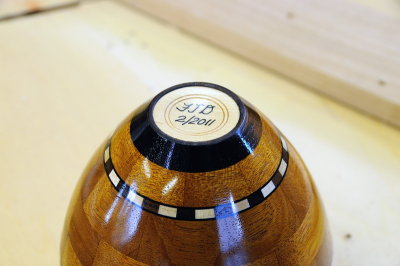 Here is the new bottom of the bowl--I used a maple so that I could sign the foot. Looks like I planned it that way. |
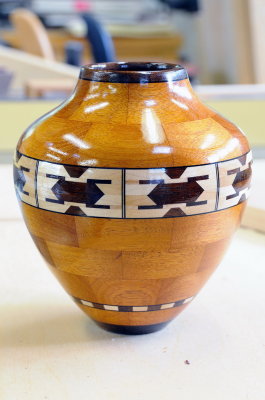 Completed bowl |
| comment | share |
| Don Gardner | 22-Oct-2013 00:01 | |
| Don Gardner | 21-Oct-2013 23:59 | |