


|
|
|
|
|
|
| Corazon Rojo | profile | all galleries >> Stuff - All that's really not important in life >> Automobiles etc... >> 2004 Ford Excursion LTD 4WD PSD >> Entertainment System | tree view | thumbnails | slideshow |
| previous page | pages 1 2 3 4 5 6 ALL | next page |
:: Components :: |
:: Q-Logic Kick Panels :: |
:: JL Audio Stealth Box :: |
:: Alpine IVA-W205 Double Din Head Unit Install :: |
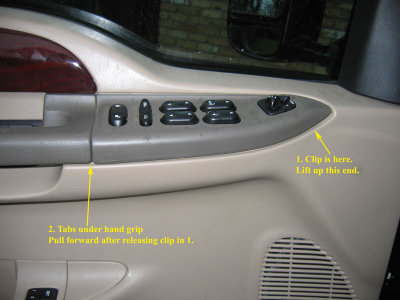 Front driver door panel removal. Lift front end to release the clip. Move front forward and up to release the tabs. |
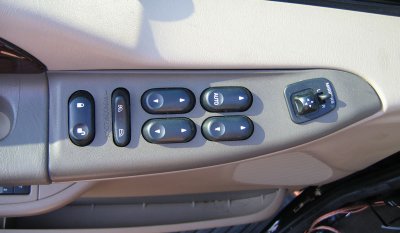 Remembering how it all fits... |
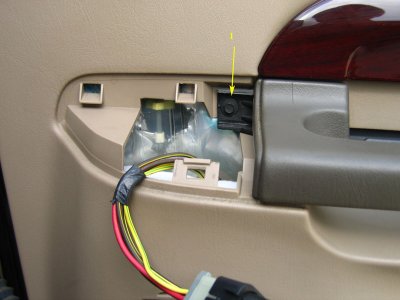
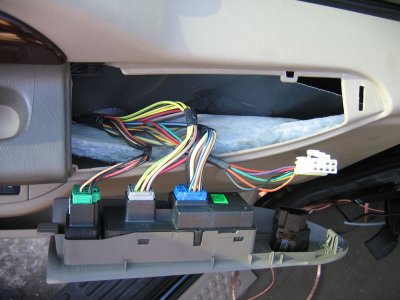 Remove the connections from control panel. |
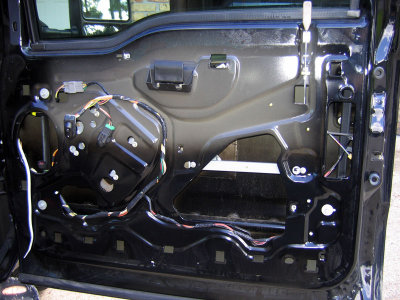
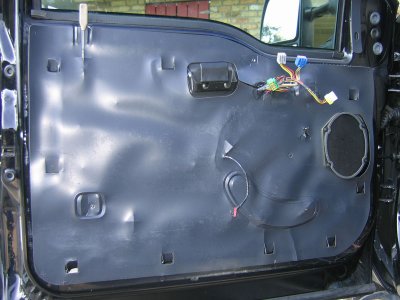 Door panel lifts straight up. |
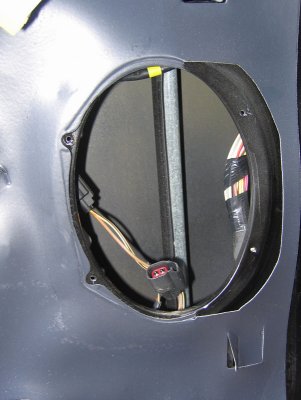 Factory 5x7 opening with Ford speaker plug. |
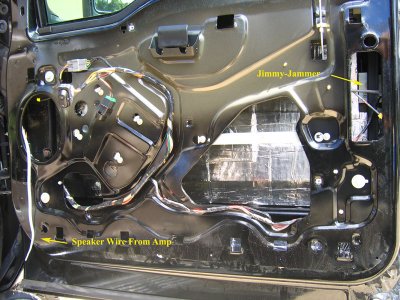
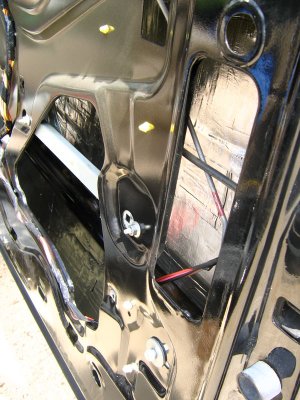
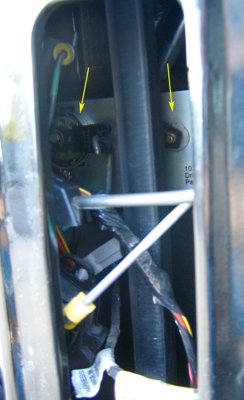 While the doors accessable installed a Jimmy Jammer lock protection plate behind door handle. Lock cylinder secured with clamp. |
 Passenger Door with rain guard removed. |
 Outside door skin cover with Second Skin Damplifier |
 Different angle. Everything treated with a small seam roller for optimal adhesion. |
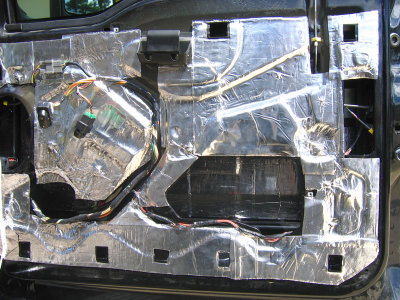 Inside door application. |
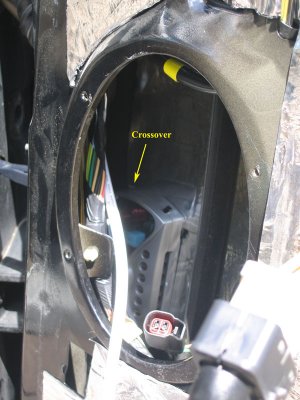 Infinity Crossover install with Scotch Lock automotive velcro. |
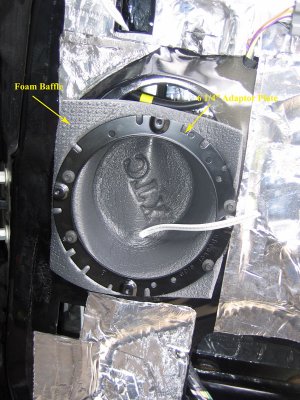 Foam Baffle and 6 1/4" adaptor plate installed in factory 5x7 opening. |
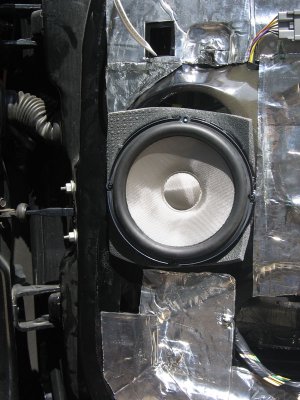 Infinity Kappa 6 1/2" woofer. |
 Factory rain guard reinstalled |
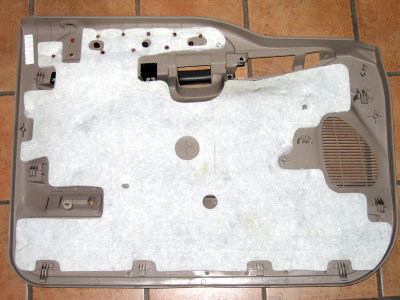 Door panel with factory insulation pad |
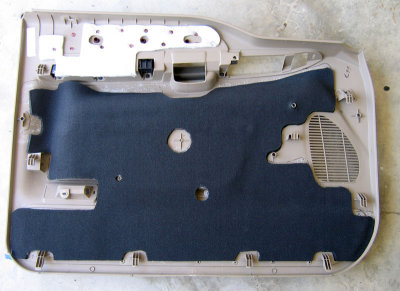 Second Skin Over Kill Pro closed cell acoustic foam (10mm) glued on with 2 layers of 3M High Strength 90 |
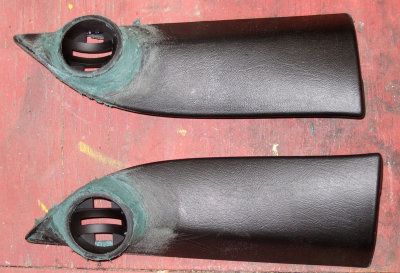
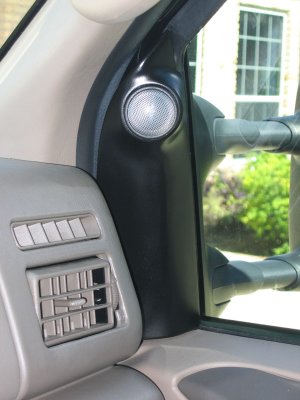
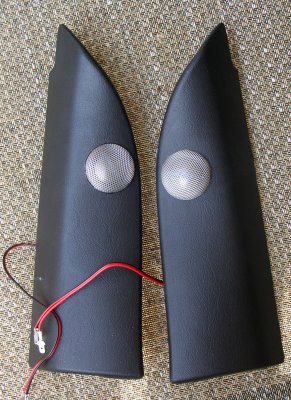 Front door sail panels with tweeters mounted. |
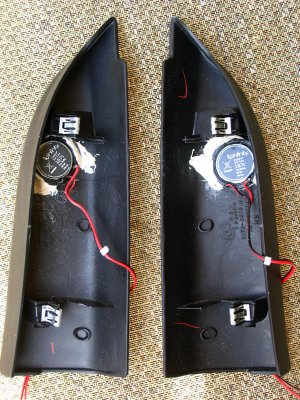 Back of panel |
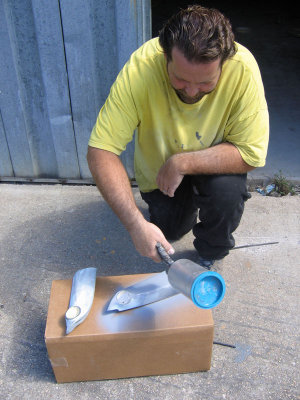
 Nothing's ever easy... |
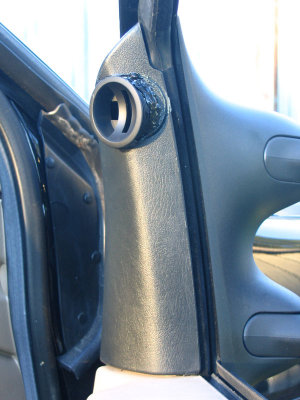
 Left tweeter mount |
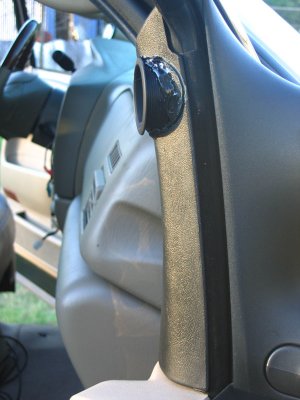
 Right tweeter mount before glassing and finishing |
 Different angle |
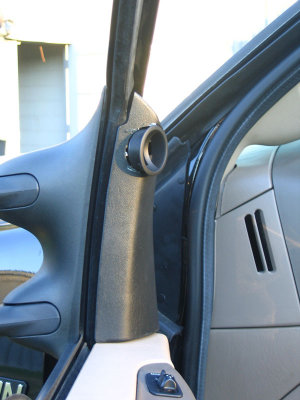
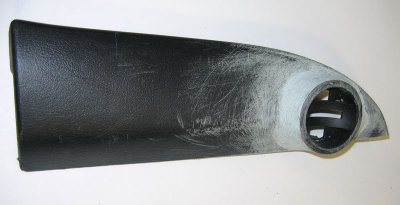
 From the side, sticks out about one inch. |
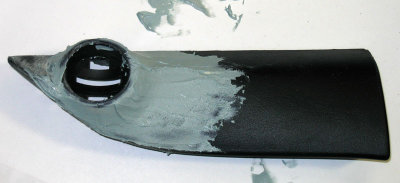
 Reinforced fiberglass around cup |
 Detail of initial enforced glass |
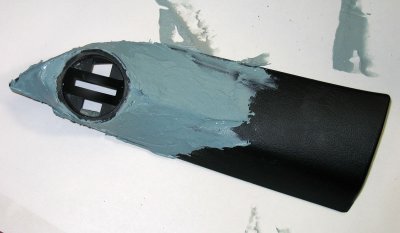
 Sanding with 80 grit before it is completely dry :-) |
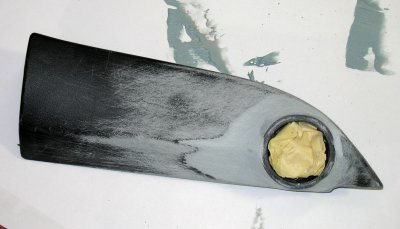
 Follow up with body filler |
 The other panel with body filler |
 More sanding with 120 grit |
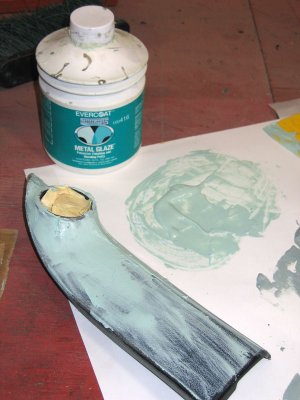 Now on with the fine metal glaze. |
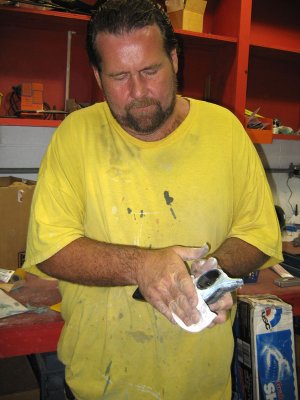 Sanding, and more sanding. Master Jim at work |
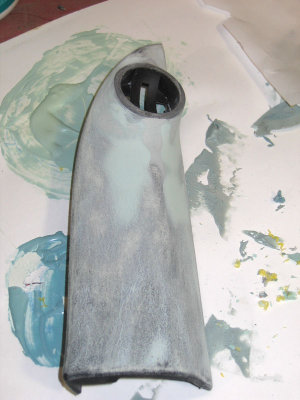 Almost ready for primer |
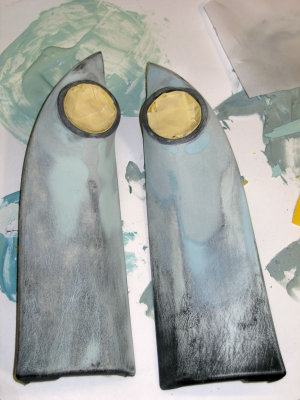 Ready for primer |
 First coat of high build two component primer |
 Looks different already, but still a lot of work before perfection. |
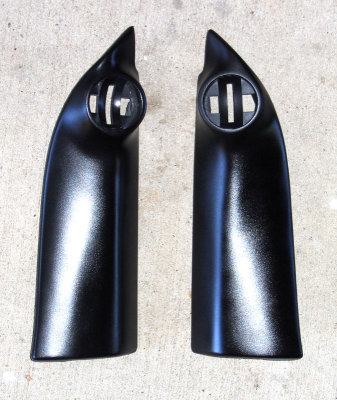 Many layers and sanding sessions later. Sprayed dry with satin black to give a little texture. |
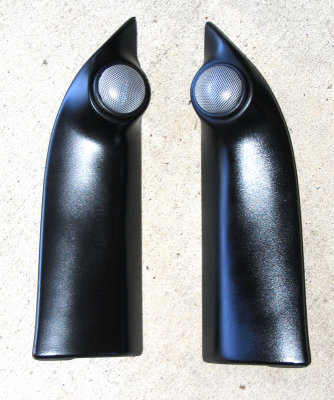 Tweeters mounted. |
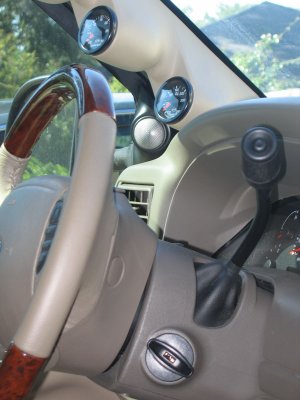 Driver's side, picture from passenger seat. Perfect aim... |
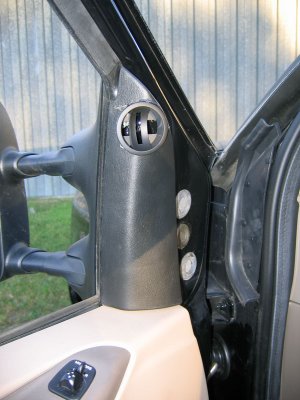
 Passenger side, from driver seat. |
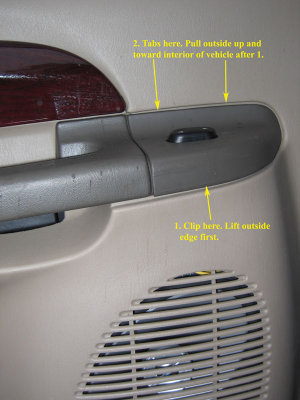 Rear door panel removal. Lift the outside edge to remove the clip. Pull up and away from door. |
 Bolt #1 |
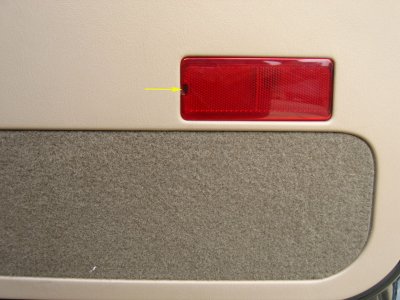 Pop out reflector with flat blade screwdriver here. |
 Bolt #2 |
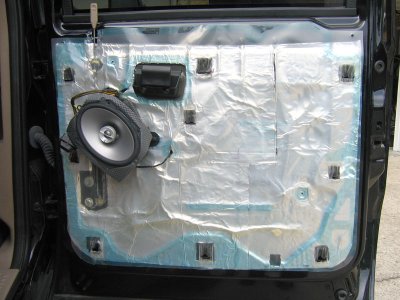 Rear door finished. Damper on inner and outer doorskin, factory rain guard reinstalled. |
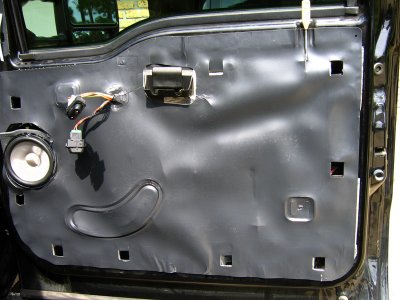
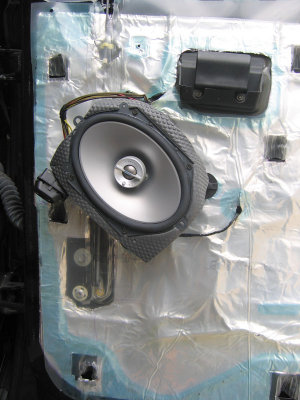 Installation of Infinity Reference 5x7 component speaker in foam baffle in factory location. |
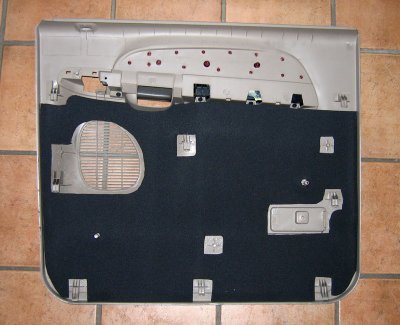
 Rear door panel with factory rattle pad. |
 Closed cell acoustic foam applied. |
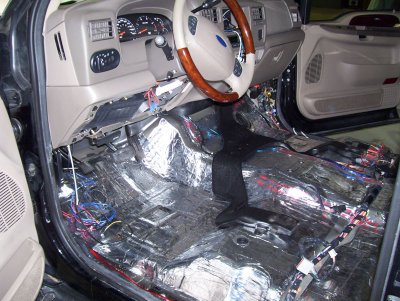
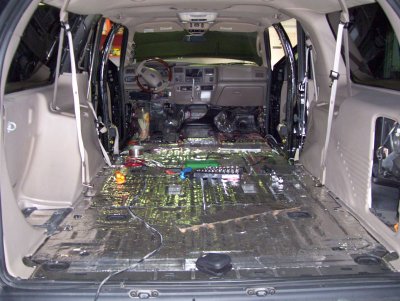 Gutted interior with Secon Skin Damper applied. |
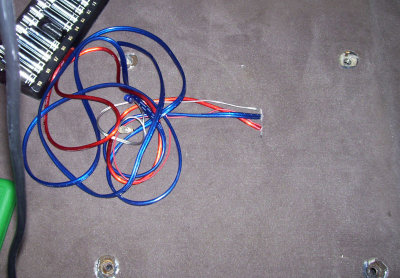
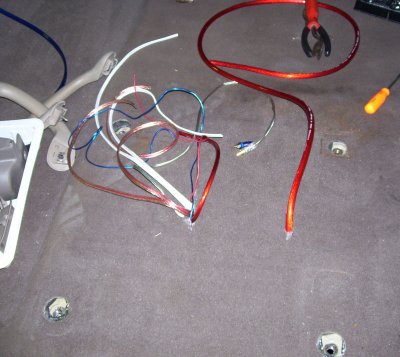
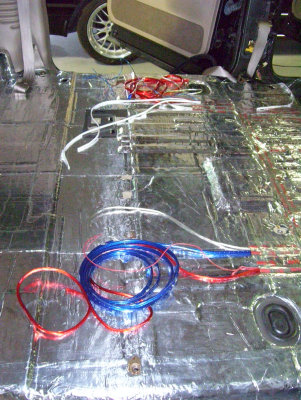 Wires run to the two amps under passenger captain seats. |
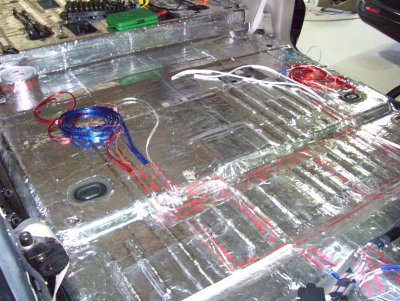 The power, speaker, and RCA wires do not run parallel and cross each other at 90 degrees to avoid magnetic interference. |
 Additionally, each wire is fully and individually taped over with aluminum tape for increased shielding |
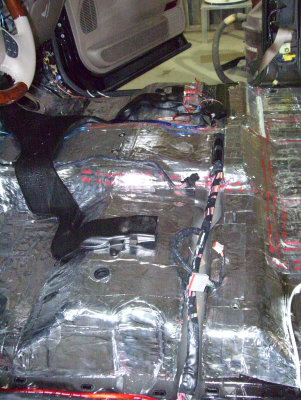
 Front ready for carpet. |
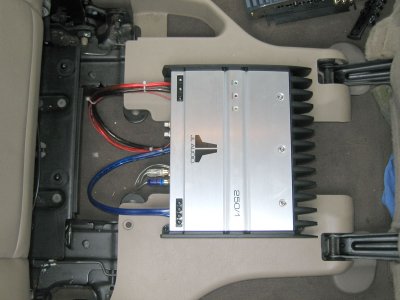
 Shows the two amp locations. |
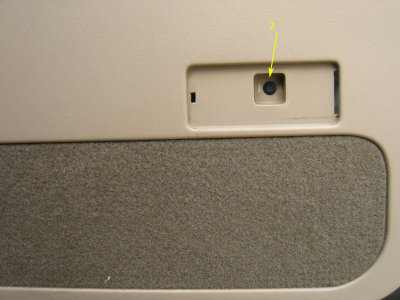
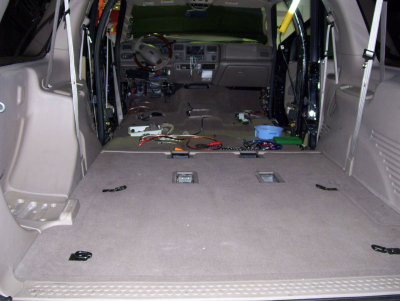 Rear carpet reinstalled. Removed for insulation and backup camera RCA cable. |
 Carpet reinstalled over mid section. |
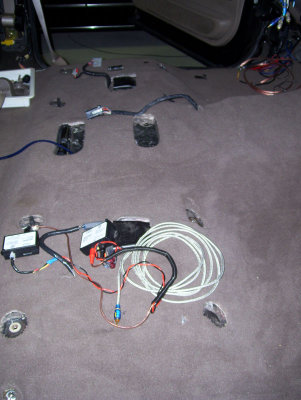
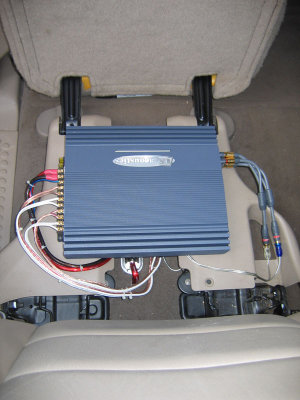
 Sub amp location. |
 Front amp location with 4 gauge power feed. |
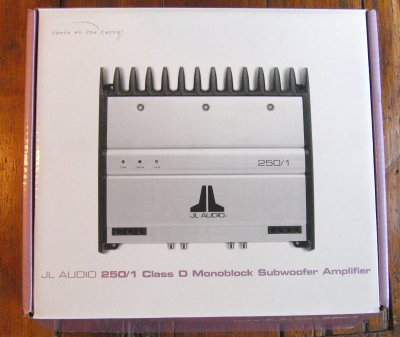
 JL Audio 250/1 Sub amp. The 2nd row captain seats slide forward to reach the 3rd row seat. Wires can slide forward with amp. |
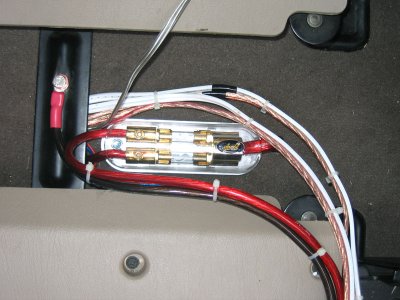 Distribution block 4 Gauge to 2 x 8 Gauge. |
 ZED Audio USX 4065 amp installed. |
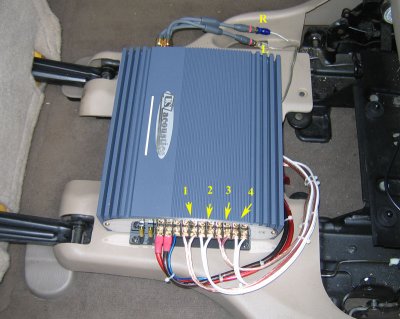 5 1/4 kick panel components down to 55Hz. Channel 1= L Door, 2= R Door, 3= L Kick, 4= R Kick. |
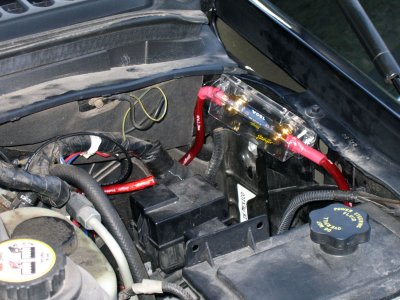 150 A Fuse |
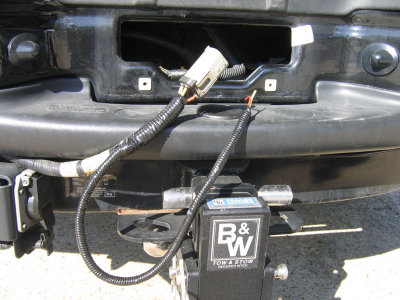 Added in a harness for the backup camera. Tapping into trailer reverse and battery charge wire (for backup halogens later !) |
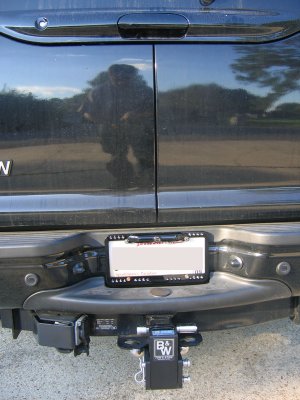 Backup camera built in license frame with night LEDs |
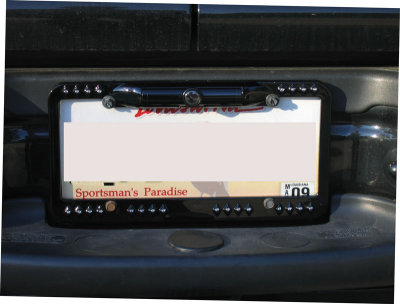 Detail of license frame |
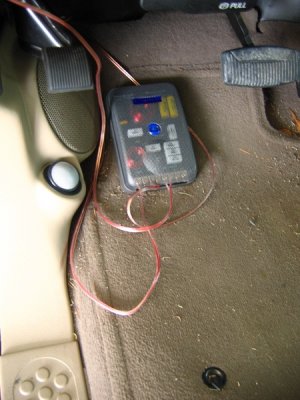 Frontstage crossover - ready for adjustments before final (hidden!) install. |
 Temporary tweeter mount to check for optimal position - Driver Side |
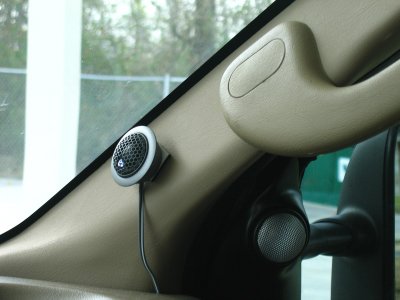 Temporary tweeter mount - Passenger side. |
| previous page | pages 1 2 3 4 5 6 ALL | next page |
| comment | share |