


|
|
|
|
|
|
| chris morton | profile | guestbook | all galleries | recent | tree view | thumbnails |
| previous page | pages 1 2 ALL | next page |
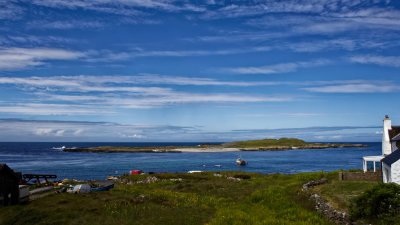
:: Scotland - Islay (pronounced Isla) :: |
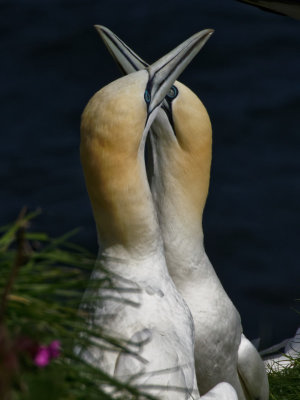
:: Bempton Cliffs :: |
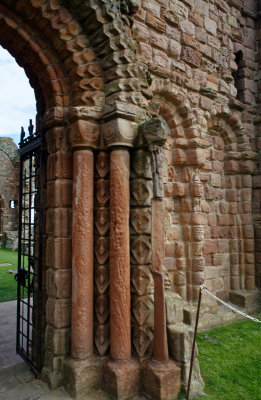
:: Northumberland Coast :: |
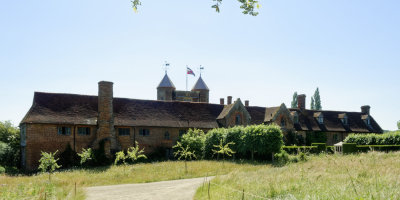
:: East Anglia - click on more galleries within :: |
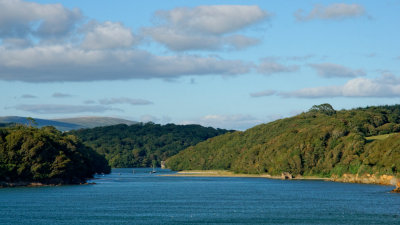
:: Cornwall South Coast- click on more galleries within :: |
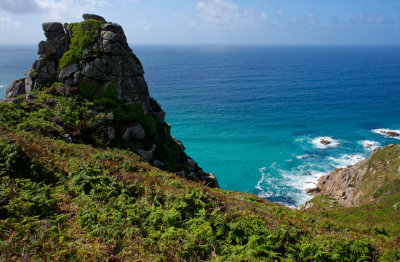
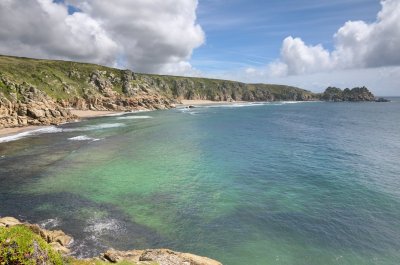
:: Cornwall North Coast - click on more galleries within :: |
:: South Devon & Dorset coast :: |
:: Dartmoor :: |
:: North Devon & Somerset coasts :: |
:: Herefordshire, home until August 2014 - click on more galleries within :: |
:: Gloucestershire - click on more galleries within :: |
:: Severn Valley - click on more galleries within :: |
|
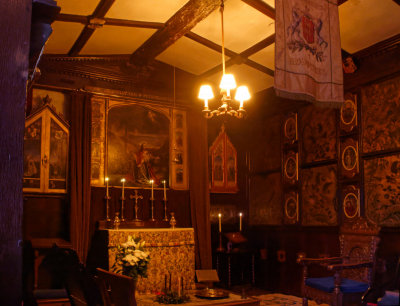
:: Angels' Approach :: |
:: whatever next - PnearlyADsometimes :: |
:: Warwickshire & Oxfordshire :: |

:: Wales, mostly borderlands :: |
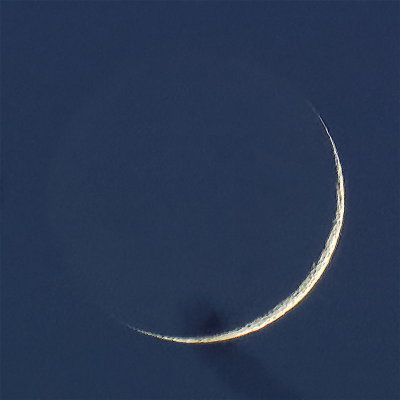
:: Moon :: |
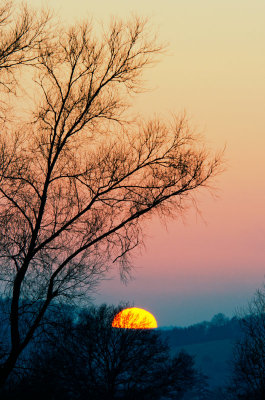
:: Skylines :: |

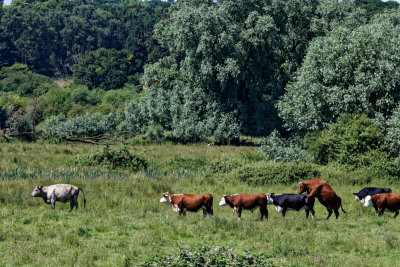
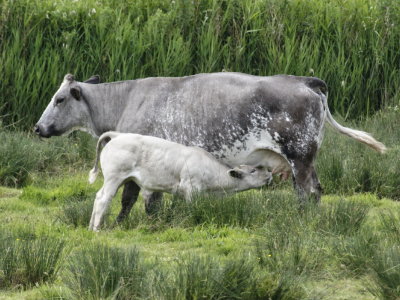
:: beasts of the field - click for sheep, cattle, pigs, horses & wild :: |
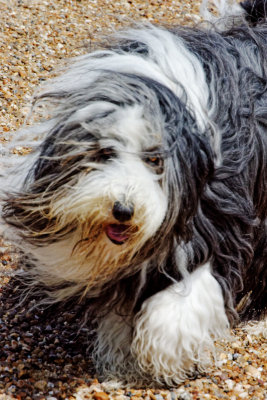
:: best friend :: |
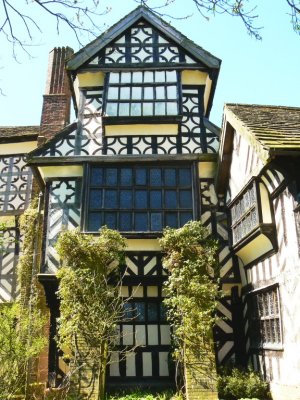
:: central southern England :: |
:: shropshire :: |
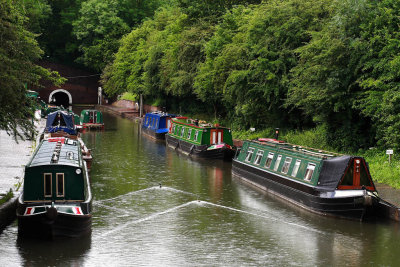
:: Canals :: |
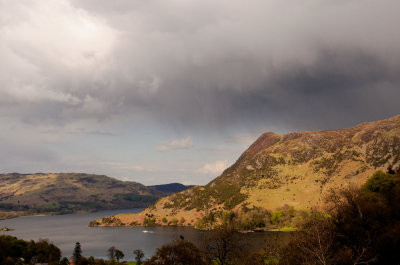
:: English Lake District - click on more galleries within :: |
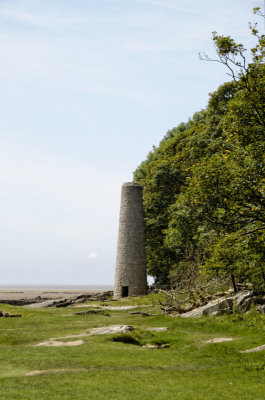
:: Arnside and Silverdale :: |
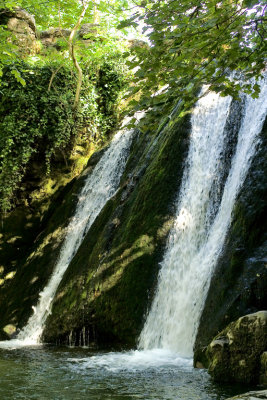
:: Malham Yorkshire :: |
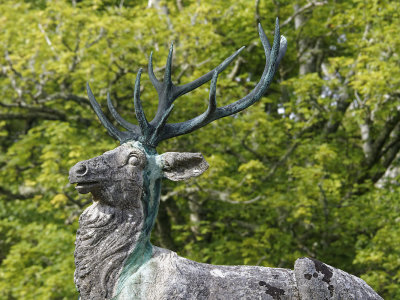
:: Scotland - Knapdale & Argyll :: |
:: Scotland - Moidart & East Ardnamurchan :: |
:: Scotland - Loch Hourn to Loch Carron - click on more galleries within :: |
:: Elgol, Isle of Skye :: |
:: Harris - Outer Hebrides :: |
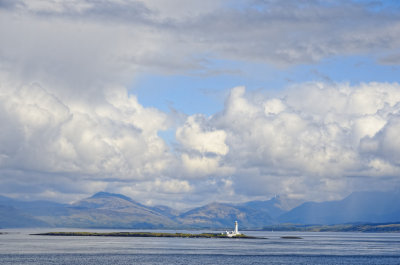
:: Isle of Mull - Mostly 'Ross of Mull' :: |
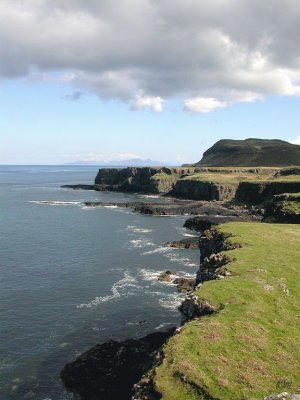
:: Isle of Mull - Treshnish, Mornish and Ulva :: |
:: My own favourites :: |
:: Leicestershire and Rutland :: |
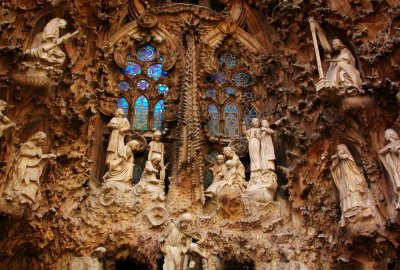
:: Barcelona :: |
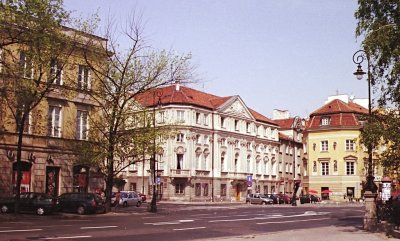
:: Warszawa (w pronounced v) - Warsaw :: |
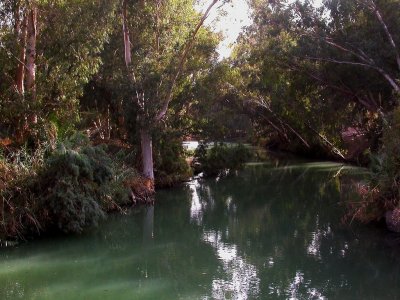
:: by the waters of Galilee :: |
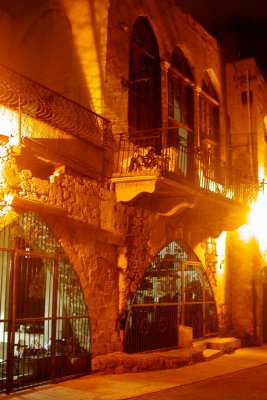
:: Akko by night :: |
| previous page | pages 1 2 ALL | next page |