


|
|
|
|
|
|
| Bob Schrempp | profile | all galleries >> Bob & Katie Activities (and Family) >> 2008 New Oak flooring going in | tree view | thumbnails | slideshow |
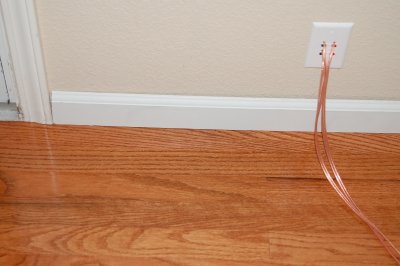 Day 01 Mar 16 2008 The first few rows, what it will look like DSC_5781.JPG |
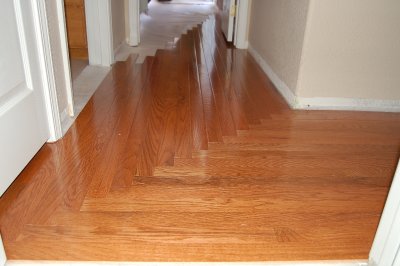 Day 08 Looking into the master bedroom DSC_5807.JPG |
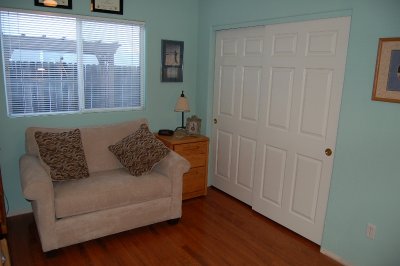
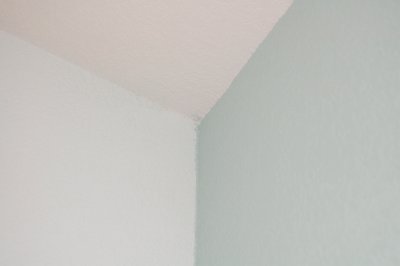 Day 14 Guest Room new paint colors DSC_5828.JPG |
 Day 20 1st Room Done DSC_5842.JPG |
 Day 20 1st Room Done DSC_5843.JPG |
 Day 20 1st Room Done DSC_5844.JPG |
 Day 20 1st Room Done DSC_5845.JPG |
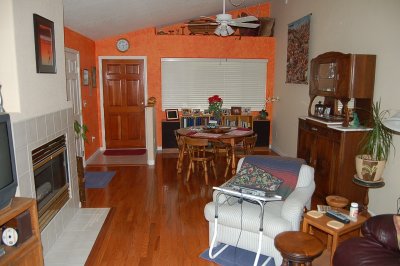 Day 42 The Front Room DSC_5935.JPG |
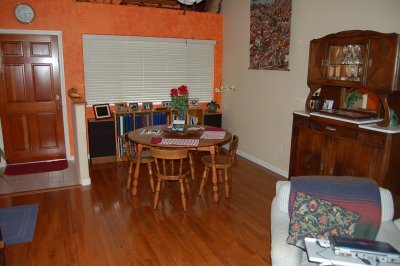 Day 42 The Front roomDSC_5936.JPG |
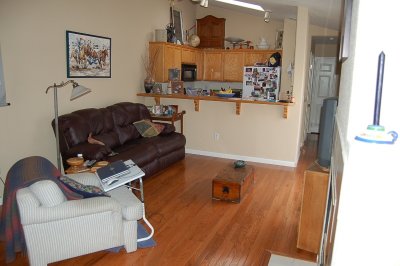 Day 42 The Front Room DSC_5937.JPG |
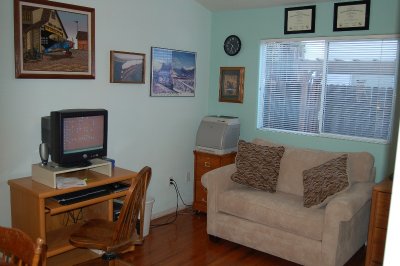
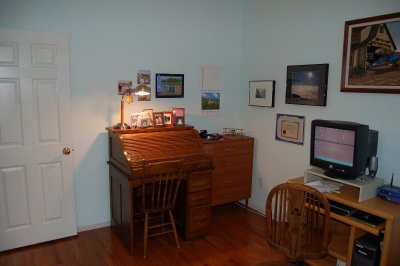
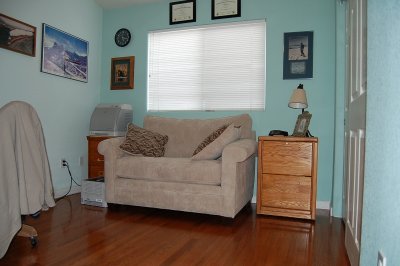 Day 42 Guest Room / Office DSC_5945.JPG |
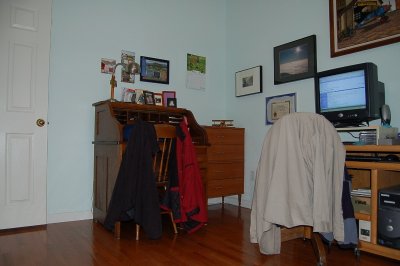 Day 42 Guest Room / Office DSC_5949.JPG |
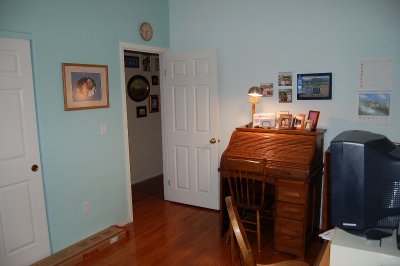
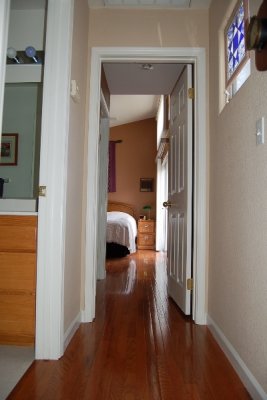 Day 42 Down the hall to the Master Bed Room DSC_5948.JPG |
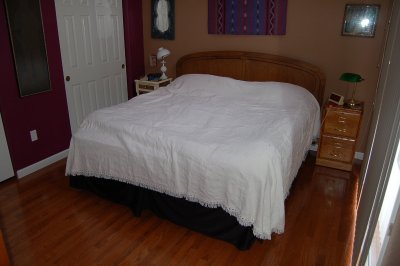 Day 42 Master Bed Room DSC_5952.JPG |
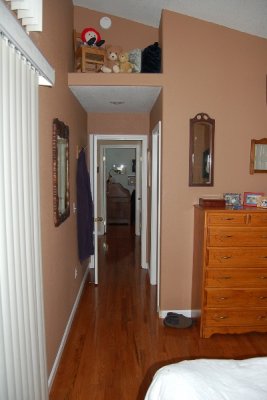 Day 42 Down the hall from the Master Bed Room DSC_5953.JPG |
 Day 42 Fire Place Trim Detail DSC_5940.JPG |
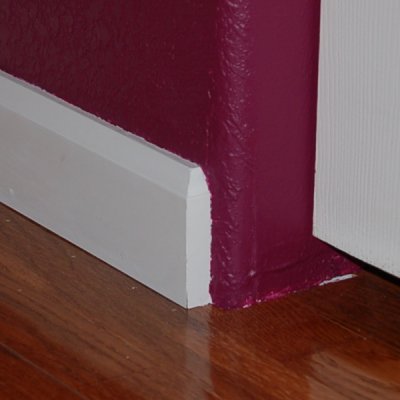 Day 42 Detail of the base board where it ends at the closet. We back cut the end and put in a small triangle. DSC_5955.JPG |
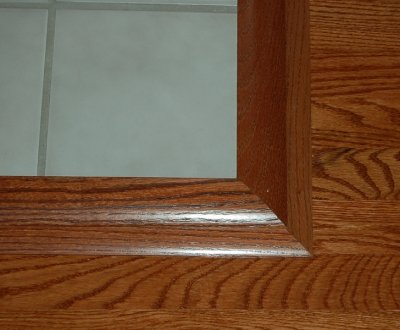
 Day 42 We under cut the bottom of the door frames so the floor goes under the frame DSC_5956.JPG |
| comment | share |