22-AUG-2010
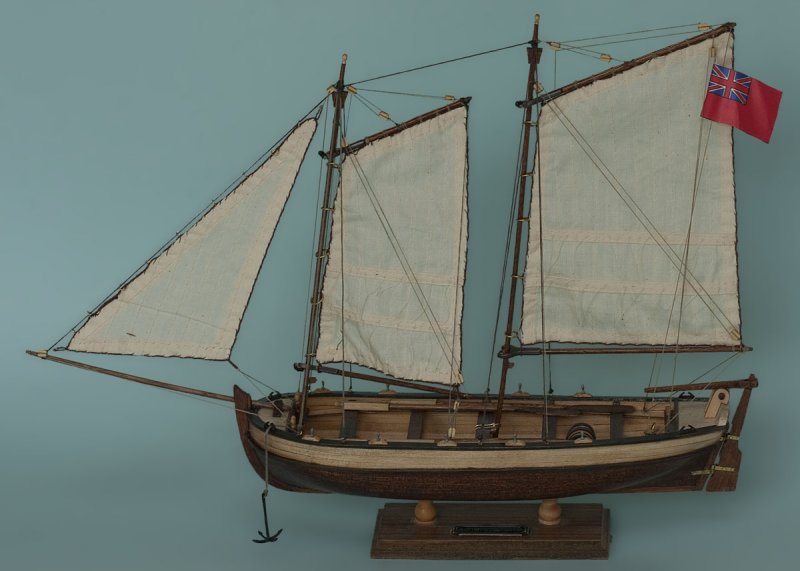
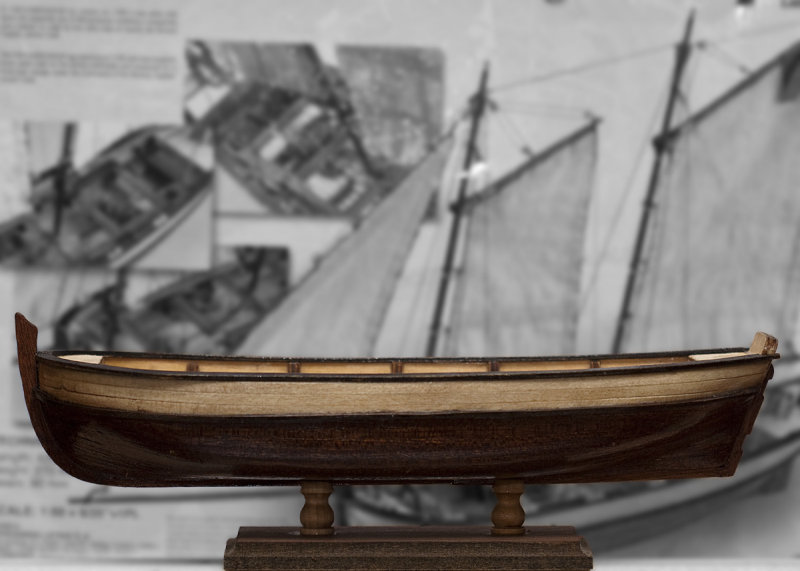
Different bg
Same - just a different background. I've made up my mind... decided that the next model will be the HMS Surprise - the ship used in the Master & Commander, Far side of the World movie some years ago.
The Artesania Latina model of the HMS Surprise is a BIG model compared to this one. This one is 420mm from the end of bowsprit to the stern. The HMS Surprise, in comparison, is 1.3m long an 950 mm tall.
And, no, I do not know (yet) where it will be placed once it has been completed. That is the subject of 'negotiations' for the future :).
Talking to others on one of the ship building forums, it will probably take me 2 years or even longer to complete the HMS Surprise if I work at the same pace as I did on this model... but then, the whole idea is to do it as a means of relaxation, so that doesn't phase me...
I've placed the order for the model today. Most likely that I will only receive it early October.
I will create a new pblog thread once I start on the model.
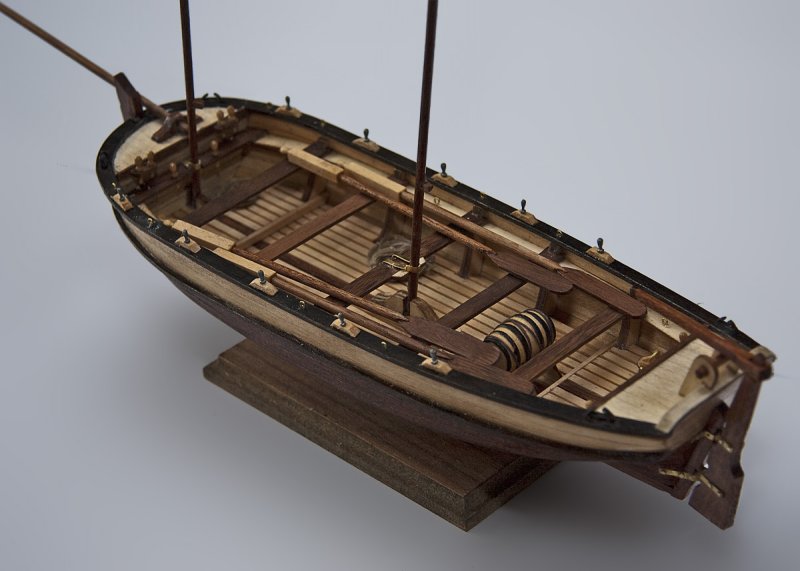
22-AUG-2010
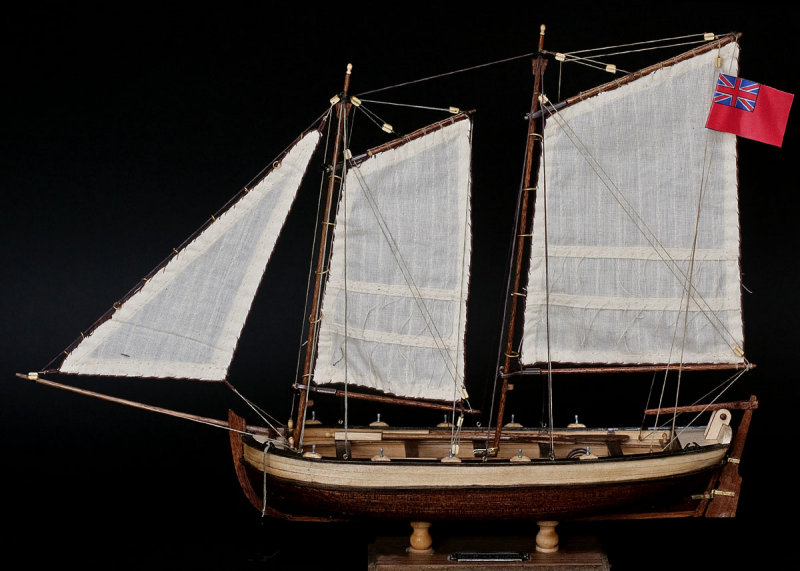
All done!!
Well its all done - Learned a lot from this model and now deciding which one next...
20-AUG-2010
Woodwork done...
Woodwork done...
Sails and rigging left...
15-AUG-2010
Getting there...
Its getting there...
Masts/sails/tiller/oars and some miscellaneous items (ropes, buckets, barrel) remaining
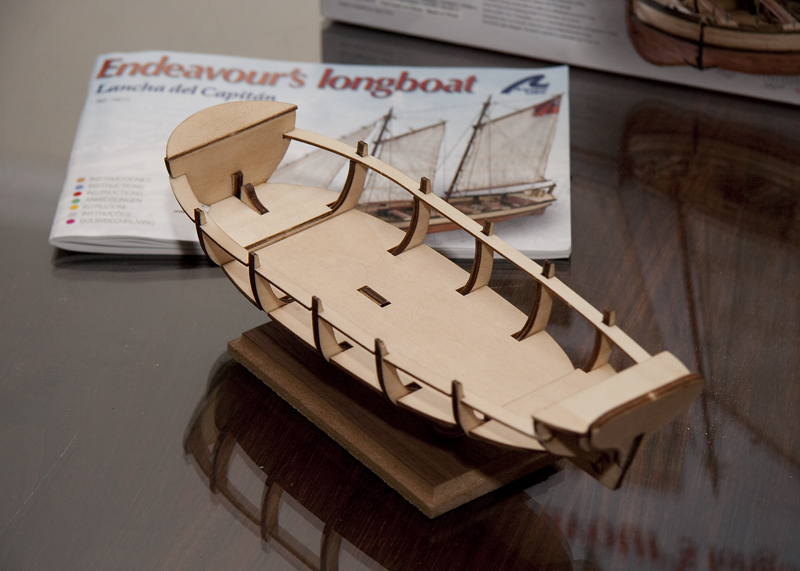
24-JUL-2010
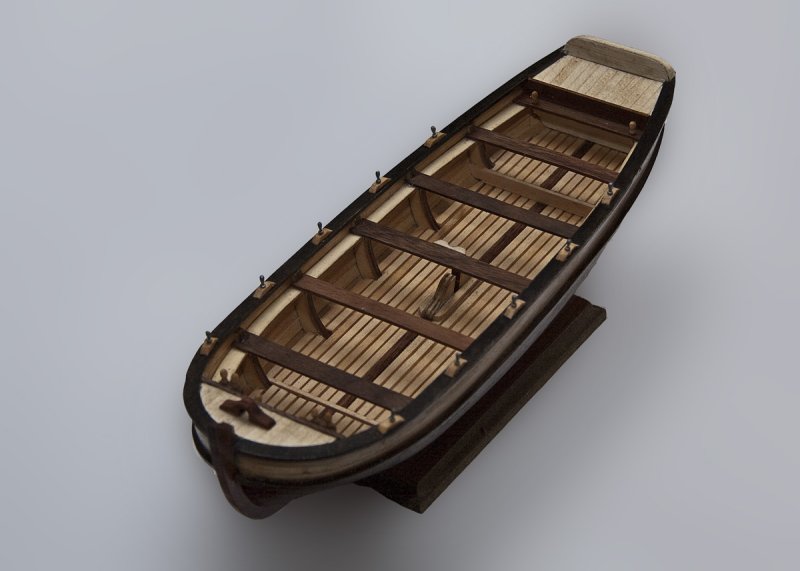
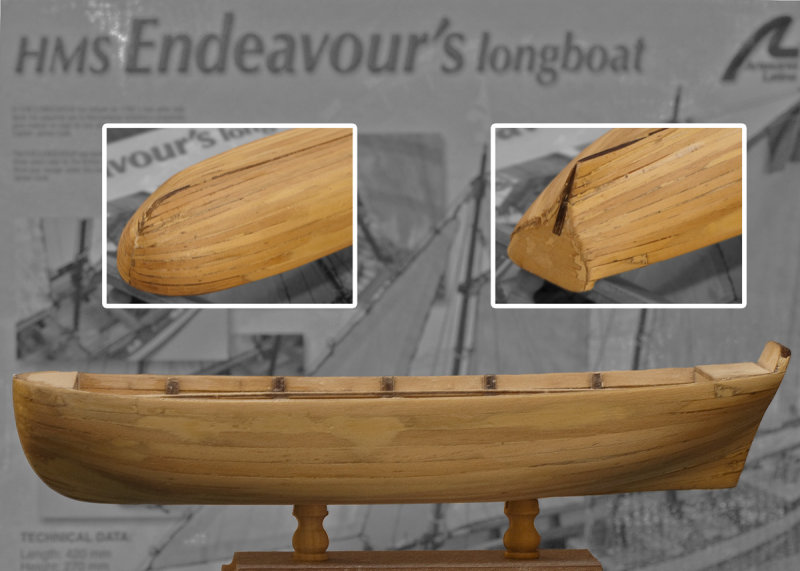
"Before" Picture of inside
The next stage is fitting the inside of the launch... this is a "before" picture
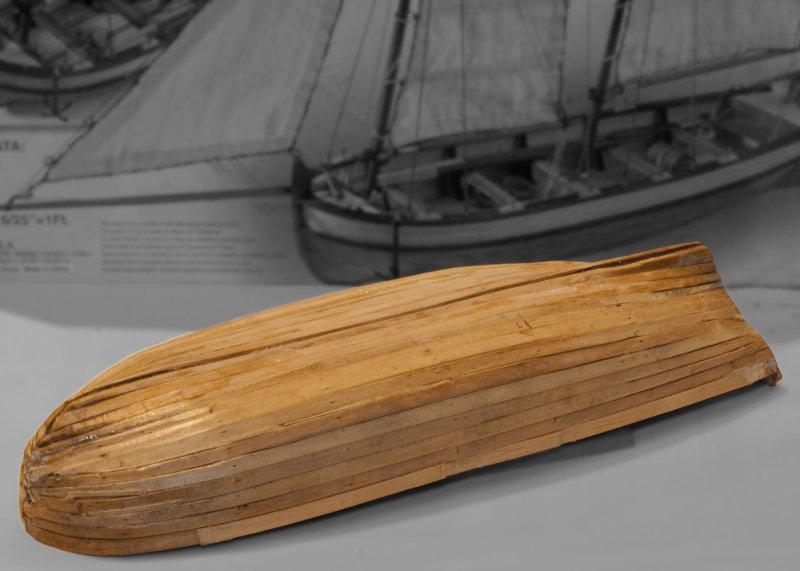
24-JUL-2010
Varnished hull
This is the hull sanded, the keel and "rubbing strakes" added and varnished. I should have experimented some more with different varnishes - this one turned out too glossy for my liking but I didnt have the strength/courage of conviction to sand it down again...
The lighter wood on the upper part of the hull also got some sanding dust from the darker wood trapped in between the lighter planks which was further accentuated by the varnish...
So we learn - but I am still pleased with the result too date, initially being very worried after the first planking.
11-JUL-2010
Second Planking Sanded
At this stage I relaxed a little - seeing that it was possible to salvage something after the first planking and that it might just be a decent model. The second layer of planking is more "workable" from a shaping point of view. At this stage it has been sanded. There is still one or two small areas to be patched up
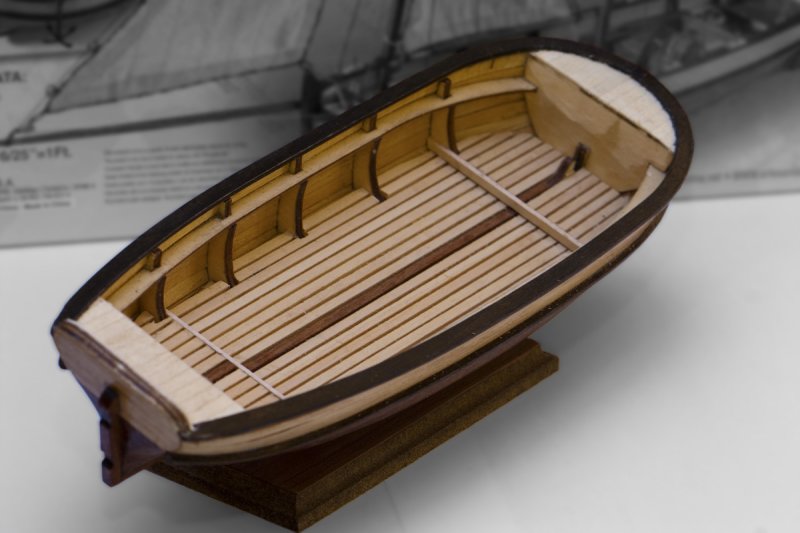
The next stages is fitting the keel, etc and then a coat of varnish before starting to fit out the interior, masts and other accessories...
10-JUL-2010
Second Planking In Progress
The second layer of planking is the decorative side of things. The second layer uses 0.5mm strips of wood which is much easier to shape and to follow the contours. You now have a glue surface along the whole length of the plank and not just at the contact points with the bulkheads.
I experimented with different glues - settling in the end for contact adhesive which I never thought I'd use on a model. I did thin it down to be able to brush on without forming lumps or streaks of glue. This thinned down glue also shortened the waiting time for the initial drying period.
08-JUL-2010
First Planking Shaped & Smoothed
Fortunately this is a 'double plank on bulkhead model'. This means that the first layer of planking only serves to shape the hull along the bulkheads which you can see in the first two images posted. The first layer of planking is done using 1 mm thick planks which are moistened and then twisted and glued to the bulkheads. It requires quite lot of twisting of the planks along the hull at keel/stern (which is vertical) to the planks along the hull where they are flat.
It took me a while to work out how to shape and form the planks, work out what the best glue to use is as well as how to clamp everything whilst the glue dries.
This image shows the sanded first planking stage with some wood filler also used where I did not manage to get the adjacent planks flat against each other. Not visually a very attractive model at this stage but the shape turned out OK
03-JUL-2010
First Planking done
It took me a number of hours to get to this stage. I am not sure how many hours, but I worked on this model for a couple of hours most weekends since I posted the first images. It was very much a trial and error stage to get here.
The one complaint against the kit is that the instructions for 'planking' is not very clear. I think it is assumed that you have done this before. I ended up researching on the www and found some good tips and instructions on how to calculate the tapers and widths of the planks.
I was concerned at this stage because the model looked quite rough and ready - not what I envisioned initially... :)
16-MAY-2010
Day 1 - from top
Not sure whether shaping of stern and bow has been done correctly - time will tell when the planking starts. I guess this is the fun part - where the big difference from plastic models come in...